Quick and Easy Pickled Red Onions
This pickled red onions recipe seems fancy, but it takes almost no effort. You slice an onion, mix a simple brine, pour it over, and walk away. That’s it. In under an hour, or even 30 minutes if you’re in a hurry, you’ll have a jar of tangy, bright, beautiful pickled onions in your fridge ready to use.
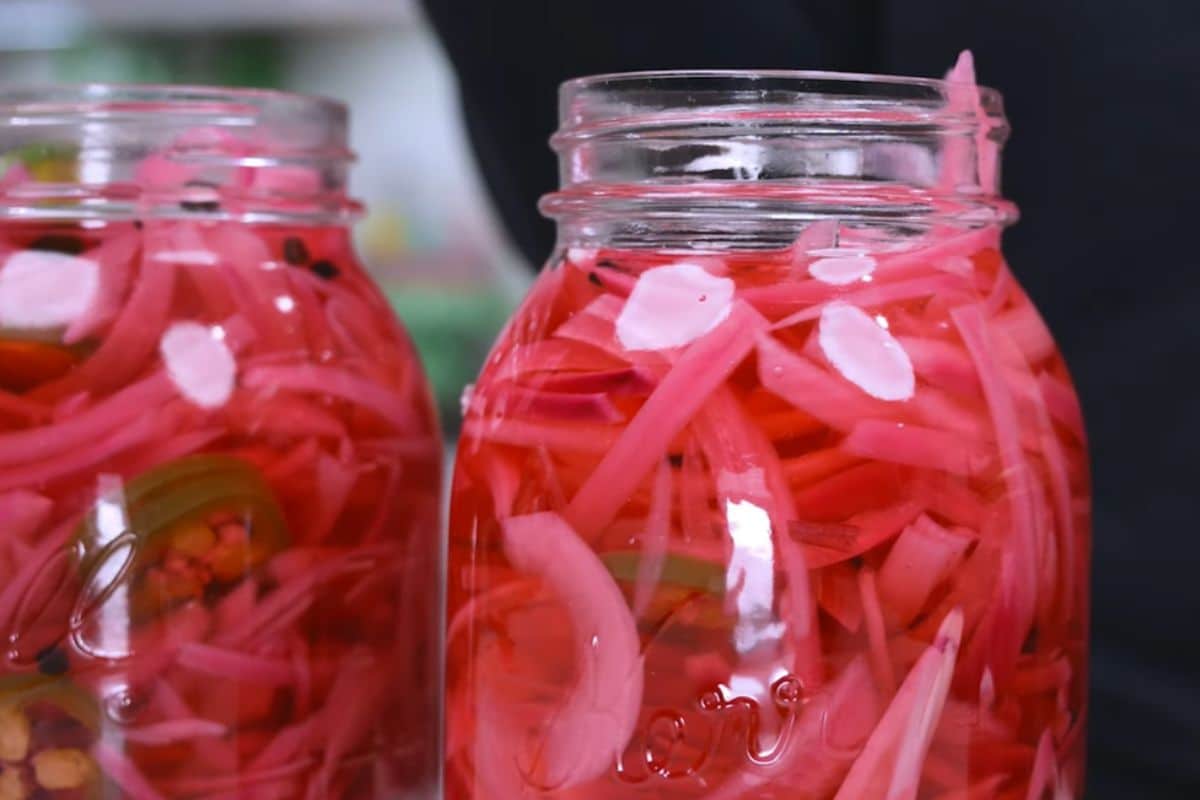
The flavor is sharp, slightly sweet, and deeply savory all at once. The texture stays crisp with just a little give. That color, a vivid, electric pink, makes every plate look like it came from a restaurant kitchen.
I love keeping a jar of these on hand at all times. They go well on tacos, grain bowls, burgers, salads, avocado toast, deviled eggs, and charcuterie boards. Once you have them in the fridge, you will find yourself reaching for them often.
The best part? You only need five basic ingredients. No canning equipment, no special skills, and no stovetop required. Just a jar, a knife, and about 10 minutes of your time.
Let me show you exactly how to make them.
Can’t get enough of these quick side dishes? Enjoy it with this easy sloppy joe recipe.
Why You’ll Love This Recipe
- It takes 10 minutes to make. There’s no cooking, no special equipment, and no complicated steps. Just slice, brine, and you’re done.
- You only need 5 pantry staples: Red onion, vinegar, water, sugar, and salt. That’s it.
- It makes your food taste better right away. The tangy, bright flavor balances rich meats, enhances simple salads, and adds a punch to anything that feels a little flat.
- That color is amazing. The onions change to a vivid magenta pink within minutes. It’s completely natural and makes every plate look much more impressive.
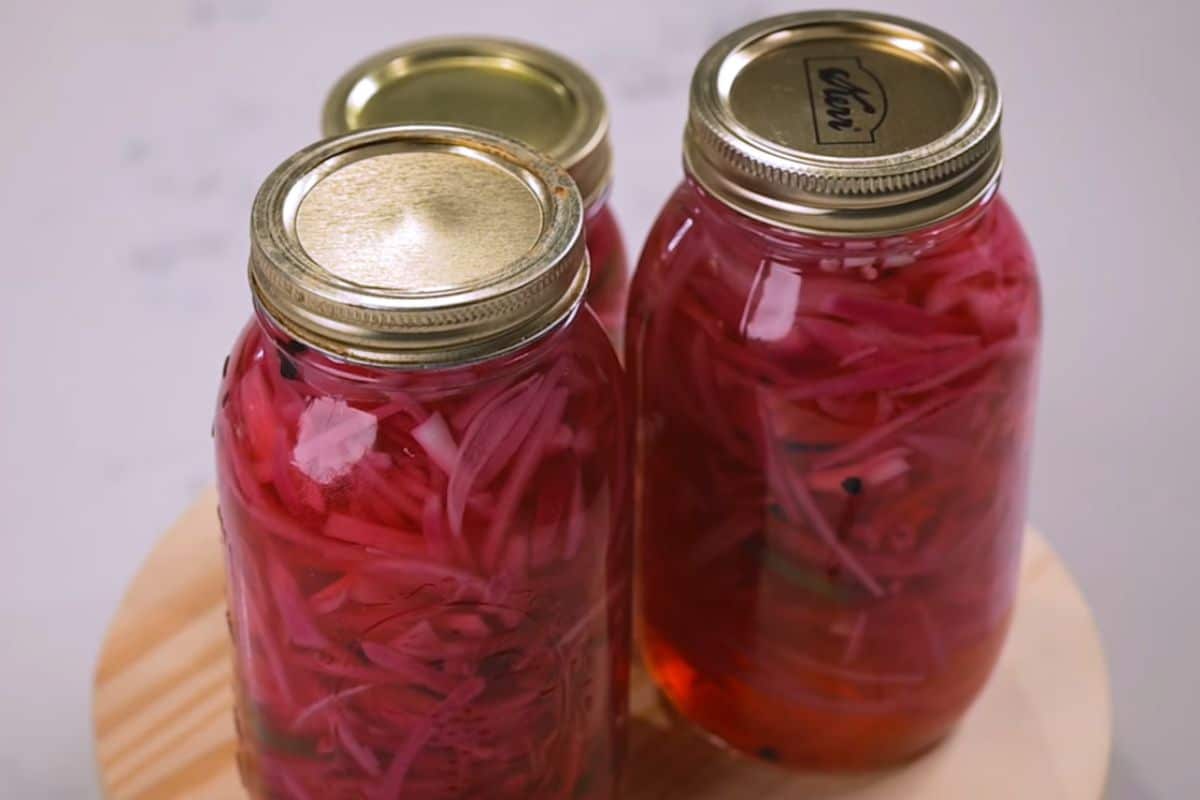
- It lasts for up to 3 weeks in the fridge. Make one batch and you’re set for weeks of easy, flavorful meals.
- It’s customizable. Add chili flakes for heat, garlic for depth, or cumin seeds for a Mexican-inspired twist. The base recipe is just the starting point.
- It works on almost everything. Tacos, burgers, grain bowls, eggs, sandwiches, cheese boards , there’s isn’t much pickled onions doesn’t improve.
Ingredient Notes
You only need a few simple ingredients to make pickled red onions. Here’s what each one does and how to swap it if necessary.
- Red onion
This is the star of the recipe. Red onions are milder and slightly sweeter than white or yellow onions, making them ideal for pickling. They also have natural pigments called anthocyanins that react with vinegar’s acid, creating that bright pink color. Slice them into thin half-moons, about 2–3mm thick. The thinner you slice, the faster they pickle and the better the texture. A sharp knife works well, but a mandoline is easier if you have one. - Vinegar
Apple cider vinegar is my go-to. It has a mild, slightly fruity flavor that balances nicely with the onion without being too harsh. White wine vinegar is a great alternative if you want something a bit more neutral and clean-tasting. Plain white distilled vinegar works too, giving a sharper, more classic pickle flavor. Rice vinegar is the mildest option and is good for Asian-inspired dishes. - Sugar
A small amount of sugar balances the vinegar’s acidity and softens the overall flavor. Without it, the brine can taste one-dimensional. Regular white granulated sugar dissolves easily and keeps the flavor clean. Honey or maple syrup can also be used as natural substitutes, adding a richer, more complex sweetness. - Salt
Salt seasons the brine and helps draw moisture out of the onion. Use kosher salt or fine sea salt for the best results. Avoid regular table salt if possible, as it contains anti-caking agents that can make the brine slightly cloudy and give a harsher flavor. - Warm water
Water dilutes the vinegar so the brine isn’t overwhelmingly sharp. Warm water not boiling helps dissolve the salt and sugar quickly without cooking or softening the onions before they go in the jar. - Optional add-ins
This is where you can personalize the recipe. A few of my favorites:
- 1–2 garlic cloves, smashed
- ½ teaspoon black peppercorns
- ½ teaspoon dried chili flakes
- 1 bay leaf
- ½ teaspoon cumin seeds
- A few sprigs of fresh thyme
None of these are necessary, but they add layers of flavor that make the onions even more interesting.
How to Make Pickled Red Onions
This recipe comes together in three simple steps: slice, brine, and wait. No cooking, no canning, no fuss.
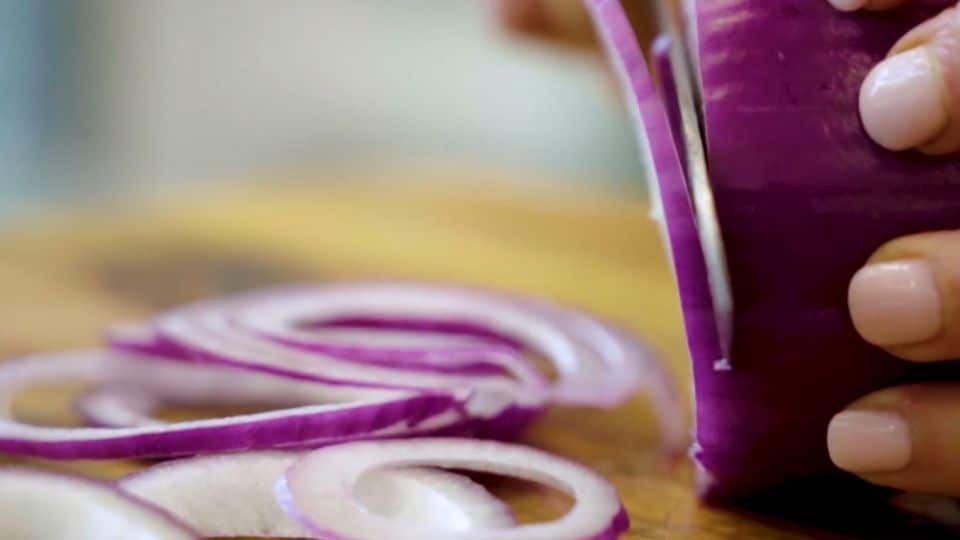
Step 1: Slice the onion
Peel your red onion and cut it in half from root to tip or circle cuts. Place each half cut-side down and slice into thin half-moons, about 2 to 3mm thick. Try to keep your slices even. Uniform slices pickle at the same rate and give you a consistent texture throughout the jar. If you have a mandoline, this is a great time to use it.
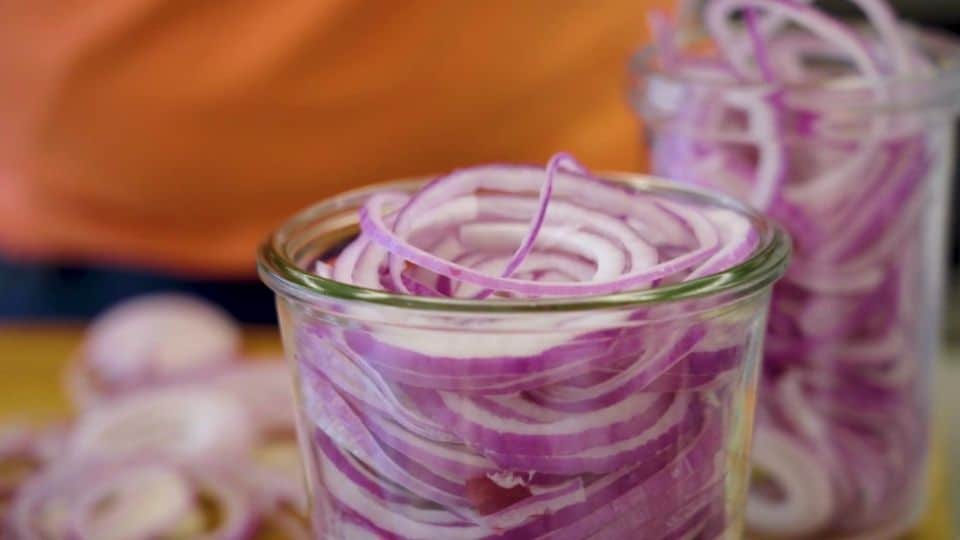
Step 2: Pack the jar
Stuff the onion slices into a clean glass jar. A wide-mouth mason jar works best. It makes packing easy and gives you plenty of room to pour the brine. Press the onions down firmly so they are compact in the jar. Don’t worry about sterilizing it. For a quick refrigerator pickle like this, a clean jar is all you need.
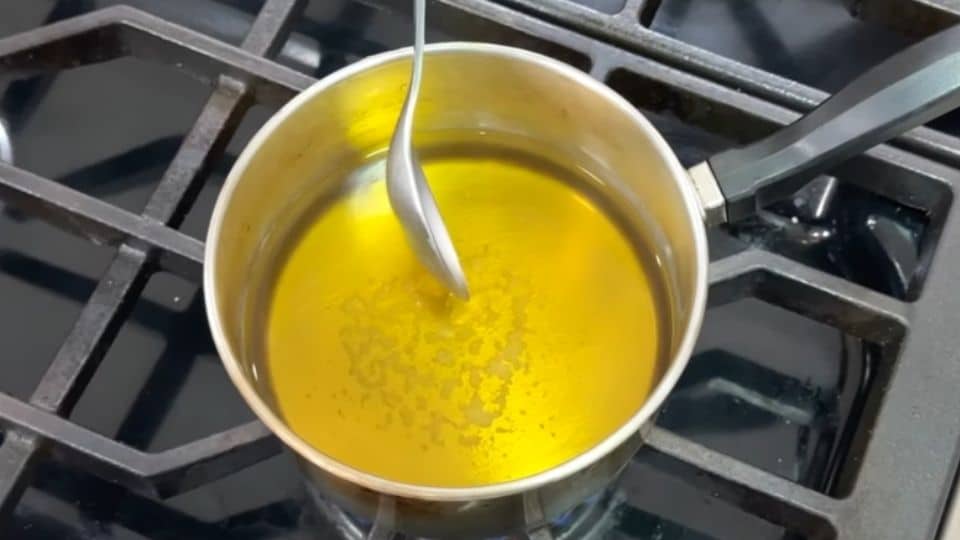
Step 3: Make the brine
In a medium sauce pan over medium heat, combine:
– ½ cup apple cider vinegar
– ½ cup warm water
– 1 tablespoon sugar
– 1 teaspoon kosher salt
Stir until the sugar and salt are fully dissolved. Taste it. It should be tangy, lightly sweet, and well-seasoned. Adjust to your preference before you pour. This is the moment to get it right. Bring the mixture to a boil as you stir to ensure the sugar and salt has dissolved into the liquid. Remove the pickling liquid from the heat and let it stand for 10 minutes to cool down.
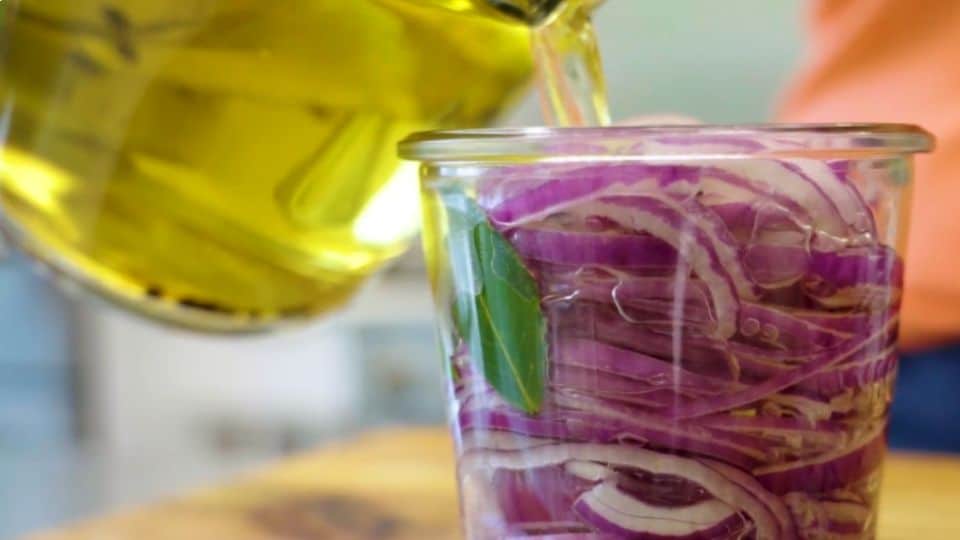
Step 4: Pour and wait
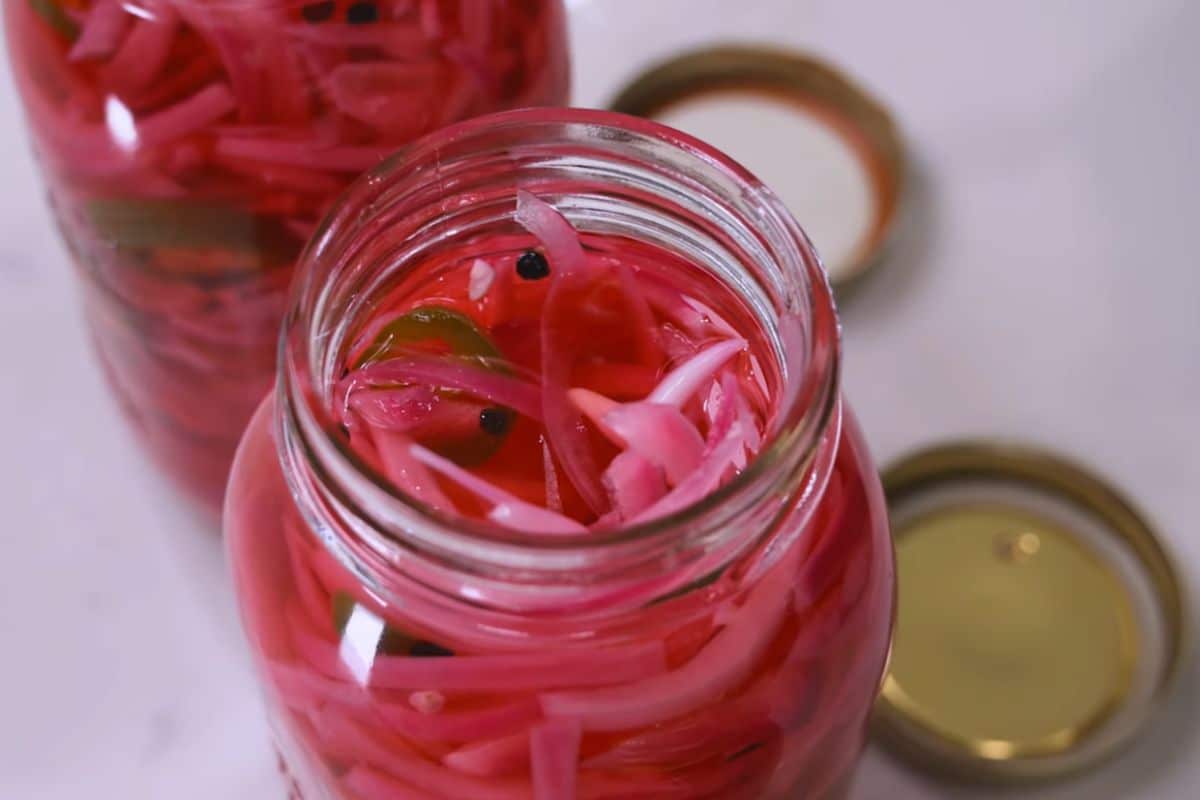
Pour the brine over the onions, making sure every slice is submerged. If any onions are sticking up above the brine, press them down with a spoon.
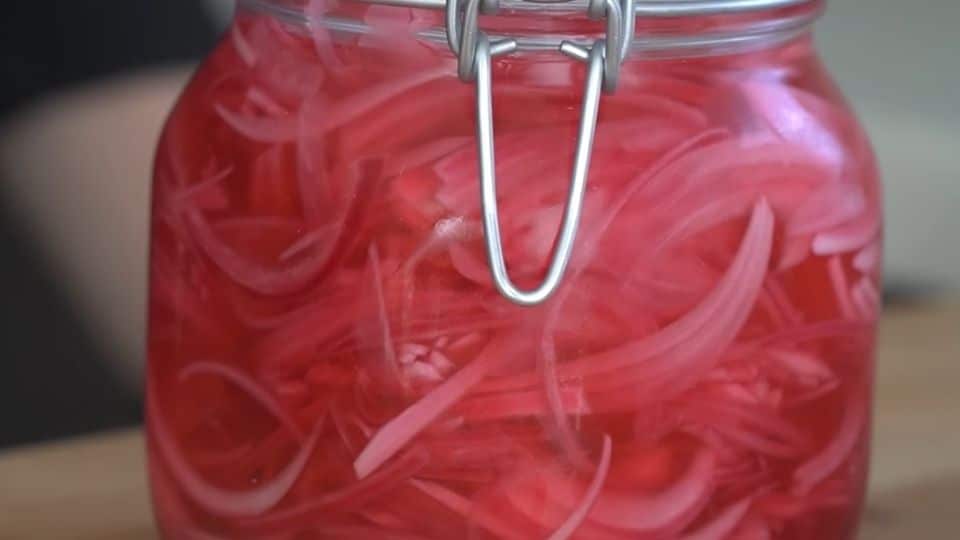
Seal the jar and let it sit. For a quick result, leave the jar at room temperature for 30 to 60 minutes. The onions will already taste noticeably pickled and the color will shift to a bright pink. For the best flavor, transfer the jar to the fridge and let them sit overnight. By the next morning, the onions will be tender, tangy, deeply flavorful, and a vivid magenta pink throughout.
Recipe Success Tips
A few small things make a big difference when it comes to pickled red onions. Keep these in mind, and your first batch will turn out perfectly.
- Slice thin and slice evenly.
Thin slices, around 2 to 3mm, pickle faster, taste better, and have a more pleasant texture than thick chunks. Uneven slices cause problems because the thin ones will over-pickle while the thick ones stay crunchy. Use a mandoline for consistent results. - Don’t use boiling brine.
Pouring boiling liquid over the onions will cook them slightly and make them soft and limp. You want warm water that is hot enough to dissolve the salt and sugar easily but not so hot that it damages the onion’s texture. Aim for water that feels warm to the touch - Taste the brine before you pour it.
Every vinegar is slightly different in sharpness, and personal taste varies a lot with pickling. Before you pour the brine over the onions, taste it. If it’s too sharp, add a little more sugar. If it tastes flat, add a pinch more salt. Getting the brine right before it goes in the jar takes 10 seconds and makes a real difference. - Make sure the onions are fully submerged.
Any onion slices above the brine won’t pickle properly and can dry out or discolor. Press everything down firmly after pouring the brine and check again after a few minutes as the onions start to soften and settle. If needed, add a splash more vinegar and water to cover them completely. - Give them enough time.
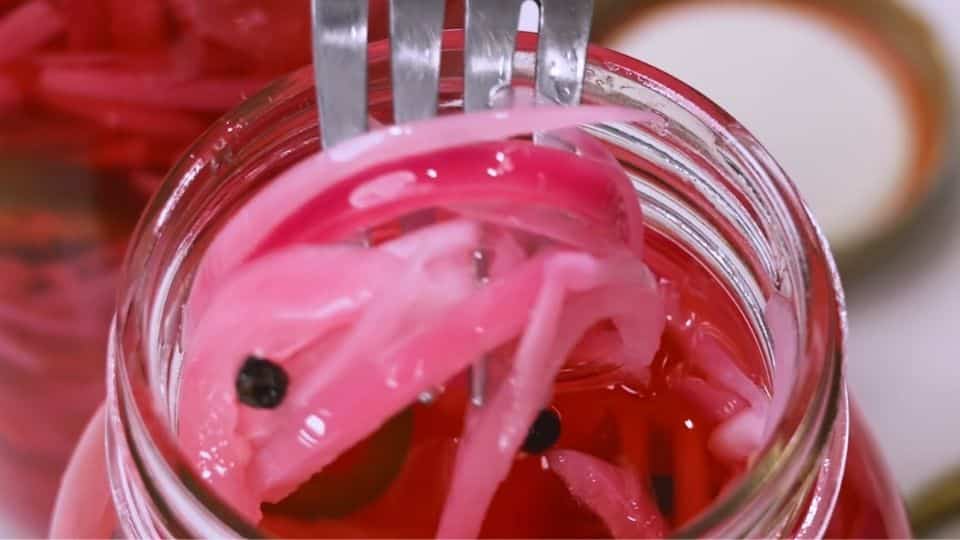
Thirty minutes gives you lightly pickled results. One to two hours gives you noticeably tangy onions. Overnight in the fridge gives you full flavor deeply pickled, tender, and that vivid pink all the way through. If you can plan ahead, the overnight version is absolutely worth it. - Use a clean jar and a clean utensil every time you serve.
Always use a clean fork or tongs to serve and keep the jar sealed to avoid introducing bacteria into the jar. - Start with the base ratio and adjust from there.
The 1:1 vinegar-to-water ratio is your reliable starting point. Once you’ve made the base recipe a couple of times and know how you like it, you can start experimenting: more vinegar for a sharper pickle, less sugar for a more savory result, or a different vinegar altogether for a new flavor profile.
Variations and Ingredient Swaps
The base recipe is great on its own, but pickled red onions are very easy to customize. Here are some of my favorite ways to change things up depending on what you’re cooking.
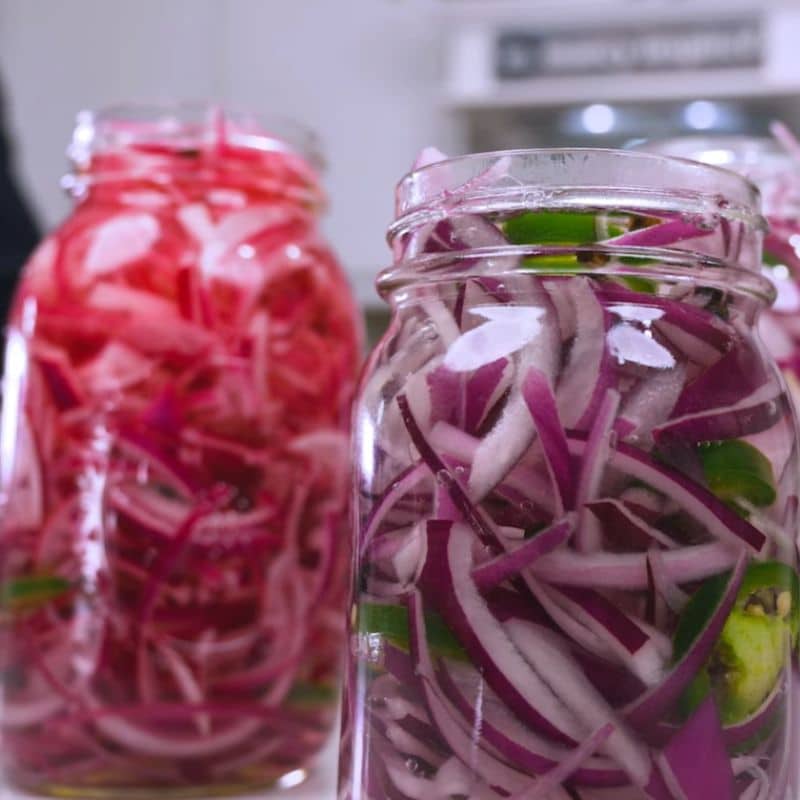
- Spicy pickled red onions
Add ½ teaspoon of dried chili flakes or a thinly sliced fresh jalapeño or serrano pepper to the jar before pouring in the brine. The heat builds gradually over the first day and becomes more pronounced the longer the onions sit. These are especially good on tacos, nachos, and dishes with rich, fatty meat. - Garlic pickled red onions
Add 2–3 smashed garlic cloves to the jar along with the onions. The garlic pickles with the onions and becomes its own tasty ingredient. The flavor is savory, mellow, and aromatic. I use these on sandwiches, grain bowls, and roasted vegetables all the time. - Mexican-inspired pickled red onions
Add ½ teaspoon cumin seeds and a pinch of dried oregano to the jar. This mix gives the onions a warm, earthy flavor that goes well with tacos, carnitas, black beans, and rice dishes. A small strip of orange peel in the jar takes it even further. - Asian-inspired pickled red onions
Swap the apple cider vinegar for rice vinegar and reduce the sugar slightly. Rice vinegar is milder and less sharp, offering a cleaner pickle. These work wonderfully on egg roll bowls, ramen, dumplings, rice, and Asian-style slaws. A few sesame seeds sprinkled on top before serving is a nice final touch. - Sweet pickled red onions
Double the sugar or replace it with an equal amount of honey or maple syrup. The result is much sweeter and more balanced, with the acidity sitting further back. These are great on cheese boards, alongside sharp aged cheeses, or piled onto a pulled pork sandwich. - Sugar-free pickled red onions
Just leave the sugar out completely or replace it with a small pinch of stevia. The brine will be sharper and more intense, but it still works well, especially if you’re pairing the onions with rich, heavily seasoned food that can handle the extra acidity. - Mixed quick pickles
Once you’re comfortable with the base recipe, try adding other vegetables to the jar with the onions. Thinly sliced radishes, cucumber rounds, and shallots all pickle nicely in the same brine. A mixed pickle jar looks great on the table and gives you more variety from a single batch.
What to Serve With It
Pickled red onions are one of those rare condiments that make almost everything taste better. Here are the best ways to use them.
- Tacos and burritos
A classic pairing and for good reason. The sharp, tangy onions cut through rich, fatty fillings like carnitas, carne asada, chorizo burritos, and grilled fish. They add brightness and acidity that tie the whole taco together. - Grain bowls and rice bowls
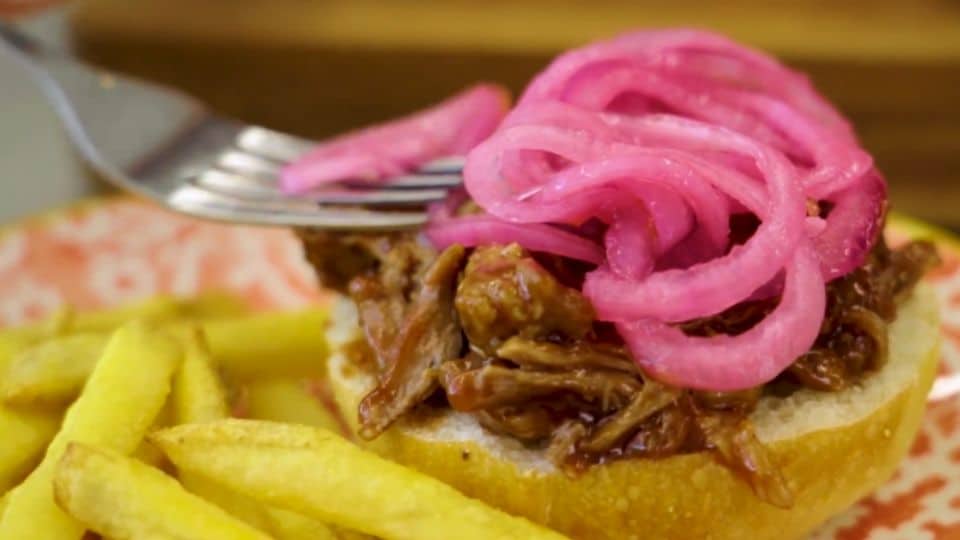
Pickled onions bring acidity and color to earthy bases like brown rice, farro, quinoa, and lentils. A small handful on top transforms a simple weeknight bowl into something that feels genuinely put together. - Burgers and sandwiches
Swap out raw onion on your next burger and use pickled red onions instead. They have the same sharpness but are mellower and more complex, without the harsh bite of raw onion. They’re great on pulled pork sandwiches, grilled chicken wraps, and Reubens. - Avocado toast and eggs
A few slices of pickled red onion on avocado toast adds a tangy contrast that makes the whole thing more interesting. They’re just as good alongside scrambled eggs, fried eggs, or a simple egg and cheese breakfast sandwich. - Salads
Add pickled red onions anywhere you’d usually use raw onion in a salad, especially in heartier salads with chickpeas, lentils, roasted vegetables, or grains. The brine itself can also serve as part of your salad dressing. Just use a splash in place of the vinegar in your usual vinaigrette. - Charcuterie and cheese boards
A small bowl of pickled red onions on a cheese board adds color, acidity, and balance. They pair especially well with sharp aged cheddar, creamy brie, and salty cured meats like prosciutto and salami. - Grilled and roasted meats
Pile them onto grilled chicken thighs, slow-roasted lamb, or pork belly. The acidity cuts through the richness of the meat in the same way a squeeze of lemon does, but with more complexity and depth.
Storage and Make-Ahead Instructions
One of the best things about pickled red onions is how well they keep. Make one batch, and you’re set for weeks.
- Refrigerator storage
Store your pickled red onions in a sealed glass jar in the fridge. They will stay good for up to 3 weeks. The flavor actually improves during the first few days as the onions absorb the brine and become milder. By day three or four, they’re at their best. They are deeply flavored, perfectly tender, and that vivid pink color extends all the way through. - Room temperature
Pickled red onions are safe to leave at room temperature for up to an hour after making them. That’s long enough to sit on the table during a meal. After that, seal the jar and put it back in the fridge. This is a quick pickle, not a shelf-stable canned product, so the fridge is where they belong. - Can you freeze pickled red onions?
Technically yes, but it’s not worth it. Freezing ruins the texture completely. The onions become soft, watery, and unpleasant once thawed. Since they last up to 3 weeks in the fridge anyway, there’s no need to freeze them. Just make a fresh batch when you run out. - Make-ahead tips
Pickled red onions are one of the best things to make as part of your weekly meal prep. Make a full batch on Sunday, and you’ll have a ready-made condiment that improves every meal throughout the week. They go well with many different dishes, so having them on hand genuinely changes how you cook day to day.
If you’re making them for a specific event or dinner party, prepare them at least the night before. The overnight rest in the fridge gives you the deepest flavor and the most vibrant color. - How to tell if they’ve gone bad
Trust your senses. If the onions smell off, look slimy, or the brine appears cloudy and murky, it’s time to start a fresh batch. A good jar of pickled red onions should smell sharp and tangy, clean and bright, not sour or fermented. As long as you use a clean utensil each time you serve and keep the jar sealed, they will easily last the full three weeks.
Frequently Asked Questions
- How long do pickled red onions last?
Stored in a sealed glass jar in the fridge, pickled red onions last up to 3 weeks. The flavor deepens and improves over the first few days, so don’t worry if you make a big batch; they only get better with time. Just make sure to always use a clean utensil when serving to keep them fresh as long as possible. - Do I need to sterilize the jar?
No. This is a quick refrigerator pickle, not a shelf-stable canned product. A clean jar straight from the dishwasher or one that’s been washed thoroughly with hot soapy water is all you need. Sterilizing is only necessary when you’re canning for long-term shelf storage, which this recipe doesn’t require. - Why do pickled red onions turn pink?
The vivid pink color comes from natural pigments in red onions called anthocyanins. When they contact the acid in the vinegar, a simple chemical reaction changes the color from purplish-red to a bright, electric pink. The more acidic the brine, the more vivid the color. This starts happening within the first 15 minutes and deepens over the first few hours. - How long until they’re ready to eat?
You can eat them after just 30 minutes at room temperature; they’ll already taste noticeably pickled and look beautifully pink. For a more developed flavor, give them 1–2 hours. For the best result, let them sit overnight in the fridge. The longer they rest, the more tender and flavorful they become. - Can I reuse the brine?
Yes, once or twice. After the first batch of onions is gone, the brine still has plenty of life left. Add a fresh batch of sliced onions to the same jar and top up with a little extra vinegar and water if needed. The flavor will be slightly milder than the first batch but still delicious. You can also use leftover brine as a base for salad dressings; just whisk it with a little olive oil, and you have an instant vinaigrette. - Can I use white or yellow onions instead of red?
Yes, the recipe works with any onion. White onions give a sharper, more pungent result. Yellow onions are slightly milder and earthier. The main thing you’ll lose is the pink color; that’s exclusive to red onions and their natural anthocyanin pigments. If color matters to you, stick with red.
Quick and Easy Pickled Red Onions in 10 Minutes
Ingredients
Method
- Peel your red onion and cut it in half from root to tip
- Stuff the onion slices into a clean wide-mouth mason glass jar
- If you like you can also add garlic cloves, jalapeno slices, bay leaves, or pepper flakes into the jar.
- In a medium saucepan over medium high heat combine apple cider vinegar, sugar, water, and salt.
- Bring the mixture to a boil as you stir to ensure the sugar and salt has dissolved into the liquid.
- Remove the pickling liquid from the heat and let it stand for 10 minutes to cool down
- Pour the warm brine over the onions, making sure every slice is submerged. Press the onions down if necessary
- Cover and refrigerate for at least 8 hours to overnight.
- Serve and enjoy
Check out this other party recipes
- Rotel Dip with Ground Beef. The flavor combination if this rotel dip is hard to beat. Seasoned ground beef, melty Velveeta, and a can of Rotel tomatoes with green chiles make it rich, slightly spicy, and completely irresistible with a pile of tortilla chips on the side.
- The Best Creamy Spinach Artichoke Dip. This spinach artichoke dip is one of those recipes I make all the time. It’s warm, cheesy, and wonderfully creamy. It comes together in under 30 minutes.
- How to Make Buffalo Chicken Dip. There’s always that one dish at every party that goes first. People gather around it. They come back for a second scoop before finishing the first. That dish is buffalo chicken dip, and this is the recipe that makes it work every time.
- The Best Sloppy Joe Recipe To Make Tonight. The texture is everything a sloppy joe should be: saucy and hearty, with just enough thickness to stay on a bun without sliding off the plate.
- Classic Deviled Eggs Ready in 30 Minutes. These deviled eggs disappear fast at a party. It’s every time. They look good, they travel easily, and they take less than 30 minutes to prepare.
One Comment
Comments are closed.