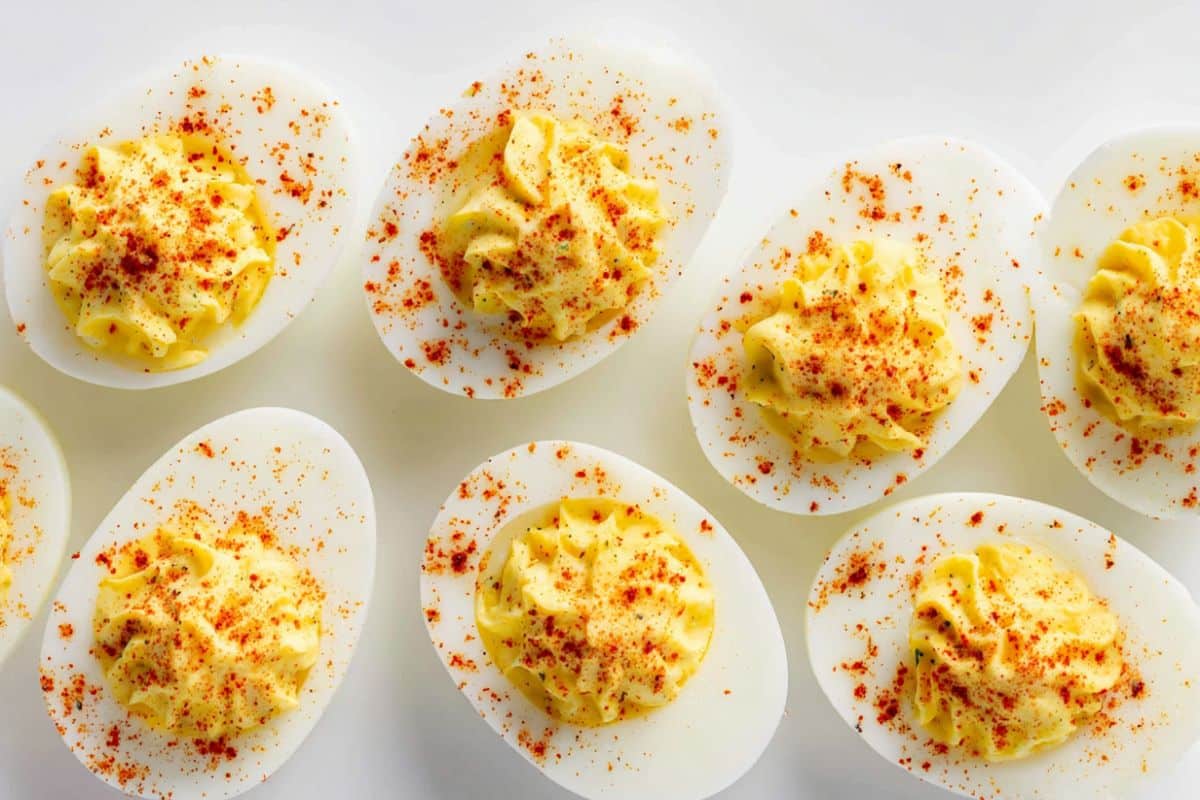
Classic Deviled Eggs – Easy, Creamy, and Ready in 30 Minutes
These deviled eggs disappear fast at a party. It’s every time. They look good, they travel easily, and they take less than 30 minutes to prepare. Whether you’re making them for Easter, a summer cookout, a holiday gathering, or just a Tuesday snack, this recipe delivers.
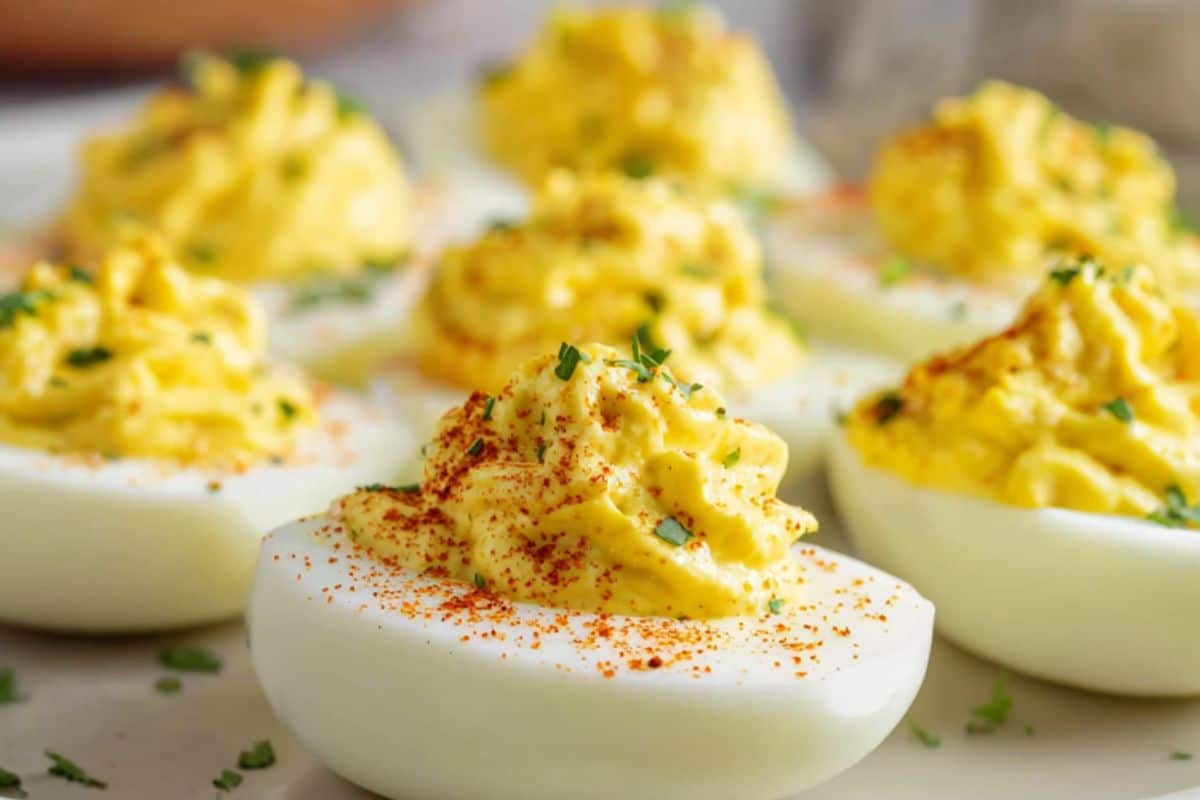
The filling is creamy and tangy, with the perfect kick from the mustard. The texture is smooth, not grainy, and the paprika on top gives them that classic look everyone knows. These aren’t fancy; they’re just really good.
The best part? You probably have everything you need in your fridge and pantry right now.
I’ve made deviled eggs more times than I can count, and this is the version I always return to. I’ll also explain the one thing most recipes overlook: how to boil and peel your eggs without losing half of the white. Once you master that step, everything else is simple.
For perfect easy to peel eggs check this recipe; how to boil and peel your eggs

Why You’ll Love This Recipe
There’s a reason deviled eggs show up at every gathering. They tick every box.
- They’re ready in under 30 minutes. Boil, peel, fill, and you’re done. No complicated steps or special skills needed.
- The ingredients are cheap. A dozen eggs and a few pantry staples are all you need. One of the most affordable appetizers you can make.
- They’re naturally gluten-free and low-carb. You don’t need any substitutions. They fit a wide range of dietary needs straight from the recipe.
- You can prepare them ahead of time. This is key for entertaining. Boil the eggs the day before, make the filling in the morning, and pipe just before serving. Avoid last-minute stress.
- They travel well. A simple container or deviled egg tray is all you need. No reheating or assembly needed.
- Everyone enjoys them. Kids, picky eaters, guests with dietary restrictions – deviled eggs are one of those rare dishes that really please a crowd.
- The filling is customizable. Once you know the base recipe, you can take it in any directio. Make them spicy, smoky, tangy, or loaded with bacon – the base recipe is just the start.
Ingredient Notes
You only need six main ingredients for classic deviled eggs. Here’s what each one does and what you can swap if needed.
- Eggs
Use large eggs. That’s the standard size for this recipe, and it affects both cook time and how much filling you end up with. Use eggs that are at least one week old. Fresh eggs are hard to peel. The membrane clings to the white, and you end up tearing chunks off before the egg even reaches the plate. Older eggs release cleanly after an ice bath every time. - Mayonnaise
Mayo makes the filling creamy and rich. I use full-fat mayo every time for the smoothest texture and best flavor.
My go-to brands are Hellmann’s or Duke’s. Both are widely available and consistently good. Miracle Whip can work in a pinch but adds sweetness, which changes the flavor noticeably.
Substitutions:- Greek yogurt – lighter, slightly tangier, great if you want to cut calories.
- Sour cream – richer and a little more savory; use half sour cream and half mayo for a great result.
- Mashed avocado replaces mayo entirely for a creamy, green-tinted filling; add a squeeze of lime to keep it fresh
- Mustard
Mustard gives the filling its signature tang. Without it, deviled eggs taste flat and one-dimensional.
Yellow mustard is the classic choice, it’s mild, tangy, and exactly what most people expect. Dijon gives you a sharper, more complex flavor that works beautifully for adults. Whole grain mustard adds a slightly rustic texture and mild heat.
I usually go with yellow for a crowd and Dijon when I make a smaller batch for people I know will appreciate it.
Start with one teaspoon and adjust from there. Mustard is easy to overdo. - White Vinegar
A small splash of white vinegar works wonders. It brightens the filling, cuts through the richness of the mayo, and gives the eggs that classic tangy finish.
Substitutions:- Apple cider vinegar – slightly fruitier and milder; a great everyday swap.
- Pickle juice – my personal favorite substitution; adds a subtle briny flavor that makes people ask what’s different
- Lemon juice – lighter and fresher; works well with avocado or herb variations
- Use just a teaspoon to start. The goal is balance, not sourness.
- Salt and Pepper
Season the filling properly and taste as you go. Under-seasoned deviled eggs are the most common mistake I see. The yolk mixture needs more salt than you’d expect. White pepper is traditional and keeps the filling looking clean. Black pepper works well and adds a little visual contrast. Either way, don’t skip it. - Paprika
Paprika is the classic finishing touch. It adds color, a mild earthy flavor, and that immediately recognizable look.
Regular paprika is the standard. Smoked paprika is my preference as it adds a subtle smokiness that makes the eggs feel a little more interesting without changing the recipe. Cayenne adds heat; use it sparingly. Chili flakes add color and a slow burn.
You don’t mix paprika into the filling. Sprinkle it on top just before serving, not too far ahead, or it bleeds into the filling and loses its color.
How to Make Deviled Eggs
This recipe comes together in four simple stages: boil, peel, mix, fill. The whole process takes under 30 minutes, most of which is hands-off cooking time. Let me guide you through each step.
Stage 1: Hard Boil the Eggs
Getting this stage right is crucial. Overcooked eggs develop a grey ring around the yolk and a rubbery white. Undercooked eggs result in a soft, crumbly yolk that won’t hold the filling together. Here’s the method that works every time.
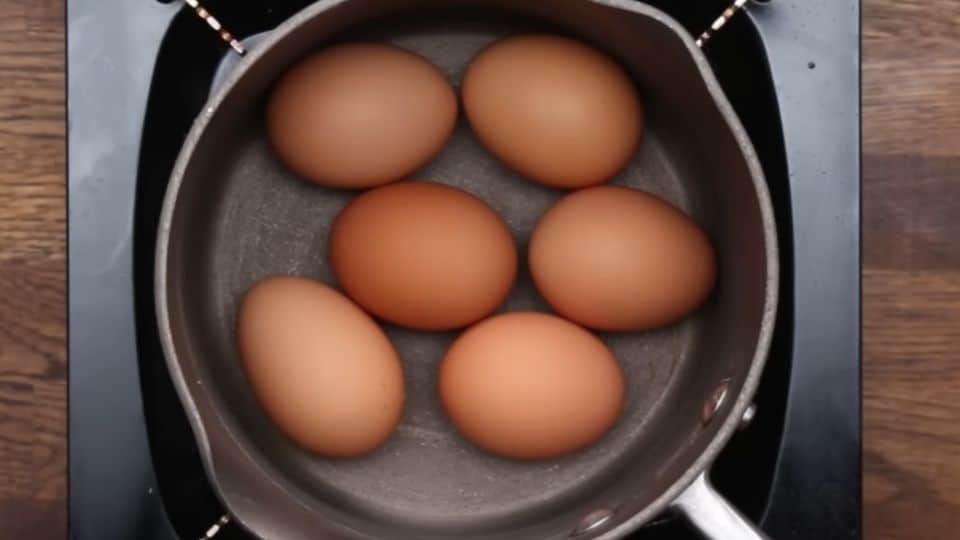
Step 1: Start with cold water.
Place your eggs in a single layer in a saucepan. Cover them with cold water by about an inch. Avoid starting with boiling water; cold water gives you better control over the cooking and reduces cracking.
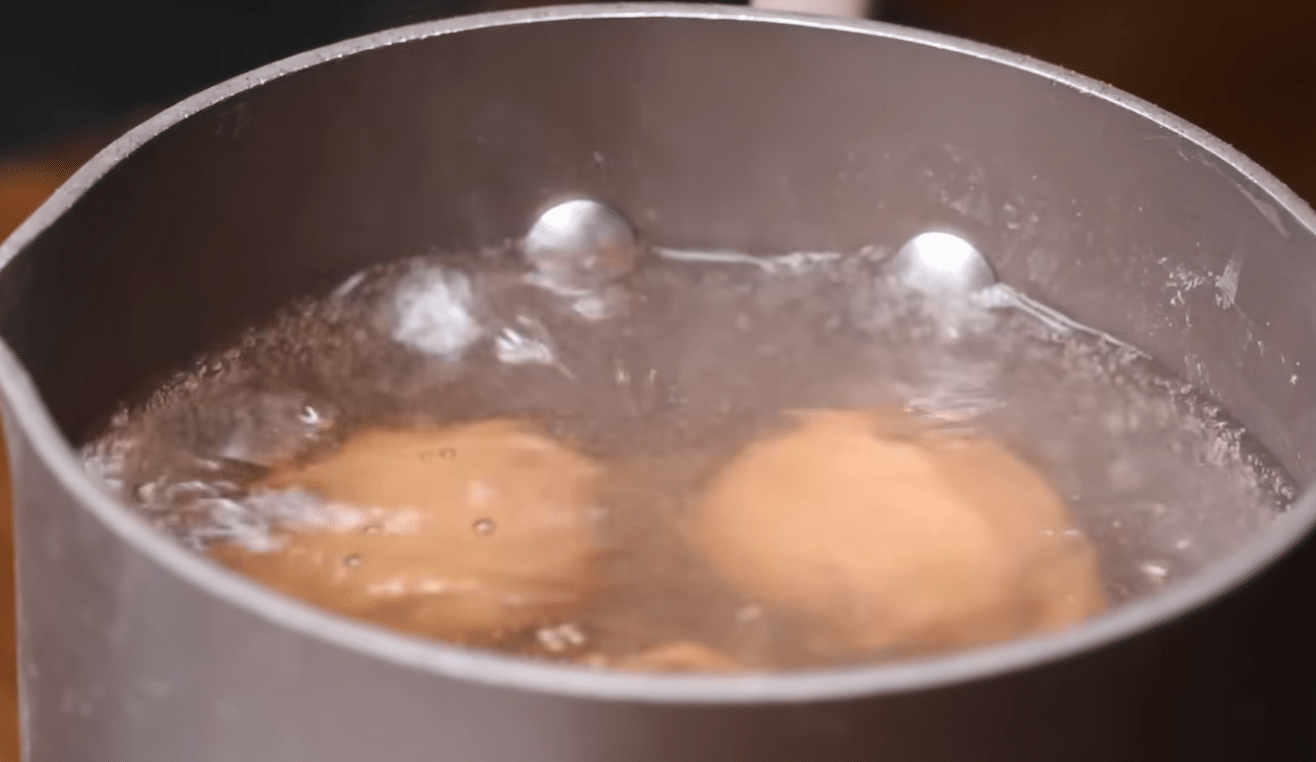
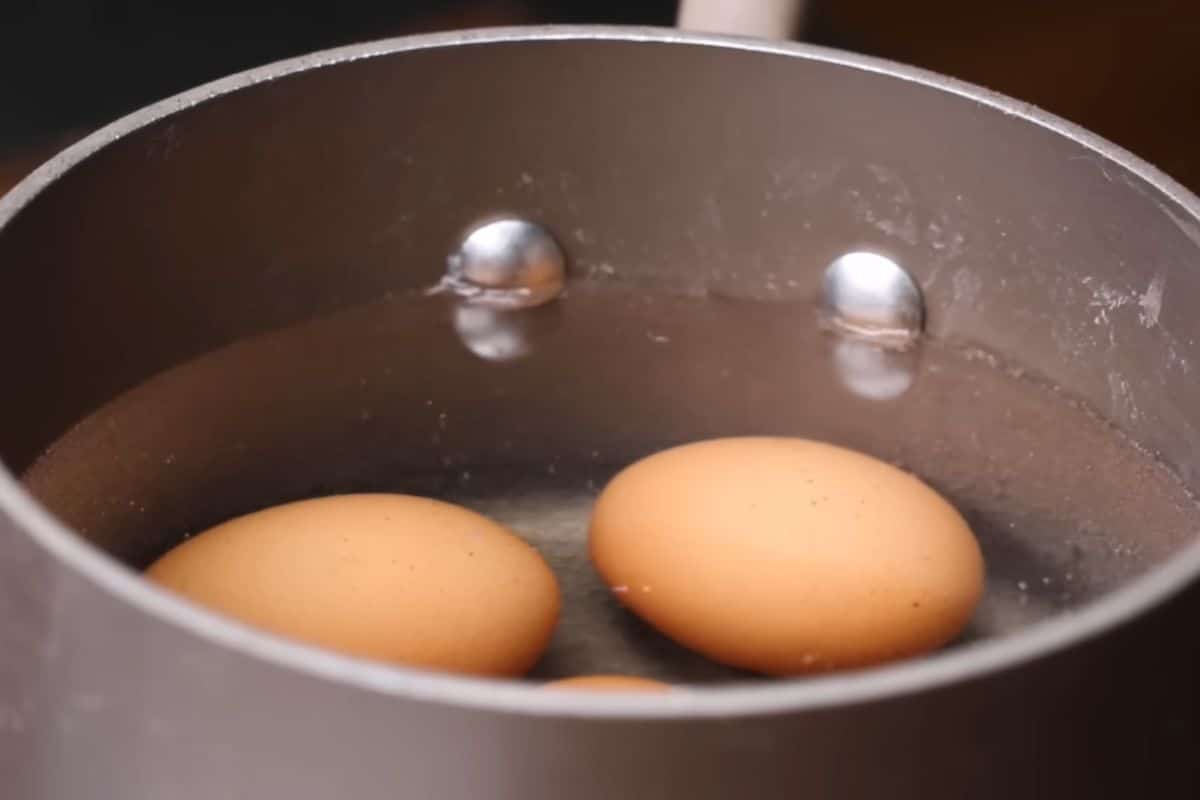
Step 2: Bring to a full boil.
Set the pan over medium-high heat and bring the water to a rolling boil. Stay close to the pot; this isn’t the time to walk away.
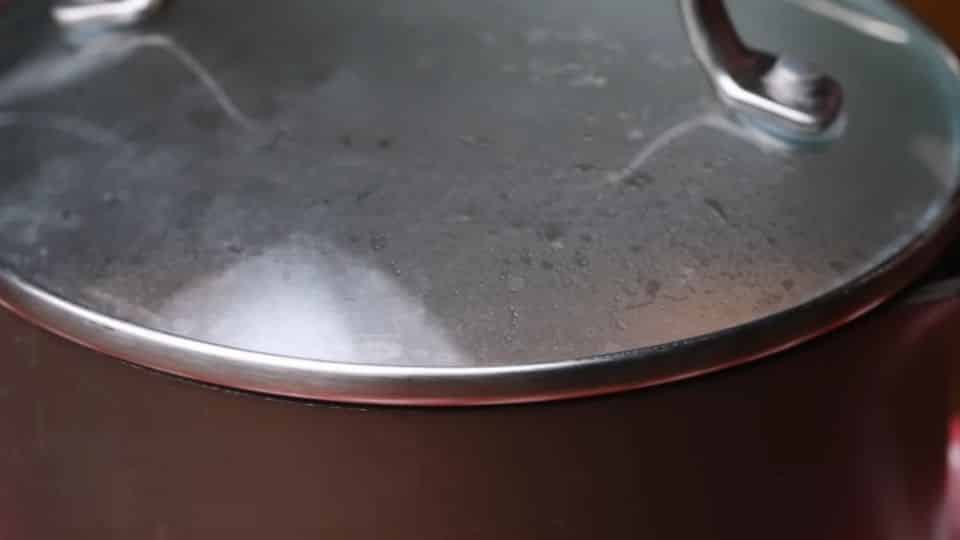
Step 3: Turn off the heat and cover.
As soon as the water reaches a full boil, turn off the heat. Cover the pan with a lid and let the eggs sit in the hot water for exactly 12 minutes. Set a timer. This timing ensures fully set yolks without a grey ring or rubbery texture.
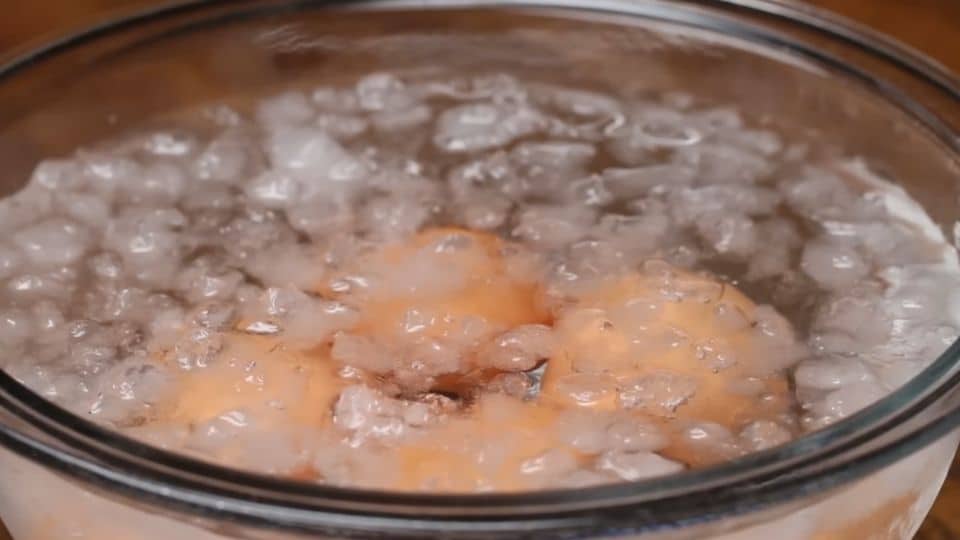
Step 4: Transfer to an ice bath immediately.
While the eggs cook, fill a large bowl with cold water and plenty of ice. When your timer goes off, use a slotted spoon to move the eggs straight into the ice bath. Let them sit there for at least 10 minutes. This step is essential. The ice bath stops the cooking, prevents the grey ring, and makes peeling much easier. Don’t skip it to save time; it serves two important purposes.
Stage 2: Peel the Eggs
This step frustrates many, but it doesn’t have to. Here’s how to peel cleanly.
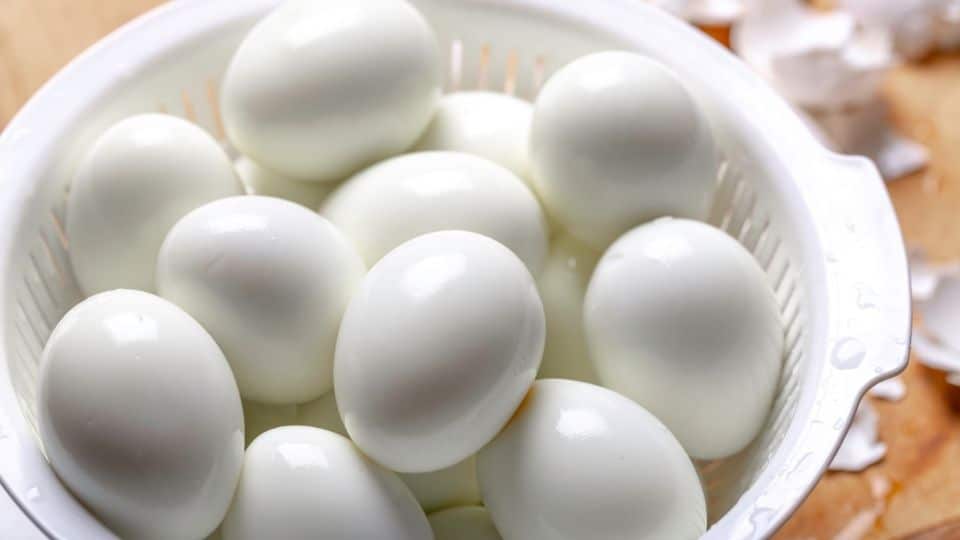
Step 1: Peel under running water.
Take one egg at a time from the ice bath. Gently tap it all over on the counter to crack the shell in several places. Then peel it under a thin stream of cold running water. The water helps the shell come off easily.
Step 2: Work from the wide end.
The wide end of the egg has an air pocket just beneath the shell. Start peeling there and work your way down. You’ll find the shell comes off much more easily.
Step 3: Be gentle with the whites.
You want clean, intact egg white halves for filling. Take your time and don’t rush. If a white tears a bit, set it aside. You can mash that one into the filling to add volume.
Step 4: Slice the eggs.
Use a sharp, thin-bladed knife. Cut each egg in half lengthwise with one smooth motion. Wipe the blade clean between cuts for neat edges every time.

Stage 3: Make the Filling
This is where the flavor comes together. Take your time and taste as you mix.
Step 1: Remove the yolks.
Pop the yolks out into a medium mixing bowl. Place the empty whites on a serving plate or a lined baking tray with the cut side up.
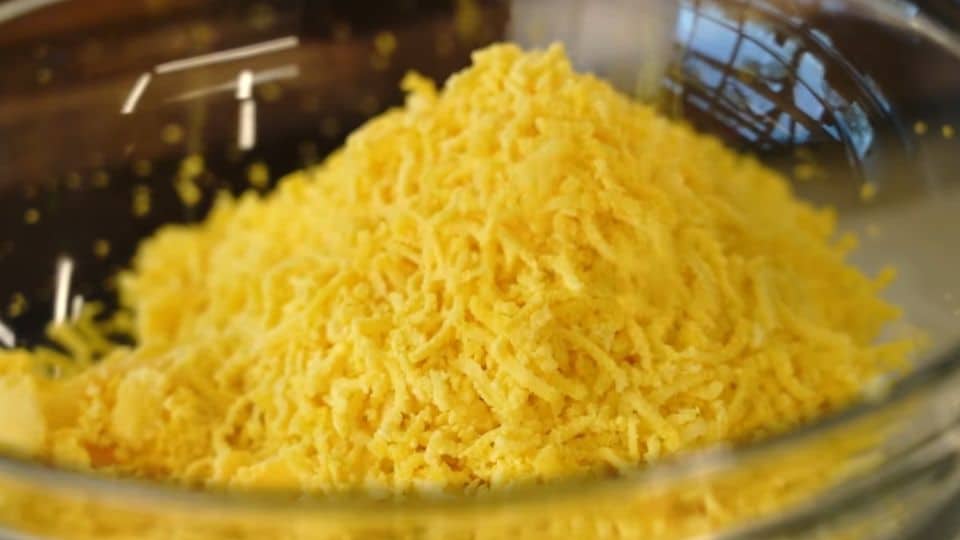
Step 2: Mash the yolks or grate on fine side.
Use a fork to mash the yolks until they break down into fine crumbs with no large lumps. This step is key for a smooth filling. If you want an ultra-silky result, push the yolks through a fine side of a grater. It takes an extra two minutes but makes a noticeable difference.
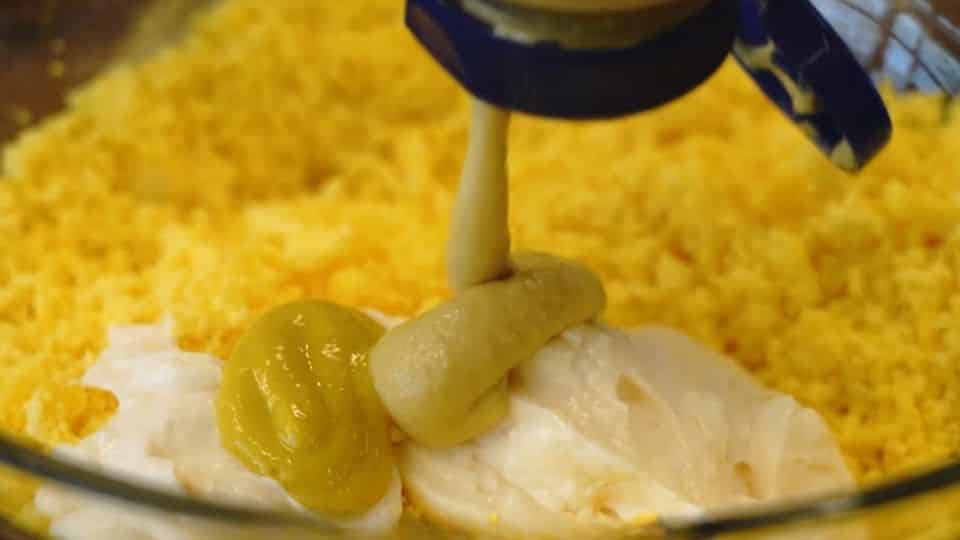
Step 3: Add the mayo and mustard.
Mix your mayonnaise and mustard into the mashed yolks. Start with slightly less mayo than the recipe calls for. Combine everything until smooth and creamy.
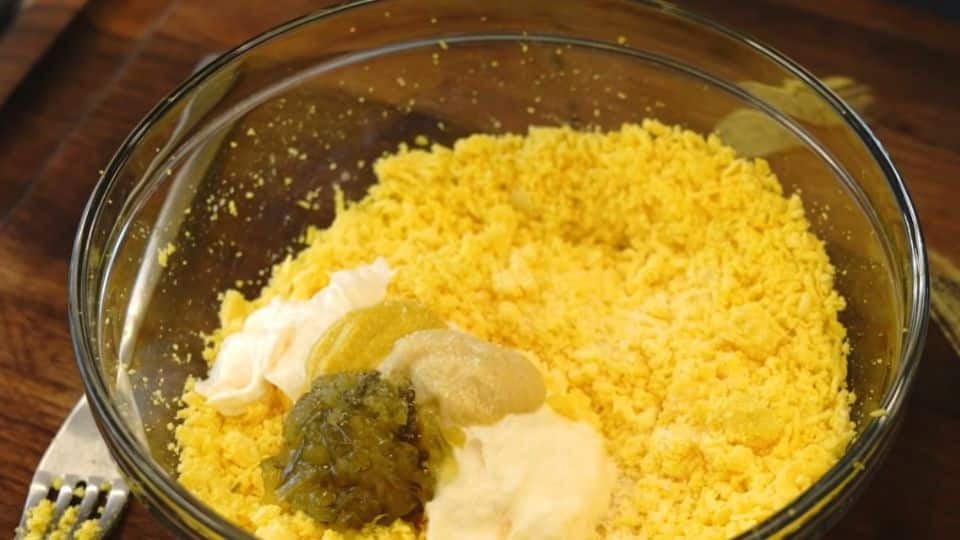
Step 4: Add the vinegar and seasoning.
Stir in your relish, vinegar, salt, and pepper. Mix again. Now taste the filling. Really pay attention to the flavor. Does it need more tang? More salt? A little extra mustard? Adjust until it tastes just right. This step is often skipped, but it’s what separates good deviled eggs from great ones.

Step 5: Check the consistency.
The filling should be thick enough to hold its shape when piped but still smooth enough to pipe easily. If it’s too thick, add a tiny splash more mayo or vinegar. If it’s too loose, refrigerate it for 15 minutes; it firms up as it chills.

Stage 4: Fill and Garnish the Eggs
Step 1: Choose your filling method.
You have two options here.
Spoon method: This is simple and rustic. Use a small spoon to scoop the filling into each egg white. It’s perfectly fine for casual serving.
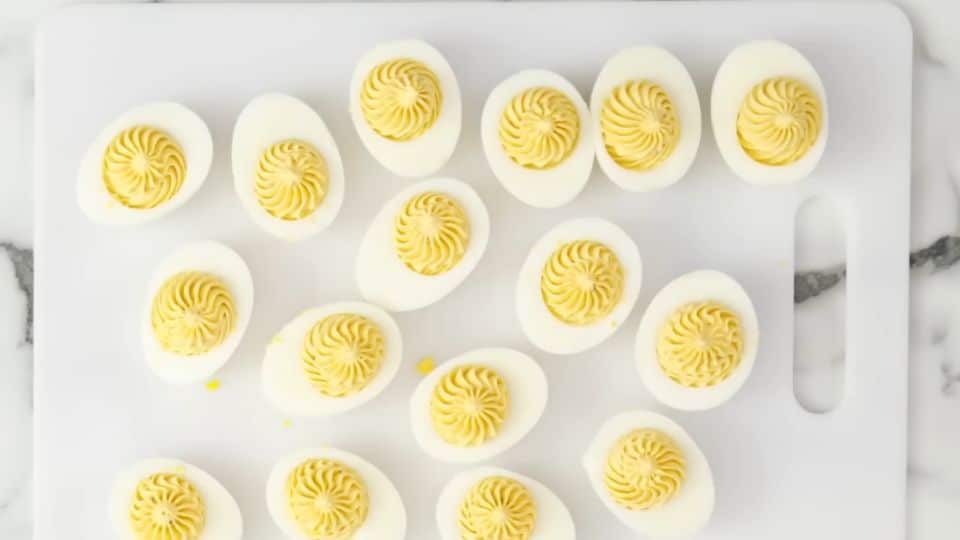
Piping bag or zip-lock bag: This method gives you the classic swirled look. Fill a piping bag fitted with a star tip, or cut a small corner off a zip-lock bag. Pipe the filling in a circular motion, starting from the outside and working inward. It looks impressive and takes about 30 seconds once you get the hang of it. For parties and gatherings, I always pipe. It requires hardly any extra effort, and the results look significantly more polished.
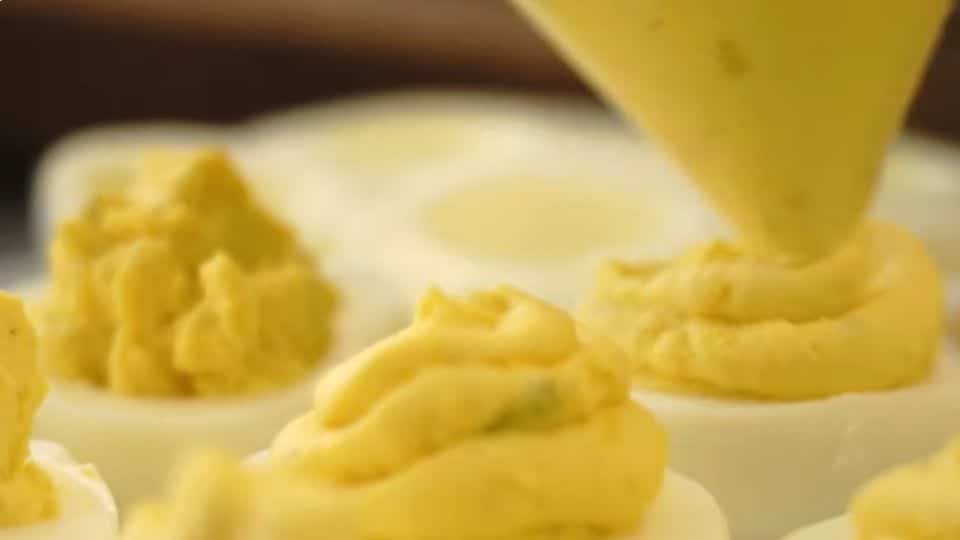
Step 2: Fill generously.
Don’t hold back with the filling. A well-filled deviled egg is much more satisfying than a skimpy one. Fill each white until the filling just sits above the rim.
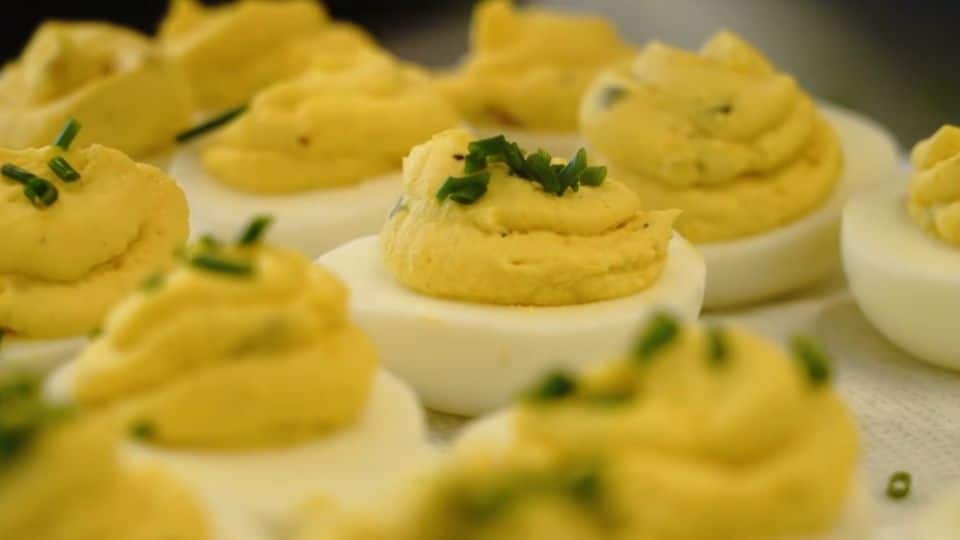
Step 3: Garnish.
Lightly dust with paprika right before serving. Add any additional toppings now—fresh chives, a small piece of crispy bacon, a thin pickle slice, or a sprinkle of everything bagel seasoning. Keep garnishes small and purposeful; one or two toppings per egg is plenty.
Step 4: Serve immediately or refrigerate.
Deviled eggs are best served within two hours of filling. If you’re not serving them right away, cover loosely with plastic wrap and refrigerate. Avoid stacking them; the filling will smear and the garnishes will get messy.

Recipe Success Tips
I’ve made deviled eggs enough times to know exactly where things go wrong. These tips will help you avoid the most common mistakes before you even crack an egg.
- Always buy your eggs a few days early.
Fresh eggs are very hard to peel. The membrane sticks to the white, and you can end up tearing the egg apart before it even makes it to the plate. Eggs that are five to ten days old peel cleanly and consistently. If you’re planning deviled eggs for a party or holiday, buy the eggs three to five days ahead. It costs nothing and saves a lot of frustration. - Never skip the ice bath.
It may seem like an optional step, but it isn’t. The ice bath does two things at once. It stops the cooking immediately so you don’t end up with overcooked yolks, and it creates a slight separation between the egg white and the shell, which makes peeling much easier. Ten minutes in the ice bath is all you need. Fill the bowl with ice before you start boiling so it’s ready the moment the timer goes off. - Make a few extra eggs.
Always boil one or two more eggs than you think you need. Some whites will tear during peeling no matter how careful you are. Having backups means you won’t end up short on your serving plate. Any torn whites can be chopped and added to a quick egg salad. The extra yolks go straight into the filling to make it richer. Nothing goes to waste. - Taste the filling before you pipe it.
Dip a small spoon in, taste it properly, and ask yourself what it needs. More salt? More mustard for tang? A little more vinegar to brighten it up? The yolk mixture absorbs seasoning differently than you might expect, and it usually needs more salt than you think. Getting this right before you fill the eggs is what separates a good deviled egg from a great one. - Chill the filling before piping.
If your filling feels soft or loose after mixing, put it in the fridge for 15 to 20 minutes before piping. Chilled filling holds its shape better, pipes more cleanly, and sits higher in the egg white without spreading. This helps especially in warm weather or if you’ve added a little too much mayo. It’s a simple fix that makes a real visual difference on the plate. - Wipe your knife between every cut.
A clean knife gives you clean edges. After each cut, wipe the blade with a damp cloth or paper towel before slicing the next egg. Yolk residue on the blade drags and tears the white as you cut, resulting in ragged, uneven edges. It takes two seconds per egg and the difference in presentation is immediately noticeable. - Add the paprika at the last minute.
Paprika looks beautiful when it’s freshly applied bright and vibrant. But if it sits on the filling too long, it bleeds into the surface, turns a dull brownish-red, and loses its visual impact. Dust the paprika on right before you carry the plate to the table, not while you’re still in the kitchen. If you’re making these ahead, skip the paprika entirely and add it just before serving.
Variations and Ingredient Swaps
The classic recipe is always a crowd-pleaser. Once you’ve made it once and feel confident, the fun begins. Every variation below uses the same base recipe; just swap or add a few ingredients and you’ll have something completely different.
- Classic Southern Deviled Eggs
This is the version most people grew up eating. Add a teaspoon of sweet pickle relish to the filling and replace the white vinegar with a splash of pickle juice. The relish adds a mild sweetness and a little texture that balances the mustard’s tang perfectly. Some Southern recipes also add a pinch of sugar directly to the filling; start with just a quarter teaspoon and taste as you go. This version is the one to make when you want something familiar and comforting that everyone at the table will recognize. - Bacon Deviled Eggs
Cook three or four strips of bacon until completely crispy, then crumble them into small pieces. Mix half into the filling and use the rest as a topping. The bacon adds a smoky, salty crunch that complements the creamy filling beautifully. If you want to take it further, add a small drop of liquid smoke to the filling or replace regular paprika with smoked paprika. Either way, these go fast; make more than you think you need. - Avocado Deviled Eggs
Replace all of the mayonnaise with one ripe, mashed avocado. Add a squeeze of fresh lime juice to keep the filling bright green and prevent browning. The result is a filling that’s creamy, slightly buttery, and noticeably lighter than the classic version. The flavor is milder, so be generous with the seasoning; this version needs a good amount of salt, a little extra mustard, and a pinch of cumin to add depth. Top with a small slice of jalapeño or a sprinkle of chili flakes for color and heat. These are great for guests who are dairy-free or just looking for something different. - Spicy Deviled Eggs
Add heat directly to the filling with your choice of hot sauce, finely minced jalapeño, or a generous squeeze of sriracha. Start small; half a teaspoon of hot sauce is a good beginning. Taste and adjust from there. Heat intensifies as the filling sits, so don’t overdo it upfront. For the topping, a thin slice of fresh jalapeño or a single pickled pepper ring looks great and signals to guests exactly what they’re getting. If you want smokiness alongside the heat, a pinch of chipotle powder in the filling works perfectly. - Buffalo Deviled Eggs
Mix two tablespoons of your favorite buffalo sauce into the filling along with a tablespoon of cream cheese for extra richness. The cream cheese smooths out the sharpness of the buffalo sauce and keeps the filling thick enough to pipe cleanly. Top each egg with a small crumble of blue cheese and a tiny piece of celery leaf. This version tastes like buffalo wings in the form of deviled eggs. It’s bold, tangy, and it’s the one people always ask about first. Serve these at game day gatherings and watch them disappear in minutes. - Everything Bagel Deviled Eggs
Keep the classic filling exactly as it is and simply top each egg with a generous pinch of everything bagel seasoning instead of paprika. That’s it. The seasoning adds garlic, onion, sesame, poppy seeds, and salt, all in one sprinkle. It works surprisingly well with the creamy yolk filling. This is the easiest variation on the list and one of the most impressive-looking. If you want to go further, add a small sliver of smoked salmon on top of each egg. - Pickle Deviled Eggs
Replace the white vinegar entirely with pickle juice and fold finely chopped dill pickles into the filling. The pickle juice adds a briny, tangy flavor that’s more interesting than plain vinegar without being overpowering. Top each egg with a small pickle coin and a sprinkle of fresh dill. This variation has a devoted following; pickle lovers will seek these out specifically. Use dill pickle juice for a classic flavor or bread and butter pickle juice if you want a touch of sweetness alongside the tang.
What to Serve With It
Deviled eggs are one of those rare dishes that fit almost any occasion. They work well as an appetizer, side dish, or part of a larger spread. Here’s what goes nicely with them depending on how you’re serving.
- At a Party or Potluck
Deviled eggs naturally anchor a finger food spread. Build around them with dishes that are easy to eat while standing and don’t need utensils. Pair them with:-
- A cheese and charcuterie board. The richness of the eggs balances nicely with sharp cheddar, aged gouda, and cured meats.
- Finger sandwiches. Cucumber and cream cheese or smoked salmon sandwiches enhance the creamy filling without overshadowing it.
- Crudités and dip. Fresh vegetables and hummus add color and crunch to the spread, giving guests a lighter option alongside the eggs.
- Stuffed mushrooms. These bite-sized appetizers travel well and taste good at room temperature.
- Mini quiches or frittata bites.
-
- At a Summer Cookout or BBQ
This is where deviled eggs really shine. They are cool, creamy, and refreshing against the smoky heat of grilled food. They hold up well outside as long as they are kept out of direct sunlight. Pair them with:- Burgers and grilled chicken. The classic pairing.
- Potato salad. This cookout staple complements deviled eggs without repeating flavors.
- Coleslaw. The crunch of the slaw adds a nice textural contrast.
- Corn on the cob. Simple, sweet, and summery. It completes a cookout plate without any extra effort.
- Baked beans. Smoky and hearty alongside the lighter, creamy eggs.
- At Easter or a Holiday Dinner
Deviled eggs are a holiday table staple for good reasons. They are easy to make ahead, look beautiful on a platter, and give guests something to snack on while the main course finishes cooking.
Pair them with:- Glazed ham. The gold standard for Easter deviled eggs. The sweet, salty glaze on the ham works beautifully with the tangy filling.
- Roasted asparagus or green beans. Fresh vegetables that lighten a rich holiday spread and add color to the table.
- Dinner rolls. A simple addition that rounds out the meal and gives guests something to enjoy between courses.
- Fruit salad. A fresh, lightly sweetened fruit salad cleanses the palate between richer dishes on a holiday table.
- As a Light Lunch or Everyday Snack
Deviled eggs don’t have to be just for special occasions. They make a satisfying light lunch or high-protein snack that comes together quickly from leftovers.
Pair them with:- A simple green salad. Light, fresh, and ready in five minutes.
- Sliced avocado toast. A half portion of avocado toast alongside two or three deviled eggs makes a balanced, filling lunch that feels a little special.
- Soup. A bowl of tomato soup or light vegetable broth goes surprisingly well with deviled eggs as a quick weekday lunch. A few good crackers and a slice or two of sharp cheddar turn deviled eggs into a satisfying snack plate in under two minutes.
Storage and Make-Ahead Instructions
This is one of the most useful sections of the entire article, especially if you’re making deviled eggs for a gathering. Getting the timing right means less stress on the day and better eggs on the plate.
- Make-Ahead Strategy
The honest truth about deviled eggs is that they are actually better when made ahead of time than most people think. You just need to know which steps to complete in advance and which to leave for last. The key is to store the components separately for as long as possible and only assemble right before serving. Here’s how to do it.- Up to 3 days ahead, boil and peel the eggs.
Hard boil and peel your eggs up to three days before you need them. Once peeled, store them whole in a bowl or an airtight container covered completely with cold water. Keep them in the fridge and change the water daily if you plan to store them for more than one day. This keeps the whites from drying out and developing that slightly rubbery texture that happens when peeled eggs are left uncovered in the fridge. - Up to 2 days ahead, make the filling.
Mix the yolk filling completely then transfer it to an airtight container or a piping bag with the tip sealed. Press a layer of plastic wrap directly onto the surface of the filling before sealing the container. This prevents a dry skin from forming on top. Refrigerate until you’re ready to use it. Give the filling a good stir before piping. If it thickens too much in the fridge, add a tiny splash of mayo or vinegar and mix until smooth again. - Day of serving, slice, fill, and garnish.
Remove your peeled eggs and filling from the fridge about 20 minutes before you plan to assemble them. Slightly cooler eggs are easier to handle and slice cleanly. Cut the eggs, pipe in the filling, and add your garnishes. Add the paprika last, right before serving. If you’re taking them to a gathering, fill and garnish at home and transport carefully.
- Up to 3 days ahead, boil and peel the eggs.
- Storing Leftover Deviled Eggs
Assembled deviled eggs can stay in the fridge for up to 2 days. After that, the filling starts to dry out, the whites become rubbery, and the garnishes look tired. They’re still technically safe to eat after that, but the texture and presentation suffer noticeably. One important note leftover deviled eggs should never sit at room temperature for more than two hours. Eggs are a high-risk food for bacterial growth at room temperature. At outdoor events in warm weather, that window shrinks to one hour. When in doubt, return them to the fridge or place them on ice. - Can You Freeze Deviled Eggs?
No, do not freeze deviled eggs. Egg whites do not freeze well under any circumstances. There is no workaround. Deviled eggs are a fresh dish and should be treated as one. If you’re worried about making too many, scale down the recipe instead of planning to freeze extras. - Transporting Deviled Eggs
A deviled egg tray is the most reliable option if you entertain regularly. These trays have individual indentations that hold each egg securely in place during transport. They’re inexpensive, reusable, and worth owning if deviled eggs are a regular part of your entertaining. Keep them cold while transporting. If you’re traveling more than 20 minutes or it’s a warm day, place the container inside a cooler bag with an ice pack underneath. Deviled eggs should stay at or below 40°F until they are on the table.
Frequently Asked Questions
- Why do my deviled eggs have a grey ring around the yolk?
That grey ring usually means the eggs are overcooked. It occurs when eggs are boiled too long or left in hot water after cooking. The ring itself is a harmless reaction between the sulfur in the white and the iron in the yolk, but it shows that the yolk is overcooked, affecting both texture and flavor.
The fix is simple. Follow this recipe: bring the water to a boil, turn off the heat, cover the pan, and let the eggs sit for exactly 12 minutes. Then transfer them immediately to an ice bath. This method ensures you get a fully set yolk with no grey ring every time. - Why won’t my eggs peel cleanly?
This problem usually comes down to one thing: the eggs are too fresh. Fresh eggs have a low pH in the white that causes the membrane to bond tightly to the shell. As eggs age, the pH rises, and that bond weakens. This is why older eggs peel easily while fresh ones are tough to work with. Always peel under cold running water and start at the wide end where the air pocket is. - Can I make deviled eggs the night before?
Yes, but with one important condition: don’t assemble them the night before. Instead, store the components separately.
Boil and peel the eggs, keeping them submerged in cold water in the fridge. Make the filling and refrigerate it in an airtight container with plastic wrap pressed onto the surface. The next day, slice the whites, pipe in the filling, and add your garnishes just before serving. This method gives you the convenience of preparing ahead without losing quality from assembled eggs sitting overnight.
If you must assemble them the night before like for an early morning event—you can do so. Just cover them tightly and accept that the whites may be slightly firmer and the garnishes less fresh by morning. They will still taste good, but they might not look as nice. - How long do deviled eggs last in the fridge?
Assembled deviled eggs stay good in the fridge for up to two days. After that, the filling dries out, the whites become rubbery, and the overall quality declines significantly. They are still safe to eat beyond two days if stored properly, but the texture and presentation won’t be their best.
For the best results, serve deviled eggs within 24 hours of assembling. If you store components separately, unassembled eggs last for up to three days, and the filling stays good for up to two days. Always store them in an airtight container and keep them on a flat shelf in the fridge, not in the door where temperatures can change. - Can I make deviled eggs without mayonnaise?
Absolutely. Mayonnaise is the most common base for deviled egg filling, but there are plenty of other options. Here are the best substitutes: greek yogurt, sour cream, mashed avocado, or cream cheese. - Why is my deviled egg filling too runny?
Runny filling usually results from adding too much mayo or vinegar too quickly. It’s an easy mistake to make, as both ingredients can loosen the filling fast. It’s hard to gauge consistency until everything is mixed together.
Here’s how to fix it:- Refrigerate the filling for 15 to 20 minutes.
- Add more yolk. Mash one or two additional yolks into the filling. This thickens it naturally without changing the flavor.
- Add a small amount of cream cheese. A tablespoon of softened cream cheese mixed into runny filling quickly tightens it up and adds richness.
- How do I keep deviled eggs from sliding around on the plate?
Slice a tiny sliver off the bottom of each egg white half before filling. This creates a flat base, allowing the egg to sit level on the plate without rocking or sliding, making the final dish look more stable and polished.
Classic Deviled Eggs - Easy, Creamy, and Ready in 30 Minutes
Ingredients
Method
- Peel the Eggs
- Use a sharp, thin-bladed knife. Cut each egg in half lengthwise with one smooth motion.
- Pop the yolks out into a medium mixing bowl.
- Place the empty whites on a serving plate or a lined baking tray with the cut side up.
- Use a fork to mash the yolks until they break down into fine crumbs with no large lumps.
- Mix your mayonnaise and mustard into the mashed yolks.
- Stir in your vinegar, relish, salt, and pepper.
- Now taste the filling and adjust seasoning accordingly
- Fill a piping bag fitted with a star tip, or cut a small corner off a zip-lock bag with the york filling.
- Fill the egg whites generously.
- Lightly dust with paprika right before serving.
- Serve immediately or refrigerate.