The Best Baked Ziti – A Crowd Favorite
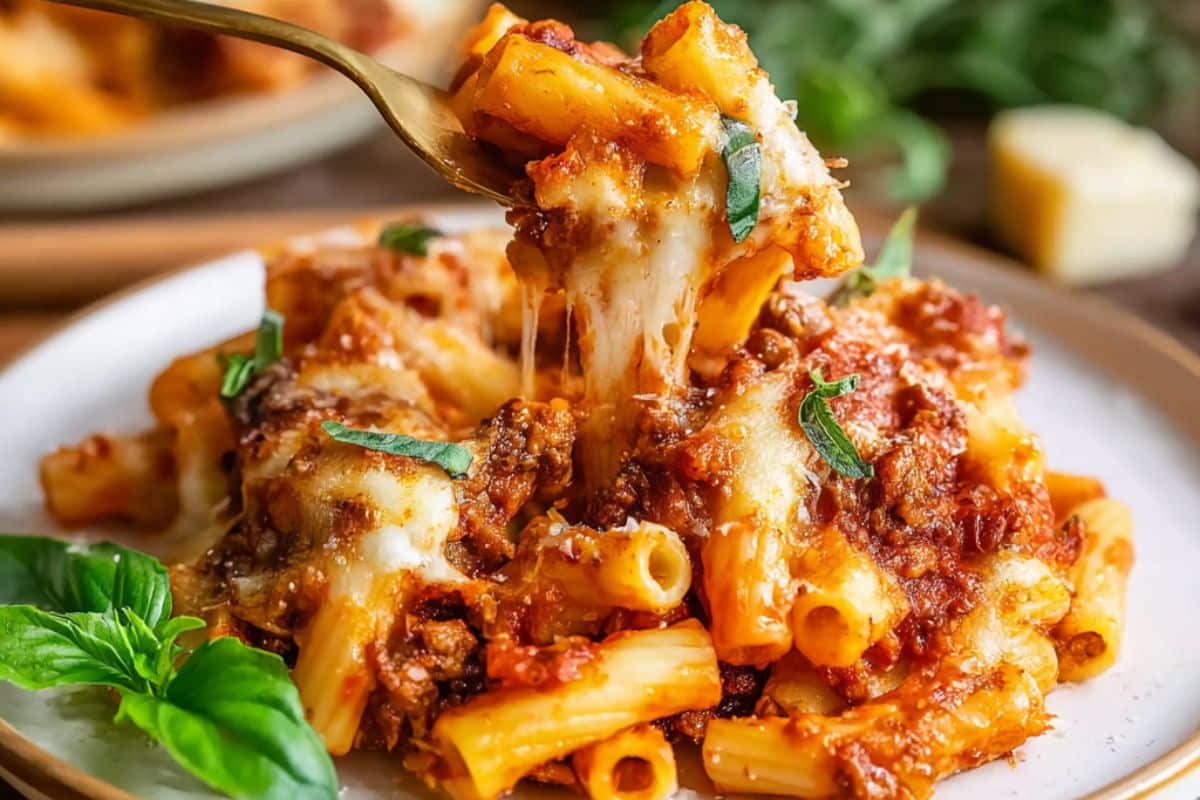
Baked ziti is one of those recipes I make over and over. It’s cheesy, hearty, and comes together with simple, affordable ingredients. I love making it when I want something that feels homemade and satisfying without spending hours in the kitchen.
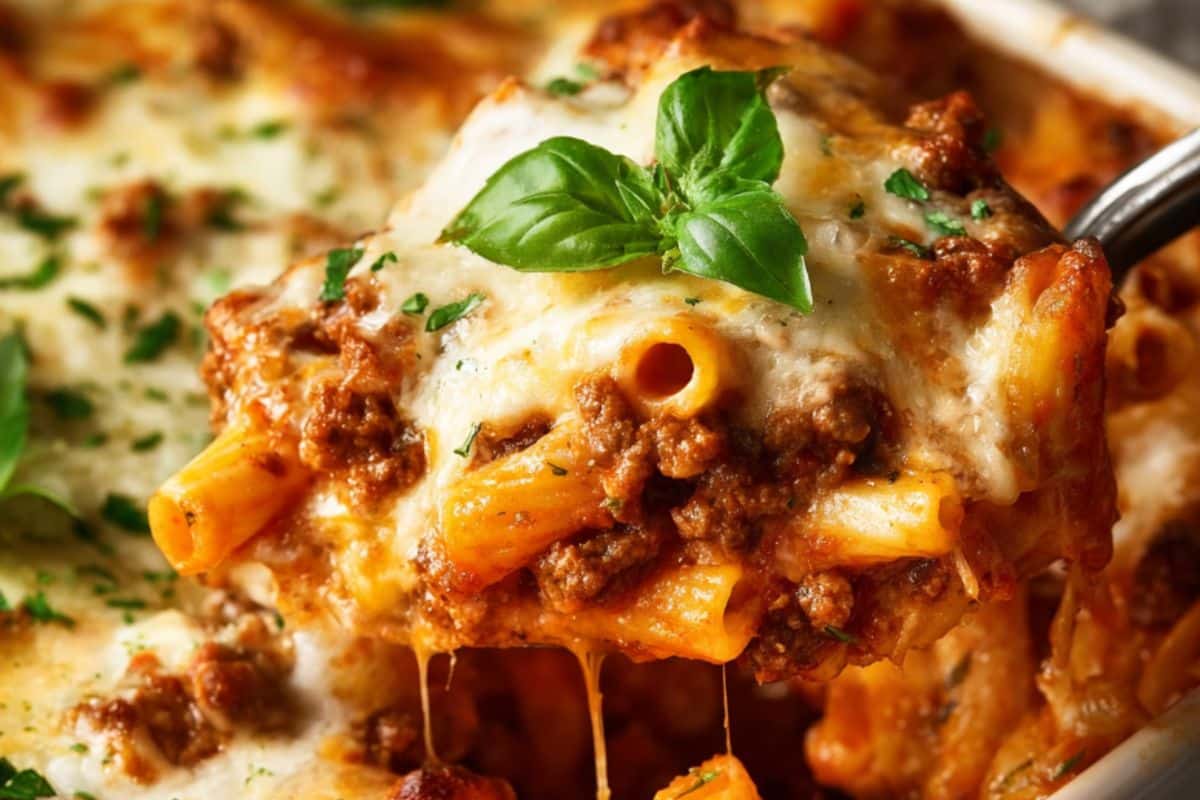
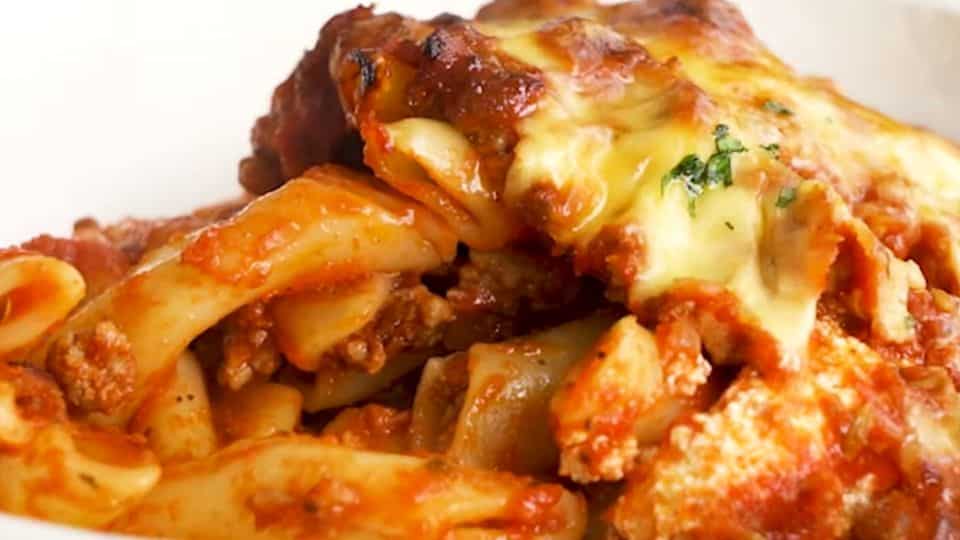
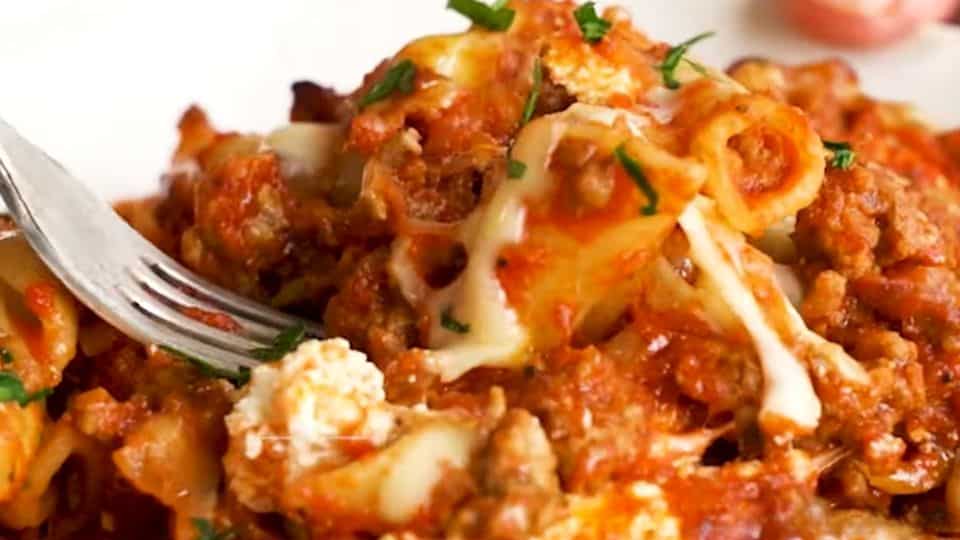
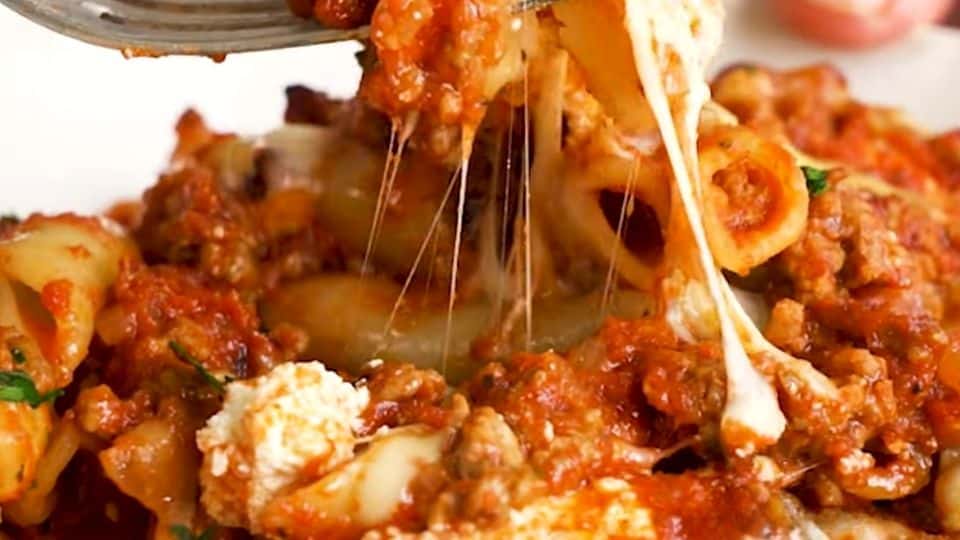
The flavor is rich and comforting. The texture hits every note. You have tender pasta, creamy ricotta pockets, a savory tomato sauce, and a golden, bubbly cheese top that everyone fights over. It works on a busy weeknight, but it’s also the dish I bring to potlucks and family dinners because it always gets compliments.
The best part? You don’t need any special skills to make it. If you can boil pasta and layer ingredients in a dish, you can definitely nail this recipe.
I also love how flexible it is. You can add meat, skip the ground beef, throw in some vegetables, or switch up the cheese. It works any way you want. And since it makes a big batch, leftovers are practically guaranteed. Honestly, day-two baked ziti might even taste better than the first serving.
Whether you’re feeding a hungry family on a Tuesday night, prepping meals for the week, or bringing something to share, this recipe works every single time.
Can’t get enough easy pasta and ground beef recipes? Check out this Homemade lasagna recipe.
Why You’ll Love This Recipe
- It feeds a crowd without costing too much. A full 9×13 pan serves six to eight people easily, and the ingredients are inexpensive. This is budget comfort food at its best.
- The prep is simple. There are no complicated techniques or fancy tools.
- It’s great for making ahead. Assemble it the night before, refrigerate it, and bake it fresh the next day. It’s one of the easiest meals you can serve to guests.
- It freezes well. Baked ziti is one of the best meals to keep in the freezer. Make a double batch, freeze one, and thank yourself when cooking feels impossible.
- Leftovers are just as good, maybe better. The flavors deepen as it sits overnight. Next-day baked ziti straight from the fridge, reheated with a splash of water, is something to look forward to.
- Everyone enjoys it. Kids love it. Adults love it. Picky eaters love it. It’s the kind of dish that brings people together without any fuss at the dinner table.
- You can customize it endlessly. Meat or no meat, extra cheese, added vegetables, spicy sausage this recipe easily adjusts to what you have and what you like.
Ingredient Notes
You don’t need anything fancy to make this dish shine. Here’s what you need to know about each ingredient before you start.
- Ziti Pasta
Ziti is a medium-sized tube pasta. The tube shape helps it catch sauce and hold its structure after baking. If you can’t find ziti at your store, penne or rigatoni pasta are good substitutes. - Tomato Sauce
A good jarred marinara is fine. Use a brand you enjoy eating. This is not the place for sauce that tastes flat straight from the jar. If you want to make your own, a simple crushed tomato sauce with garlic and olive oil works great. - Ricotta Cheese
This creates creamy, pillowy pockets throughout the dish. Full-fat ricotta gives the best texture and richness don’t use low-fat here. If you can’t find ricotta, cottage cheese is a reliable substitute. Drain it through a fine mesh strainer to remove excess liquid before using. - Mozzarella Cheese
You want low-moisture, whole-milk mozzarella for that perfect melt and golden top. It slices, shreds, and bakes without releasing too much water. Fresh mozzarella works too, but it has more moisture. Pat it very dry before using or your baked ziti can become watery. - Parmesan Cheese
Parmesan adds a salty, nutty flavor that balances the richness of the ricotta and mozzarella. Grate it fresh if you can. Pre-grated Parmesan from a canister doesn’t melt as well and can turn grainy. Pecorino Romano is a great substitute and offers a sharper, more intense flavor. - Egg
One egg goes into the ricotta mixture, and it makes a real difference. It binds the filling together so it holds its shape during baking instead of becoming runny. Don’t skip it. - Italian Sausage or Ground Beef
This is optional, but it adds serious flavor and makes the dish more filling. I prefer Italian sausage mild or hot depending on your preference. Ground beef works well too. Brown it thoroughly and drain the fat before adding it to the sauce. For a lighter option, ground turkey is a good substitute. - Garlic
Fresh garlic makes a noticeable difference. Mince it finely and cook it briefly in the pan before adding your sauce. Garlic powder works in a pinch, use about half a teaspoon for each fresh clove. - Italian Seasoning( optional )
This is a simple blend of dried herbs that ties everything together. Oregano, basil, and thyme are the main flavors. If you don’t have a pre-mixed blend, a pinch of each dried herb separately works just as well. - Salt and Black Pepper
Season at every stage; the pasta water, the meat, the ricotta mixture, and the sauce. Seasoning as you go is what separates a flat-tasting baked ziti from one that tastes like it simmered all day.
How to Make Baked Ziti
This comes together in a few straightforward steps. The whole process takes about 45 minutes, plus baking time. Here’s how to do it.

Step 1: Cook the Pasta
Preheat your oven to 350°F (180°C). Bring a large pot of water to a full boil. Salt it generously; it should taste like mild seawater.
Add your ziti and cook it for two minutes less than the package directions say. The pasta will finish cooking in the oven, so you don’t want it to become mushy. It should feel slightly underdone when you pull it out. Drain it and set it aside.
Toss the drained pasta with a small drizzle of olive oil to stop it from sticking together while you finish the other components.
Step 2: Brown the Meat
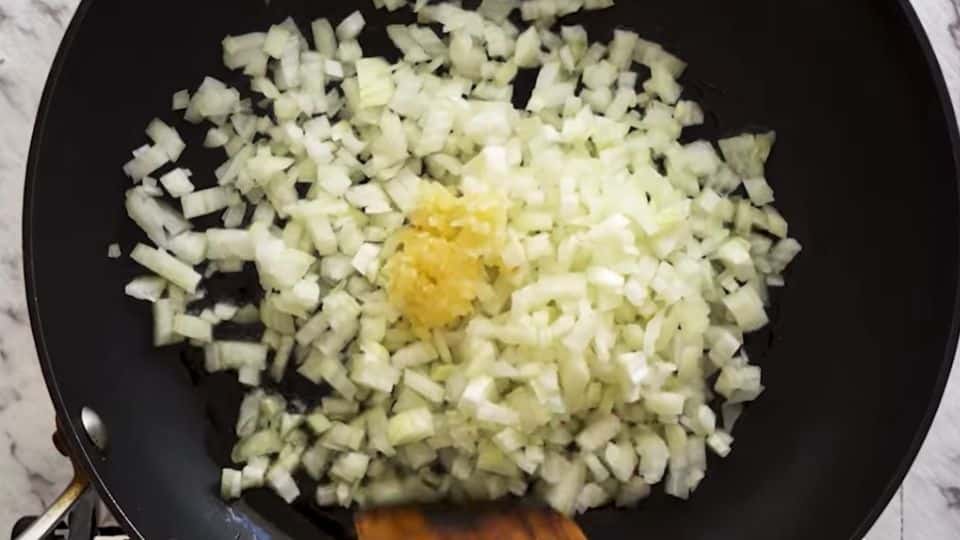
Heat a large skillet over medium-high heat. Add your onions and minced garlic and sauté for 1-minute.
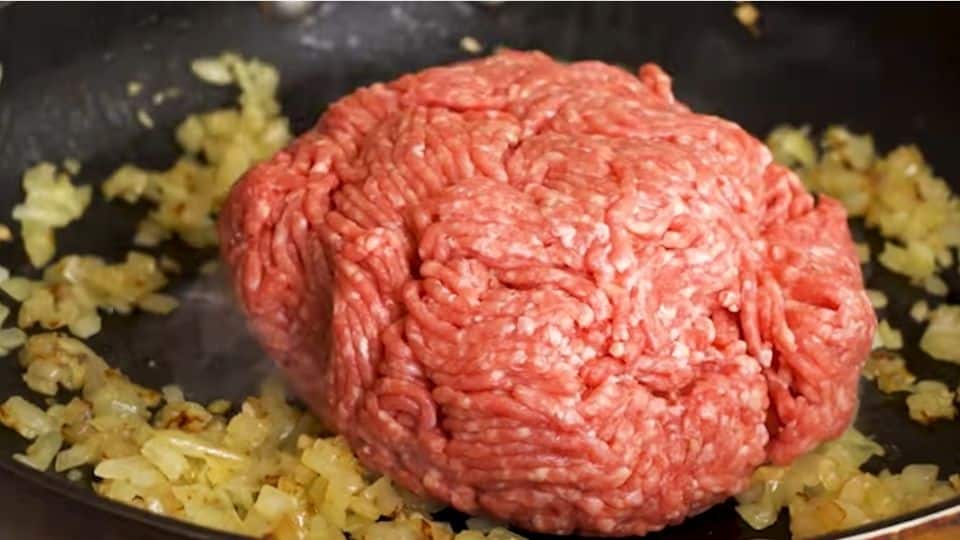
Add your ground beef and break it apart as it cooks. You want it fully browned with no pink remaining.
Step 3: Build the Sauce
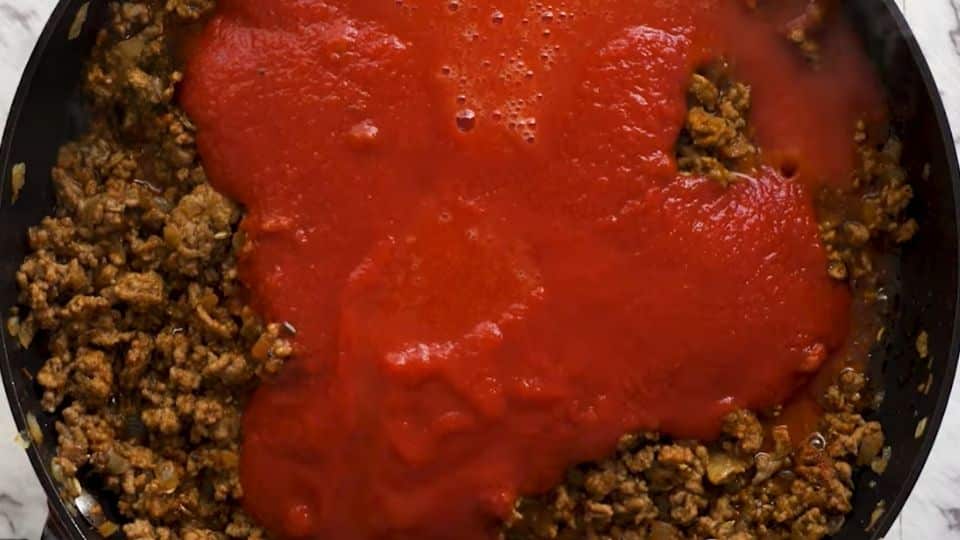
Pour your tomato sauce, water, basil, and sugar directly into the skillet with the browned meat and garlic. Add all your seasoning, a pinch of salt, and a crack of black pepper. Stir everything together and let it simmer for five minutes over medium-low heat.
This short simmer matters. It gives the flavors time to come together and lets the garlic mellow into the sauce. If your sauce looks very thick, stir in a splash of the pasta cooking water to loosen it slightly. A thinner sauce absorbs into the pasta better during baking.
Taste it before moving on. Adjust the salt and seasoning now; it’s much harder to fix once everything is layered and in the oven. The sugar we added above is to balance acidity fora perfectly balanced sauce.
Step 4: Make the Ricotta Mixture
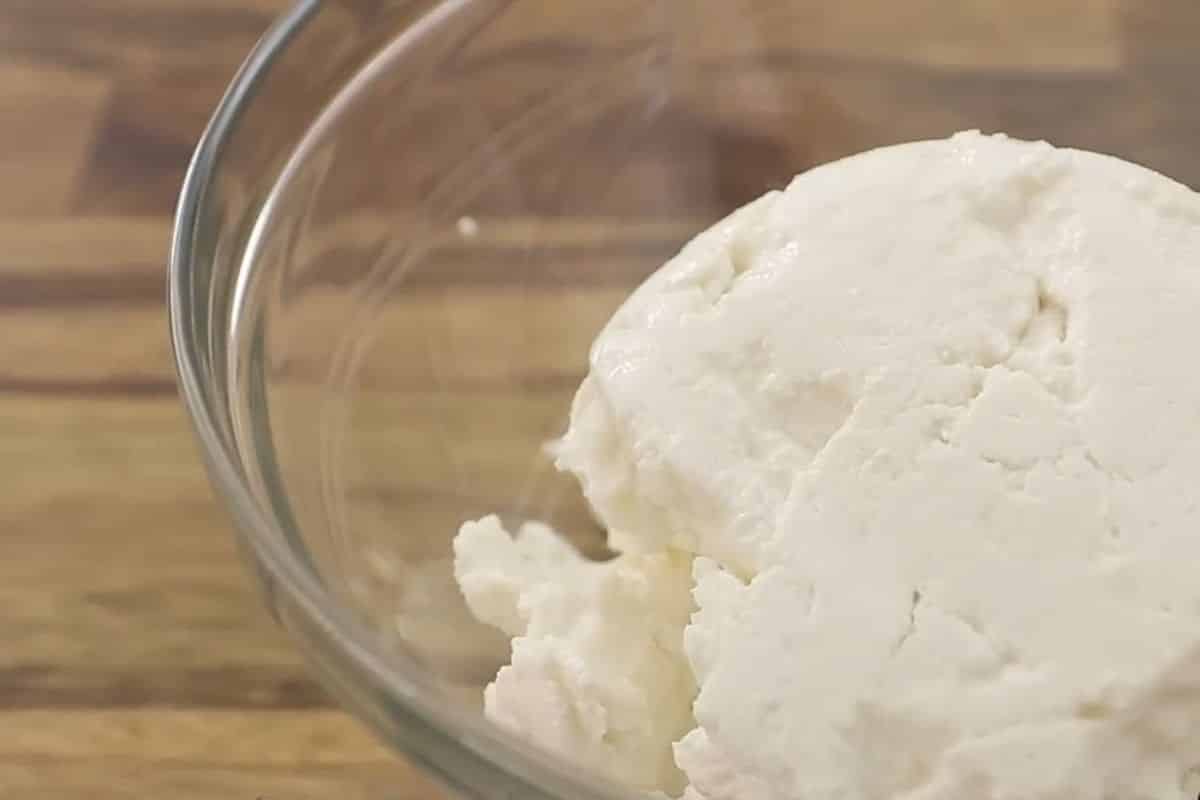
In a medium bowl, combine your ricotta, one egg, half of the shredded mozzarella, a generous handful of Parmesan, and a pinch of Italian seasoning. Season with salt and black pepper.
Stir until everything is evenly mixed. The egg will make it look slightly looser than plain ricotta, which is what you want.
Taste it. The ricotta mixture should be well-seasoned on its own. If it tastes bland now, it will taste bland in the finished dish.
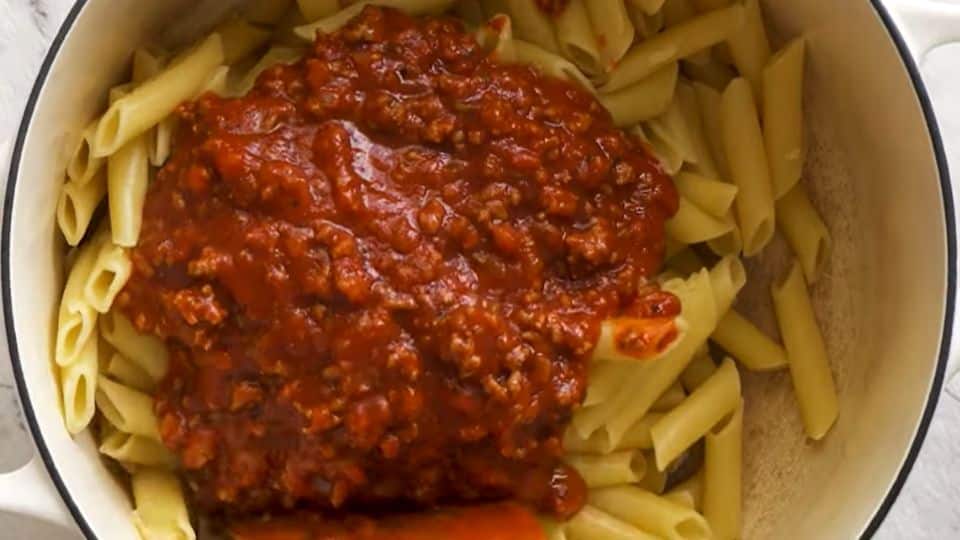
Step 5: Combine the Pasta and Sauce
Add the drained pasta to the skillet with the beef sauce and toss to coat everything evenly. Every piece of pasta should be covered in sauce. If the mixture looks dry, add another splash of pasta water or a spoonful of extra sauce.
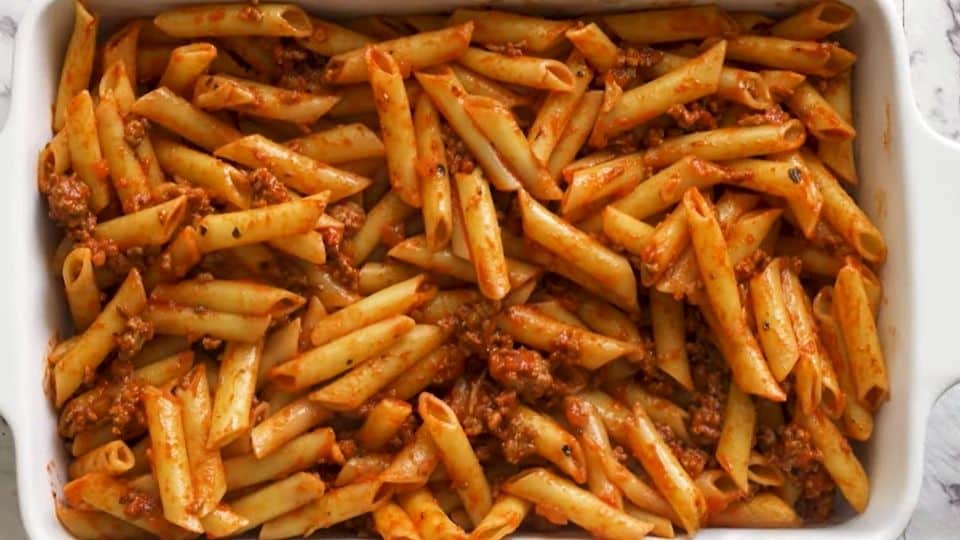
Step 6: Layer the Dish
Lightly grease a 9×13-inch baking dish with olive oil or cooking spray. Then build your layers:
First layer: Spread the sauced pasta evenly across the bottom of the dish.
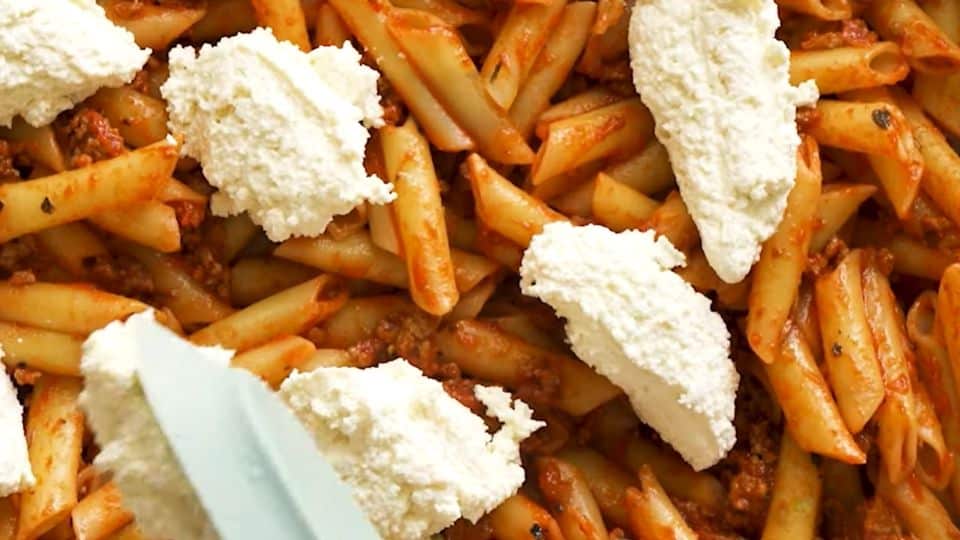
Ricotta layer: Drop spoonfuls of the ricotta mixture across the pasta. Spread it gently, but don’t worry about making it perfectly even; those irregular pockets are what you want.

Second layer: Top with the remaining sauce.
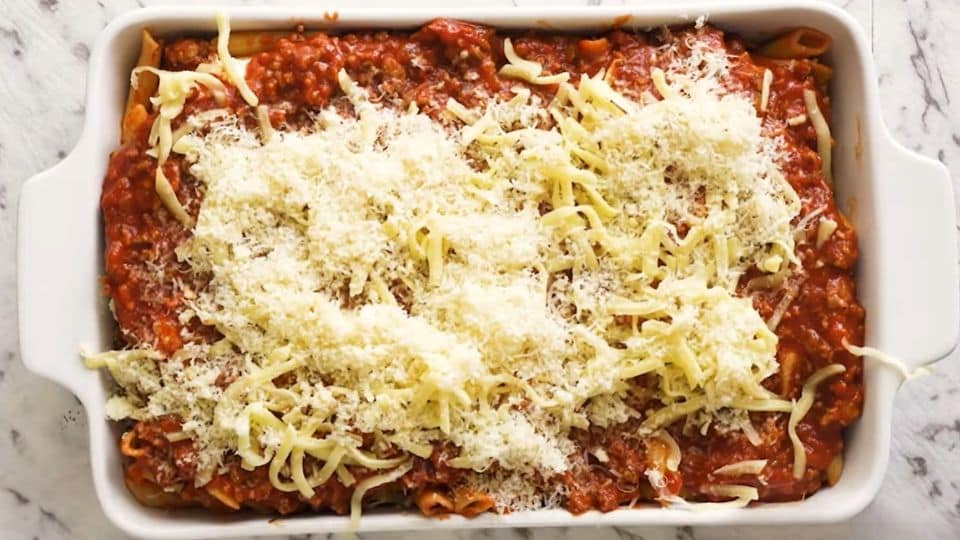
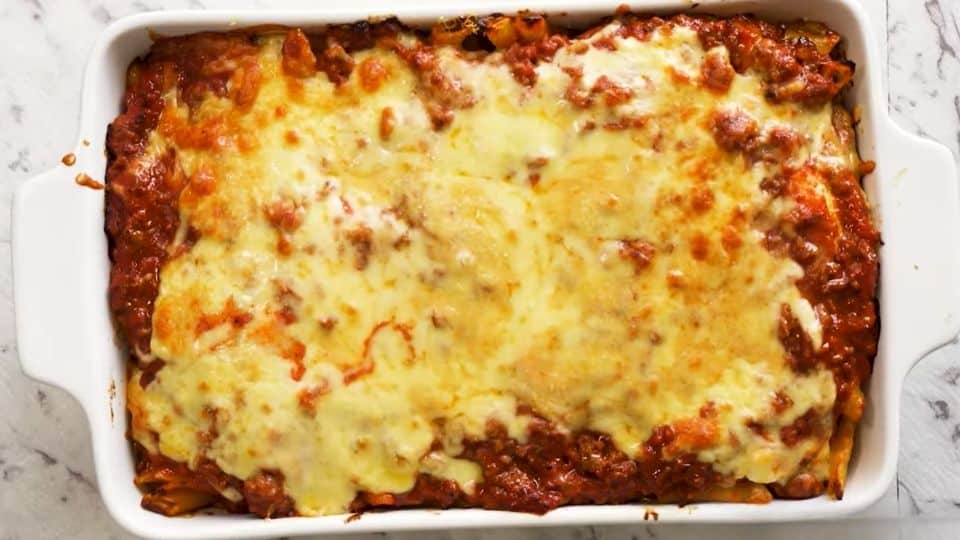
Cheese topping: Scatter the remaining mozzarella evenly across the top and finish with a generous handful of Parmesan.
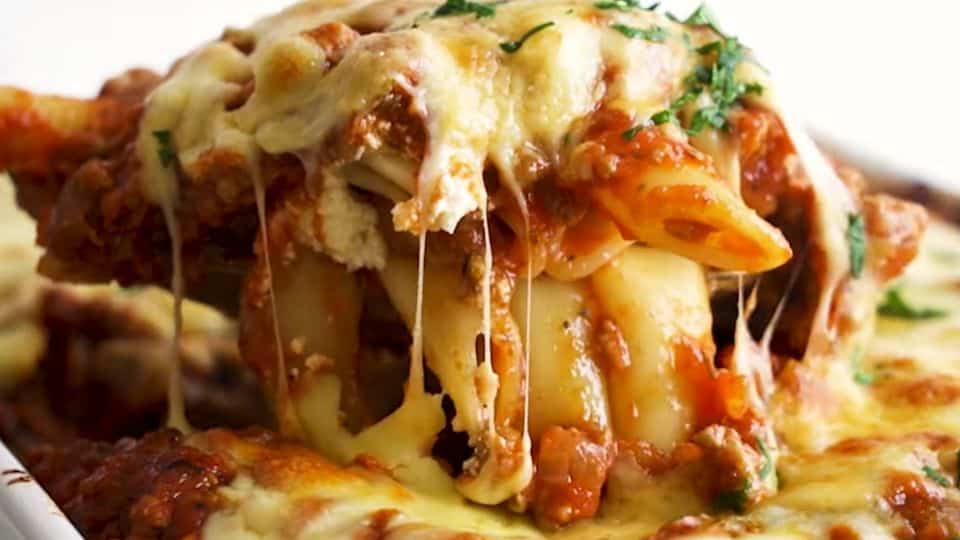
Don’t just dump and mix everything together. The layering creates distinct textures in every bite: creamy ricotta pockets, saucy pasta, and a cheesy top. It’s worth the extra minute.
Step 7: Bake It
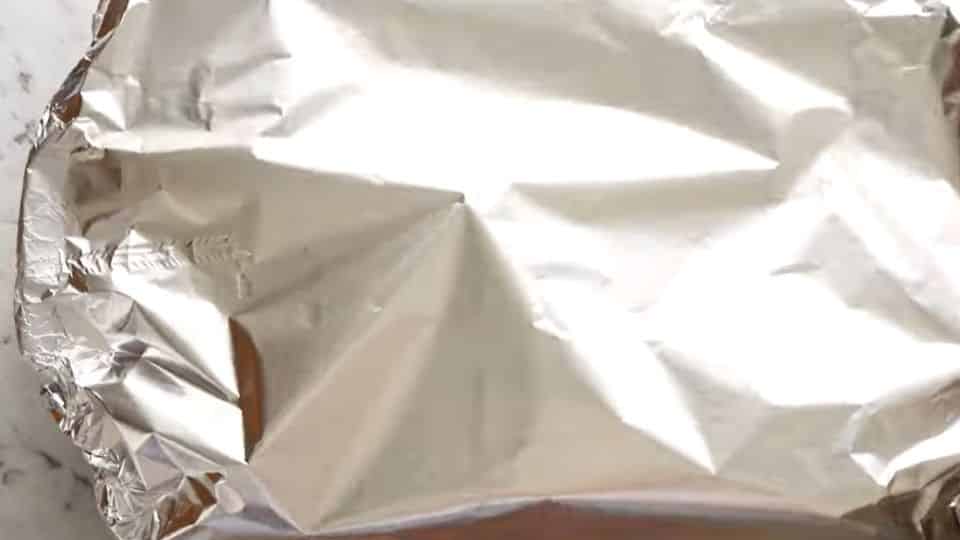
Cover the dish tightly with aluminum foil and bake for 20 minutes. The foil traps steam and ensures the inside heats through evenly.
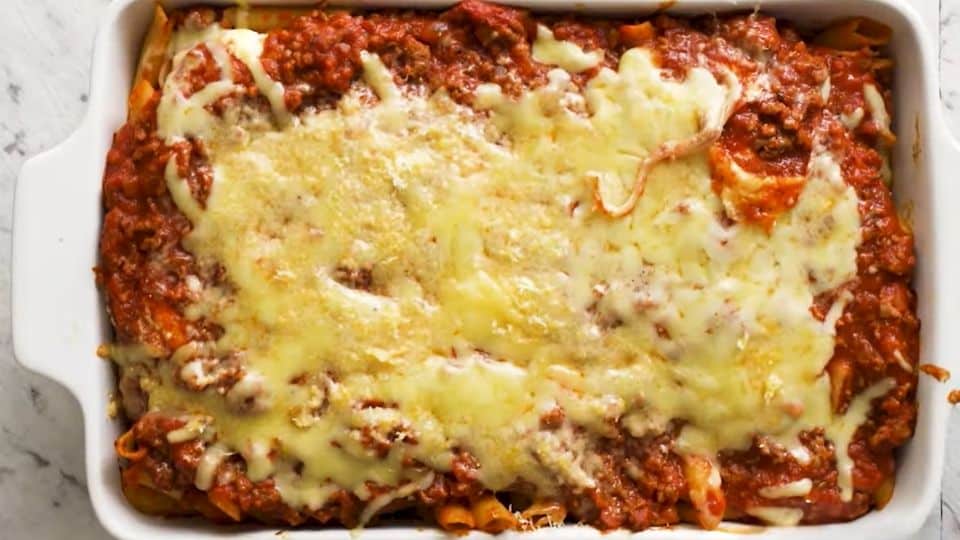
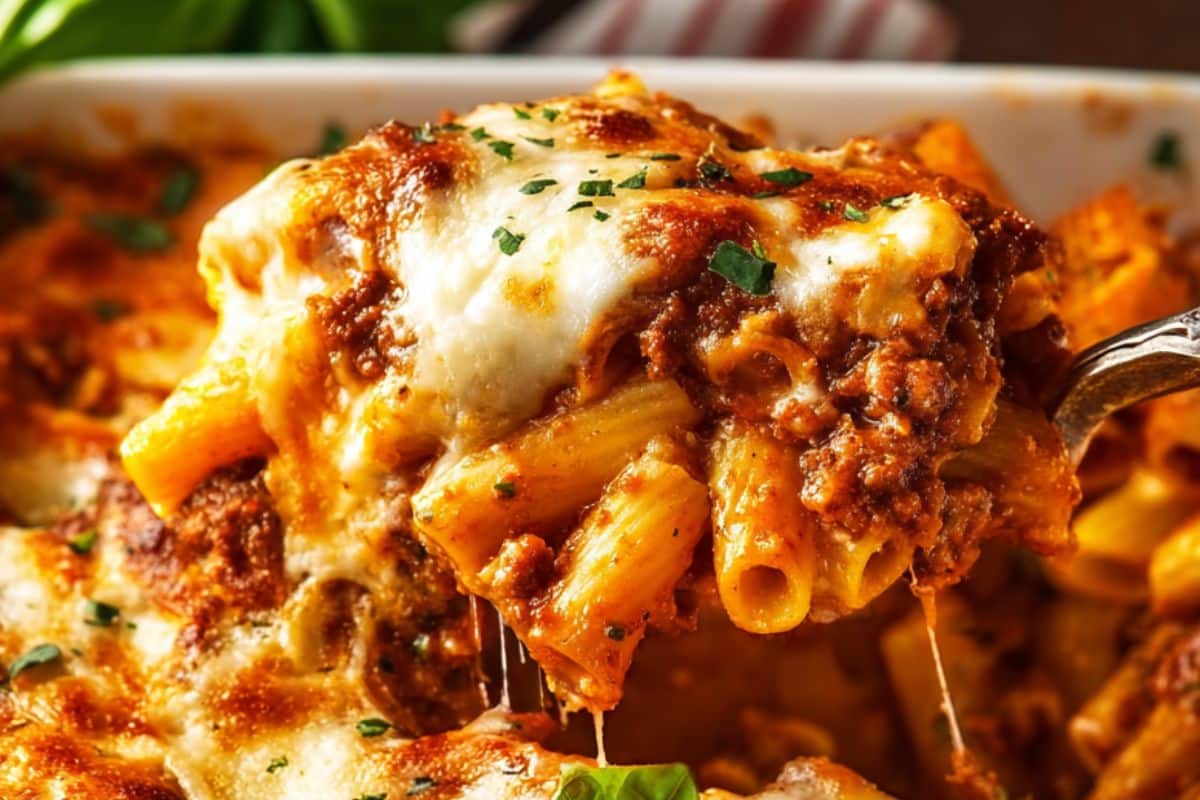
Remove the foil and bake for another 15 to 20 minutes, until the cheese on top is golden, bubbly, and starting to get a few lightly browned spots. Those caramelized edges are the best part.
Step 8: Rest Before Serving
This step is easy to skip, but it’s important not to. Let the baked ziti sit uncovered for 10 minutes before you cut into it or scoop it out. Resting allows everything to set and firm up slightly. It makes serving cleaner and keeps the layers from collapsing when you scoop. It also means no one burns their mouth on molten cheese, which is always a good thing.
Recipe Success Tips
These small details can turn a good baked ziti into a great one. I learned most of them the hard way so you don’t have to.
- Undercook the pasta on purpose.
Pull the ziti out of the boiling water two full minutes before the package says it’s done. It will finish cooking in the oven. If it goes in fully cooked, it comes out soft and mushy. - Salt your pasta water like you mean it.
Pasta water should taste pleasantly salty before you add the pasta. This is your only chance to season the pasta from the inside out. Under-salted pasta makes the whole dish taste flat, no matter how good your sauce is. - Taste and season at every stage.
Taste the sauce before layering. Taste the ricotta mixture before spreading. If something tastes under seasoned in the bowl, it will taste under seasoned in the oven. Fixing seasoning at the end is much harder than getting it right along the way. - Don’t skip the foil for the first half of baking.
Covering the dish with foil for the first 20 minutes traps steam inside and heats the pasta evenly. Skipping it means the cheese on top browns and hardens before the inside is hot. Remove the foil for the last 15 to 20 minutes to achieve that golden, bubbly top. - Let it rest before you serve it.
I know it’s tempting to dig in right away it smells incredible coming out of the oven. But 10 minutes of resting time helps the layers firm up and set. You get cleaner scoops, better portions, and nobody burns their mouth. It’s worth every minute of waiting. - Don’t let your sauce be too thick.
Very thick sauce doesn’t absorb into the pasta during baking like a slightly looser sauce does. If your jarred marinara looks thick right out of the jar, stir in a quarter cup of pasta cooking water before mixing it with the pasta. It makes a noticeable difference in the final texture. - Use full-fat dairy throughout.
Use full-fat ricotta, whole-milk mozzarella, and real Parmesan. These are not places to cut corners. Low-fat ricotta turns watery in the oven. Part-skim mozzarella doesn’t melt as smoothly. The richness of full-fat dairy is what makes baked ziti taste the way it’s supposed to.
Variations and Ingredient Swaps
One of the best things about baked ziti is how easily it changes. Here are some of my favorite ways to switch it up based on what I have, who I’m feeding, or my mood.
- Classic Meat Lover’s Baked Ziti
Use a mix of Italian sausage and ground beef instead of just one. Brown them together in the same pan. The combination of flavors makes the sauce richer and more complex. - Vegetarian Baked Ziti
Skip the meat entirely and add sautéed vegetables instead. Mushrooms, spinach, zucchini, and bell peppers all work well. Cook the vegetables in olive oil with garlic until they are soft and most moisture has cooked off, then add the sauce. This version is just as hearty and satisfying as the meat one. - White Baked Ziti
Replace the tomato sauce with a creamy béchamel or Alfredo sauce. The result is richer, silkier, and has a completely different taste, almost like a pasta gratin. Add some wilted spinach or roasted garlic to the white sauce for added depth. It’s a great choice when you want something a bit more indulgent than the classic. - Four Cheese Baked Ziti
Add provolone and fontina along with the mozzarella and Parmesan. More cheese means a stretchier, gooier pull and a more complex flavor in each bite. Layer different cheeses throughout instead of just on top for the best result. This version disappears faster than any other at the dinner table. - Gluten-Free Baked Ziti
Swap the ziti for your favorite gluten-free pasta. The flavors stay the same, but the texture may vary based on the brand. Watch the pasta carefully while boiling because gluten-free varieties tend to overcook faster than regular pasta. Pull it out even earlier than you usually would. - Baked Ziti with Spinach and Ricotta
Stir two large handfuls of fresh spinach or one cup of well-squeezed thawed frozen spinach directly into the ricotta mixture. It adds color, a mild earthy flavor, and makes the dish feel a bit more balanced. This is a great way to sneak in vegetables for anyone who wouldn’t normally choose them.
What to Serve With It
Baked ziti is a complete, satisfying meal on its own. The right sides can elevate it from a weeknight dinner to a proper feast. Here are my go-to pairings.
- Garlic Bread. A crusty loaf of garlic bread alongside baked ziti is one of life’s simple pleasures. Use it to scoop up extra sauce from the pan.
- Focaccia
A thick slice of focaccia with olive oil and rosemary is a more grown-up alternative to garlic bread. It holds up well next to a saucy pasta dish and adds an herby, savory note to the meal. - Simple Green Salad
A crisp green salad with a sharp vinaigrette perfectly contrasts the richness of baked ziti. The acidity cuts through the cheese and resets your palate between bites. - Caesar Salad
Caesar salad is a classic Italian-American pairing for a reason. The creamy dressing, crunchy croutons, and salty Parmesan shavings provide a fantastic contrast to the soft, cheesy pasta. Make it from scratch if you have time it’s worth it. - Roasted Broccoli
Simple roasted broccoli with olive oil, garlic, and a squeeze of lemon is one of my favorite sides with baked ziti. The slight char and bitterness of the broccoli balance the richness of the pasta very well. - Roasted Zucchini or Asparagus
Both roast quickly and pair naturally with Italian flavors. Toss with olive oil, salt, and Italian seasoning before roasting. They add color to the plate and make the meal feel more complete without requiring much extra effort. - Sautéed Garlicky Spinach
A quick side of spinach wilted in olive oil and garlic takes five minutes and adds something green and nutritious to the plate. It’s a great option on busy weeknights when you want a vegetable side with minimal effort.
Storage and Make-Ahead Instructions
Baked ziti is one of the most practical dishes to prepare. It stores well, freezes easily, and reheats without losing much of its flavor. Here’s everything you need to know.
- Storing Leftovers in the Refrigerator
Allow the baked ziti to cool completely before storing it. Transfer leftovers to an airtight container or cover the baking dish tightly with plastic wrap or foil. It can last in the refrigerator for up to four days. - Reheating
Individual portions: The microwave works great for single servings. Add a small splash of water on top before reheating to restore some moisture. Cover loosely with a damp paper towel and heat in 60-second intervals until hot throughout.
Larger portions: Reheat in the oven at 350°F (180°C) covered with foil for 20 to 25 minutes. Remove the foil for the last five minutes if you want the cheese on top to crisp up. This method gives results closest to fresh out of the oven.
Avoid high heat when reheating. Using full microwave power will dry out the pasta and make the cheese rubbery. Low and slow is always the better option. - Freezing Baked Ziti
Baked ziti is one of the best meals to keep stocked in your freezer. It freezes very well and reheats into something that tastes almost freshly made.- To freeze after baking:
Let the dish cool completely to room temperature. Cut it into individual portions or leave it whole, depending on your plans. Wrap it tightly first in plastic wrap and then in aluminum foil. Freeze for up to three months. - To freeze before baking:
Assemble the dish completely, with all the layers and cheese topping, but don’t bake it. Cover it tightly with plastic wrap and foil, then freeze. This option gives you a completely fresh-baked result from frozen. When you’re ready to use it, thaw it overnight in the refrigerator and bake as directed, adding 10 to 15 extra minutes to the covered baking time.
- To freeze after baking:
- Make it the night before:
Assemble the entire dish, cover it tightly with foil, and refrigerate it for up to 24 hours before baking. When you’re ready, pull it straight from the fridge and bake as directed. Add 10 extra minutes to the covered baking time since everything is starting cold. This is my go-to when hosting guests and wanting the day to feel effortless. - Double batch meal prep:
When you’re already making baked ziti, making two takes almost no extra effort. Bake one for dinner tonight and freeze the second one either baked or unbaked for a future meal. You will be very grateful on a night when cooking feels completely out of the question.
Frequently Asked Questions
- Do I have to use ziti pasta specifically?
No. Penne is the most common substitute and works just as well. Rigatoni is another great option; its larger tubes and ridged surface hold sauce really well. Rotini, cavatappi, or even medium shells all work if needed. The one shape I’d avoid is anything too thin or delicate like spaghetti or linguine. You need a sturdy pasta that can hold up while baking without falling apart. - Can I make baked ziti without ricotta?
Absolutely. Cottage cheese is the easiest swap, drain it first through a fine mesh strainer to remove extra liquid, then use it just like ricotta. It gives a slightly lighter texture but the same creamy result. If you want to try something different, a simple béchamel sauce stirred into the pasta can replace the ricotta layer nicely and gives the whole dish a silkier, creamier feel. - Why did my baked ziti turn out dry?
It usually comes down to one of two things. Either the pasta was fully cooked before going into the oven and absorbed too much sauce during baking, or there wasn’t enough sauce to start with. Next time, undercook the pasta by two full minutes and make sure every piece is well coated in sauce before layering. If the mixture looks dry before it goes into the oven, add a splash of pasta water or an extra spoonful of sauce. It should look almost too saucy going in and it will absorb and balance out while baking. - Can I use no-boil pasta for baked ziti?
Traditional no-boil lasagna sheets aren’t suitable here, but there are no-boil baked ziti recipes that use regular dried pasta without pre-cooking it. - How do I prevent the cheese on top from burning before the inside is hot?
This is why covering the dish with foil matters so much. Covering it for the first 20 minutes of baking lets the inside heat evenly before the cheese on top has a chance to over-brown. If you notice the cheese browning too quickly after you remove the foil, loosely tent a piece of foil over the top for the remaining baking time. Every oven is slightly different, so keep an eye on it during those last few minutes. - How do I know when baked ziti is fully cooked and ready to come out of the oven?
Look for three things. First, the cheese on top should be golden and bubbling with some lightly browned spots around the edges. Second, the sauce should be visibly bubbling up around the sides of the dish. Third, if you insert a thin knife or skewer into the center of the dish and hold it there for five seconds, it should come out feeling very hot to the touch. If it comes out warm but not hot, give it another five to ten minutes covered with foil and check again. - Can I add vegetables directly into the pasta without sautéing them first?
I’d recommend against it. Raw vegetables release water as they cook, and that extra moisture can make the dish watery and affect the texture of the pasta and cheese. Sautéing vegetables first even just for five minutes in a hot pan to cooks off that extra moisture and concentrates their flavor before adding them to the dish.
The Best Baked Ziti - A Crowd Favorite
Ingredients
Method
- Bring a large pot of water to a full boil. Salt it generously; it should taste like mild seawater.
- Add your ziti and cook it for two minutes less than the package directions say.
- Drain it and set it aside.
- Toss the drained pasta with a small drizzle of olive oil to stop it from sticking together while you finish the other components.
- Heat a large skillet over medium-high heat. Add your onions and garlic and sauté
- Add your ground beef and break it apart as it cooks.
- Pour your tomato sauce directly into the skillet with the browned meat and garlic.
- Add all your seasoning; paprika, onion powder, a pinch of salt, and a crack of black pepper. Add in the water, and sugar too
- Stir everything together and let it simmer for five minutes over medium-low heat.
- Taste and adjust the seasoning accordingly. If sauce feels too acidic, add in a tablespoon of sugar for perfectly balances sauce
- In a medium bowl, combine your ricotta, one egg, half of the shredded mozzarella, a generous handful of Parmesan, and a pinch of salt and pepper.
- Stir until everything is evenly mixed. Taste and adjust seasoning accordingly
- Add the drained pasta to the skillet with the tomato sauce and toss to coat everything evenly.
- Layer the dish: Spread the sauced pasta evenly across the bottom of the dish.
- Second layer: Drop spoonfuls of the ricotta mixture across the pasta. Spread it gently, but don’t worry about making it perfectly even.
- Pour over remaining sauce
- Scatter the remaining mozzarella evenly across the top and finish with a generous handful of parmesan.
- Cover the dish tightly with aluminum foil and bake for 20 minutes
- Remove the foil and bake for another 15 to 20 minutes, until the cheese on top is golden, bubbly, and starting to get a few lightly browned spots.
- Let the baked ziti sit uncovered for 10 minutes before you cut into it or scoop it out.
- Garnish with parsley or basil
- Serve and enjoy
Check out this other ground beef recipes
- Easy Stuffed Shells. Jumbo pasta shells are stuffed with creamy ricotta, tender spinach, and a mix of melted cheeses. They sit in a rich marinara sauce and bake until golden and bubbly. This dish is hearty, satisfying, and easy to make.
- How To Make crockpot mac and cheese recipe. There’s something almost magical about opening a crockpot lid to find a bubbling, golden pool of cheesy pasta waiting for you.
- Best Southern Baked Mac and Cheese Recipe. This southern baked mac and cheese tastes bold and feel rich with each bite. It bakes up creamy inside, with a golden cheesy top
- Best Homemade Lasagna Recipe step by step. The ultimate comfort food with its rich meat sauce, creamy ricotta, and lots of melty mozzarella.
- Tuna Noodle Casserole . Creamy, cheesy, and comforting. The noodles are tender, the sauce is rich but not heavy, and the golden, crispy breadcrumb topping makes each bite worth it.