The Best Moist Banana Bread Recipe (One Bowl, No Mixer)
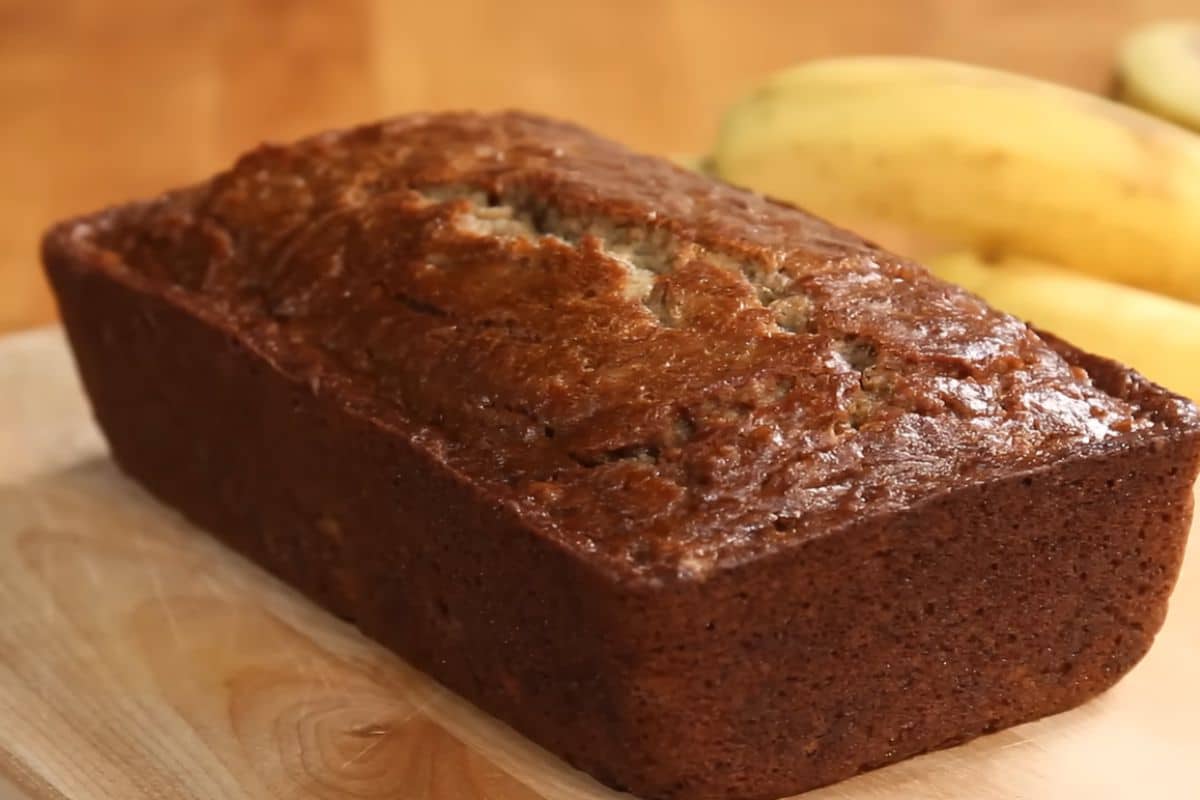
You know those bananas sitting on your counter, the ones with the brown, spotty peels that nobody wants to eat? Don’t throw them out. Those are perfect for this banana bread.
This is my go-to recipe, and I’ve made it more times than I can count. It all comes together in one bowl with ingredients you probably already have. No mixer, no special tools, and no complicated steps. Just a simple, reliable loaf that turns out moist and golden every time.
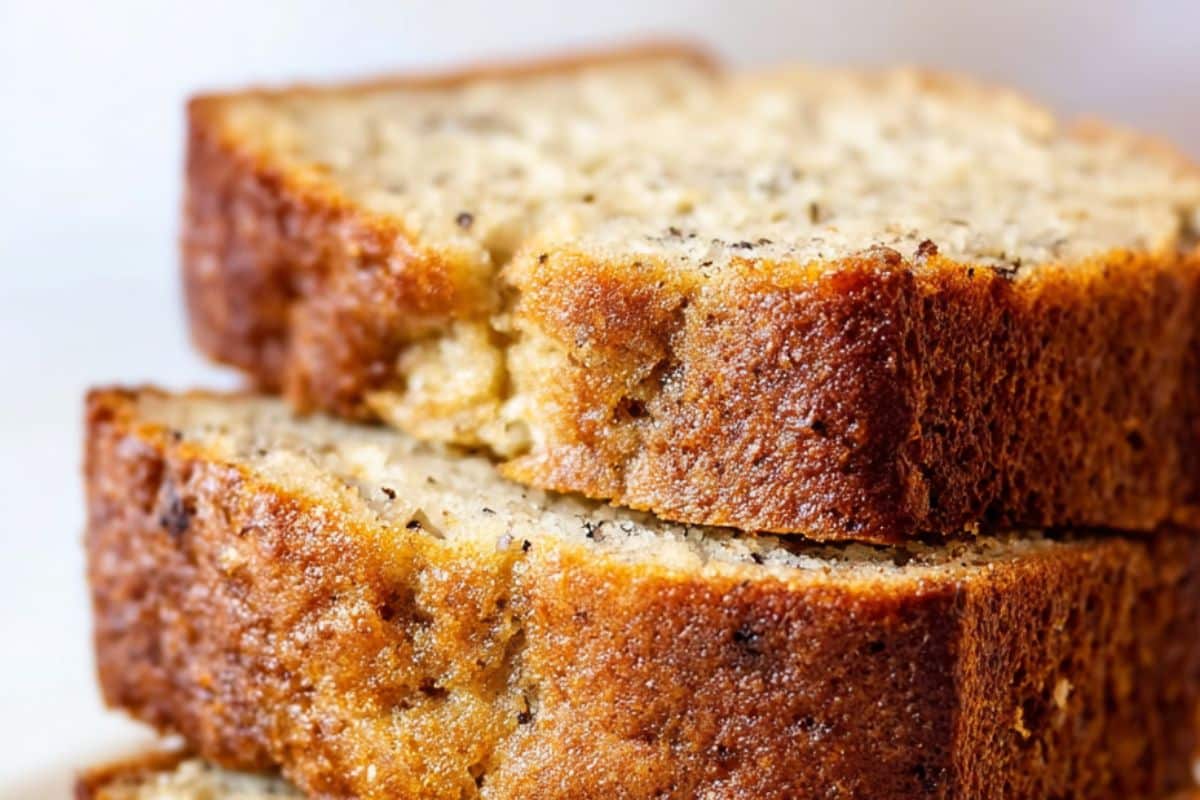
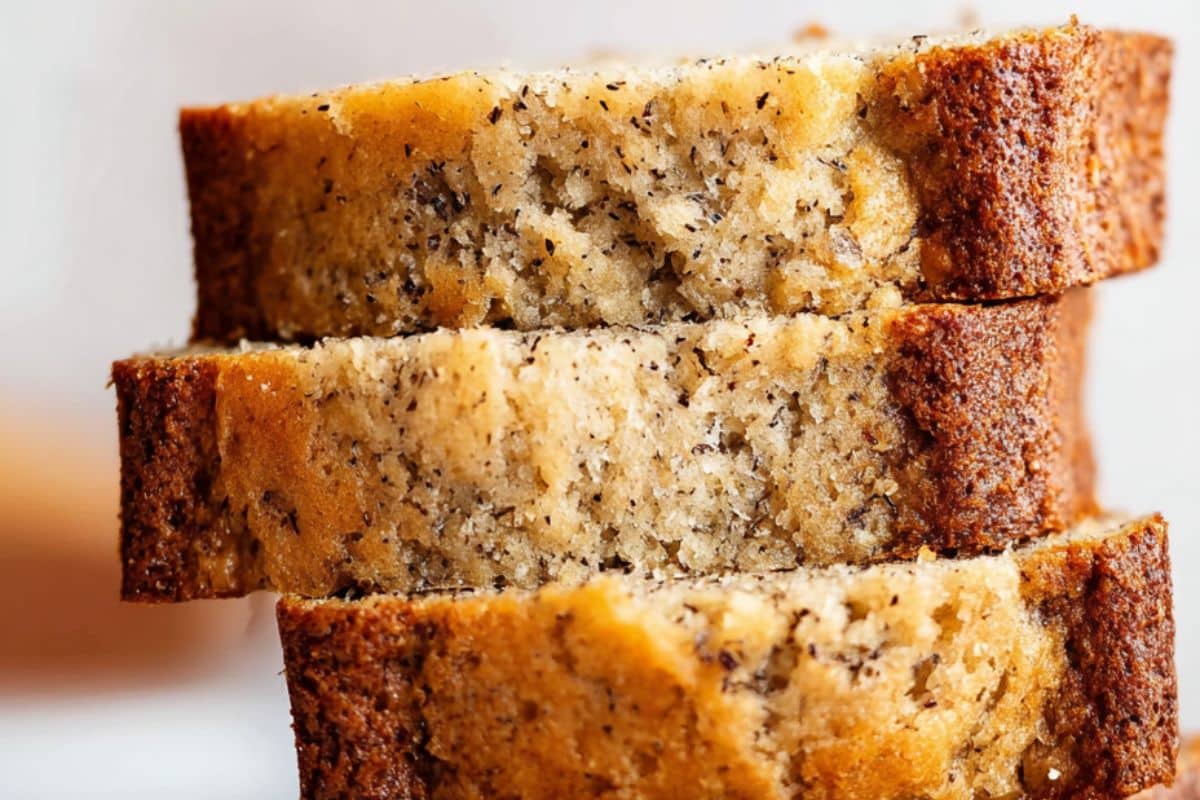
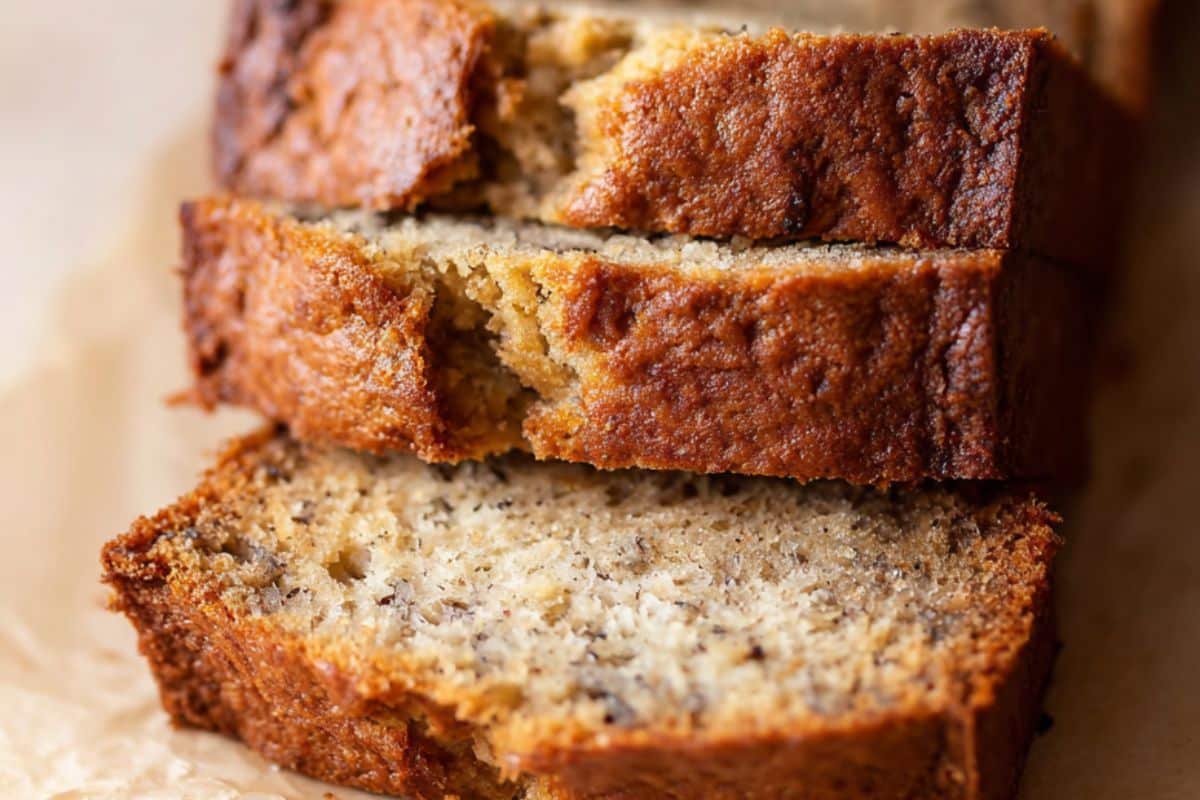
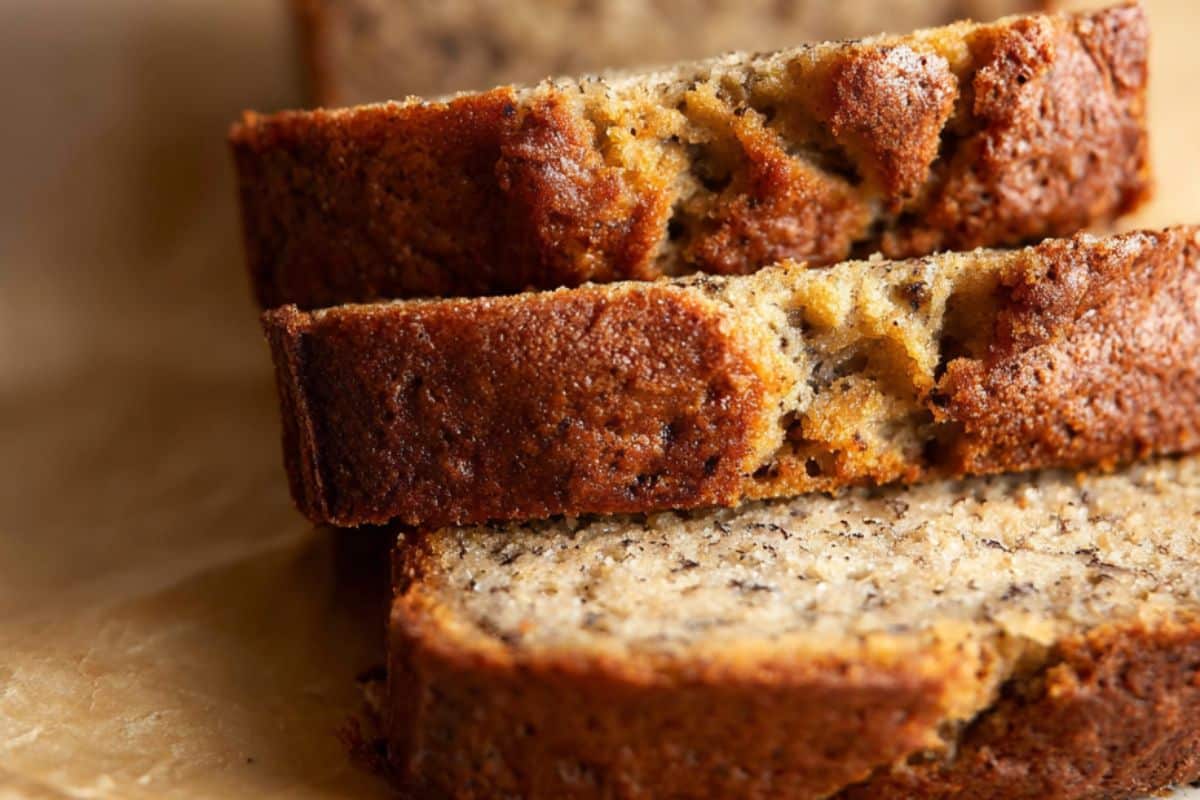
The flavor is exactly what you want banana bread to be. It’s naturally sweet from the bananas, with a soft, tender crumb and a slightly crispy crust. It’s not too dense or too light, just right.
This recipe works for any occasion. Slice it for breakfast with your morning coffee. Pack it in a lunchbox as an afternoon snack. Bring it to a friend’s house and watch it disappear. It even makes a thoughtful homemade gift.
The whole loaf bakes in about 60 minutes, and your hands-on time is maybe 10 minutes. If you’re new to baking, this is a great place to start. If you’ve been baking for years, I think this will quickly become your favorite version.
Let me show you how to make it.
Why You’ll Love This Recipe
- One bowl, minimal cleanup. You don’t need a stand mixer or multiple bowls. Mash, mix, and bake, all in one.
- No special ingredients. Everything on this list is a common pantry staple.
- Uses up overripe bananas. The browner the banana, the better this bread tastes.
- Ready in about an hour. Most of that time is hands-off while it bakes.
- Stays moist for days. It actually gets better on day two once the flavors settle.
- Freezer-friendly. Bake now, freeze slices for later. Breakfast is sorted for weeks.
- Easy to customize. Add in chocolate chips, walnuts, spices, make it your own every time.
Ingredient Notes
You only need a few simple ingredients here. Here’s what to know about each one and what to use if you need to replace anything.
- Overripe bananas. This is the most important ingredient. You want bananas with deep brown or nearly black peels. They’re sweeter, softer, and much more flavorful than yellow ones. You’ll need 3 large or 4 small bananas.
- Butter. Melted butter gives the bread a rich flavor and helps create a slightly crispy top crust. I always use unsalted butter to control the salt level. If you run out of butter, melted coconut oil or a neutral vegetable oil works well.
- Brown sugar. Brown sugar adds a mild caramel warmth and keeps the bread moist. White sugar is fine to use instead; the flavor will be a little lighter and less complex.
- Eggs. Two eggs bind everything together and give the bread structure. For a vegan version, you can use a flax egg. Mix 1 tablespoon of ground flaxseed with 3 tablespoons of water and let it sit for 5 minutes before using.
- Vanilla extract. Just a teaspoon, but it enhances the banana flavor beautifully. Don’t skip it.
- Baking soda. This is what makes the bread rise. One important thing is to ensure yours is fresh. Drop a pinch into hot water. If it bubbles actively, it’s good. If nothing happens, buy a new box. Stale baking soda leads to a flat, dense loaf.
- Salt. A little salt balances the sweetness and makes every flavor taste better. It’s a small addition that makes a real difference.
- All-purpose flour. Standard all-purpose flour gives the best texture here. You can use white whole wheat flour for a slightly denser, nuttier loaf. Avoid cake flour; it’s too delicate for this recipe.
- Sour cream or plain Greek yogurt. This is optional, but I strongly recommend it. Just a few tablespoons add extra moisture and a subtle tang that takes the bread from good to really good. Either works use whatever you have.
How to Make Banana Bread
The whole process is simple. You mash your bananas, mix in the wet ingredients, stir in the dry ingredients, and bake. That’s really it. Here’s how to do it step by step.
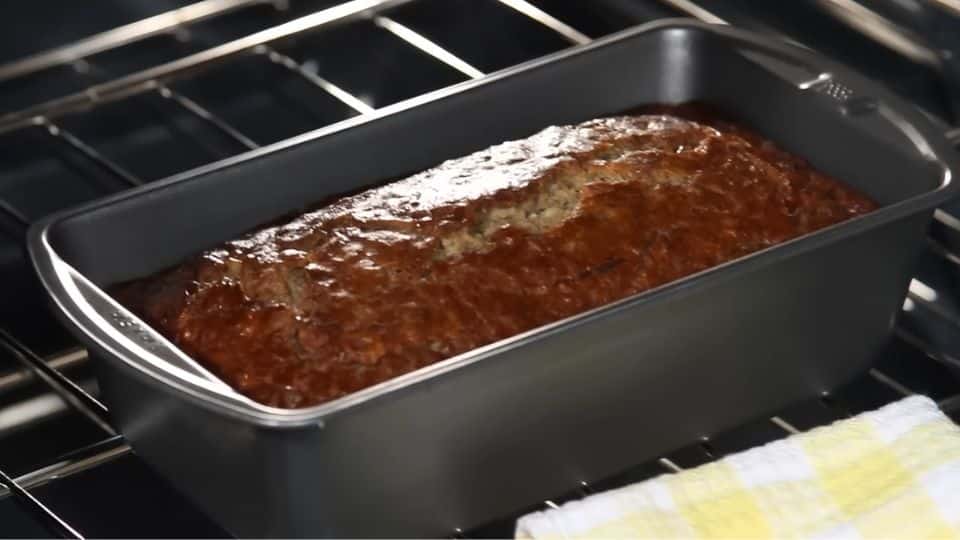
Step 1: Preheat Your Oven and Prep Your Pan
Set your oven to 350°F (175°C). Grease a 9×5 inch loaf pan generously with butter or cooking spray. For easy removal, line it with parchment paper and let the edges hang over the sides.
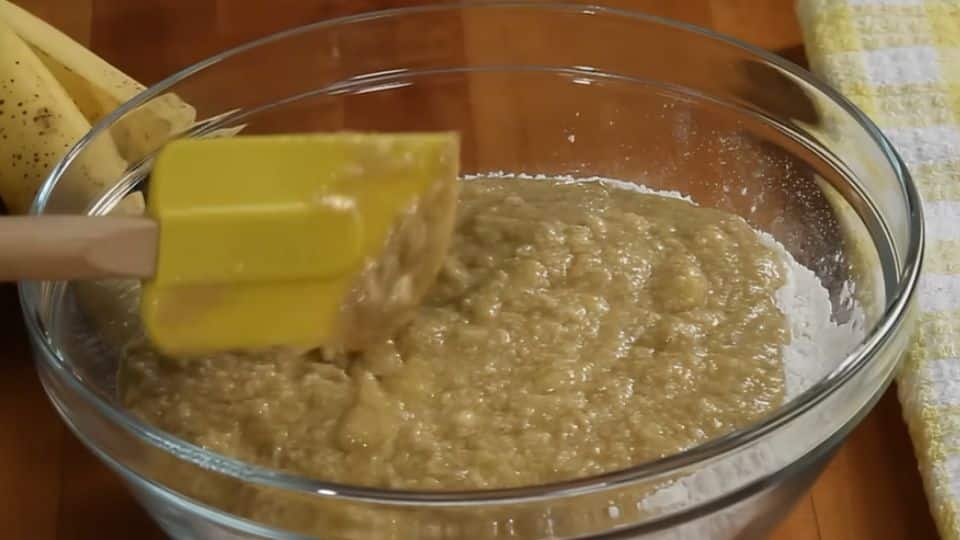
Step 2: Mash the Bananas
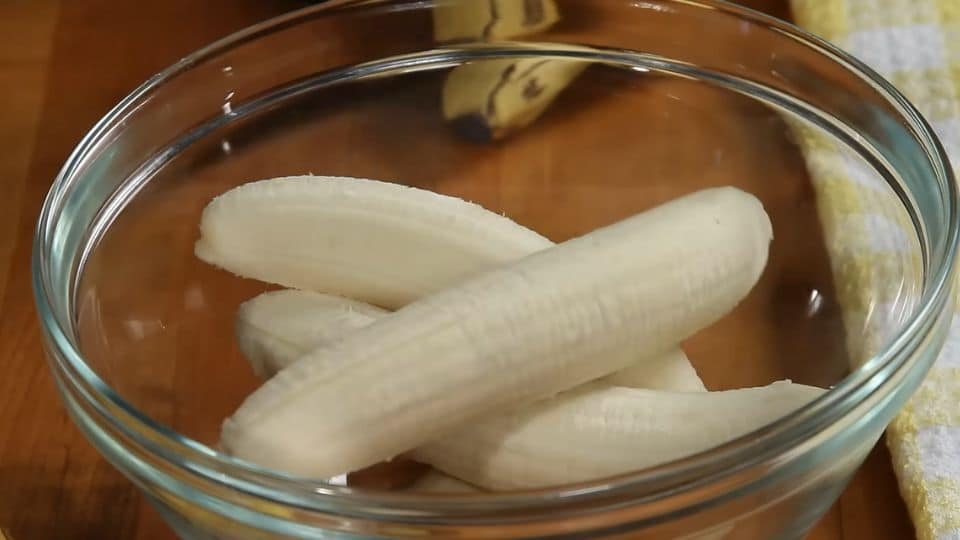
Peel your bananas and drop them into a large bowl. Mash them with a fork until mostly smooth. A few small lumps are fine; they add pockets of banana flavor through the bread. Don’t use a blender. You want texture, not a purée.
Step 3: Mix in the Wet Ingredients
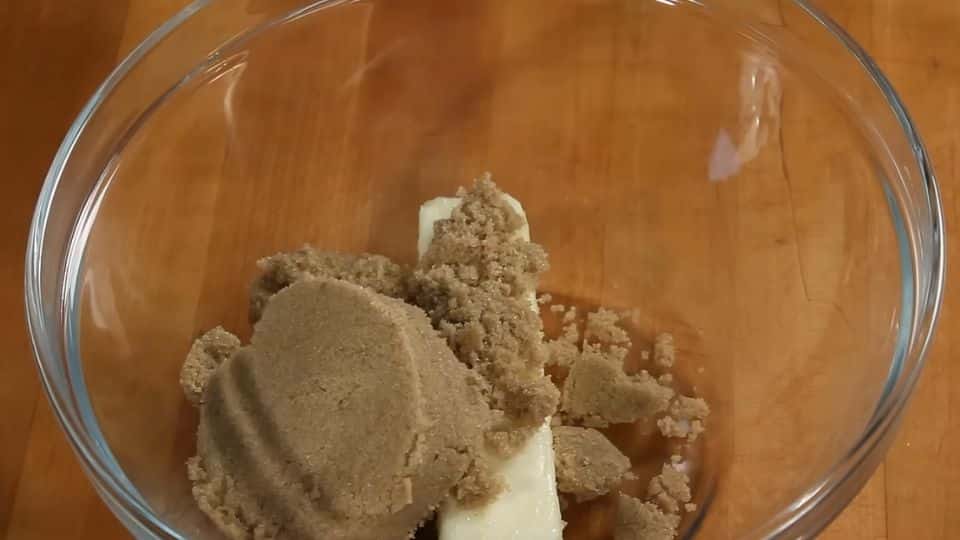
In a separate bowl, cream together the sugar and butter.
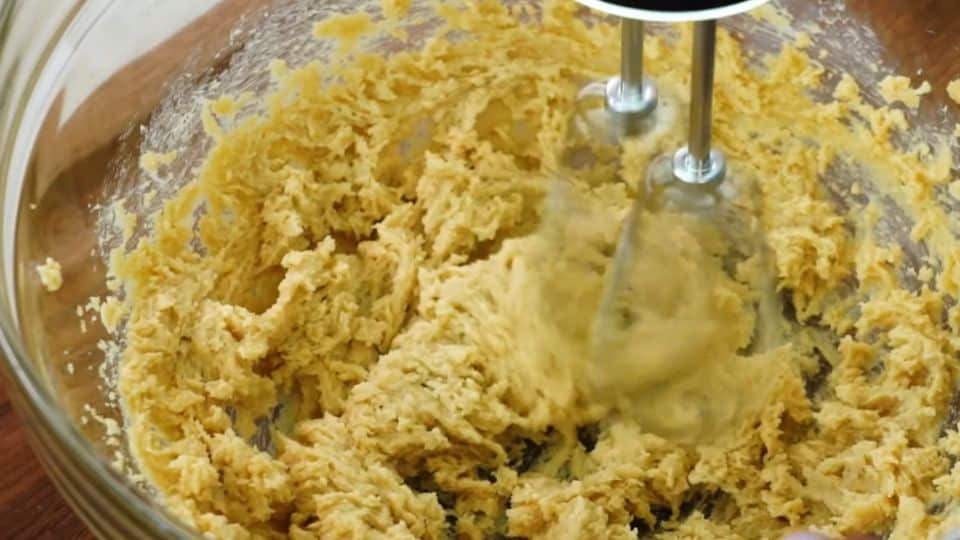
Then add in the , eggs, and vanilla extract. If you’re using sour cream or Greek yogurt, add it now. Cream everything together until it looks uniform. This whole step takes about a minute.
Step 4: Mix the dry ingredients
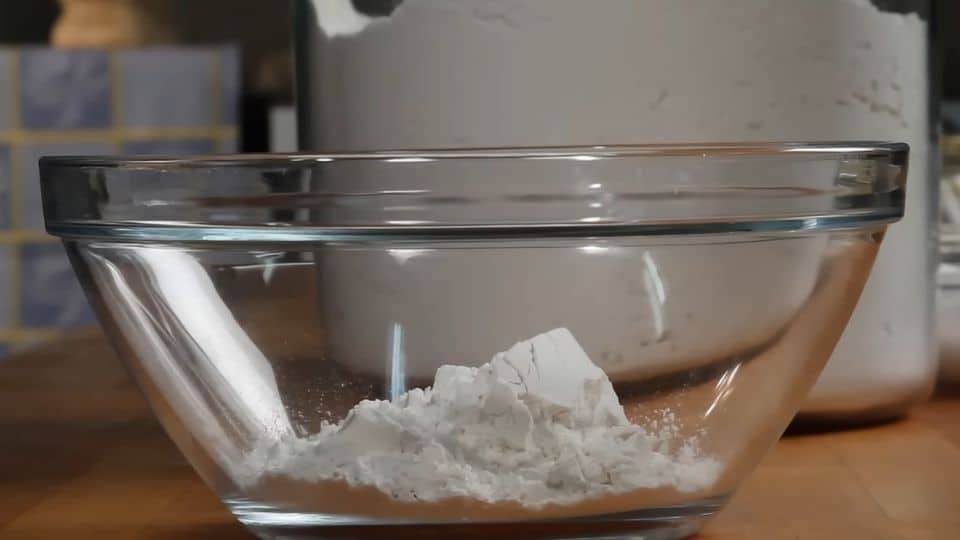
In a separate mixing bowl, combine all purpose flour, baking soda and salt and stir them together.
Step 5: Add the Flour
Add the banana mixture directly into flour bowl and stir gently until it just disappears into the batter. This is the most important step to get right. Stop mixing the moment you no longer see dry flour. Overmixing at this stage develops gluten and turns your bread tough and chewy instead of soft and tender. A few small streaks of flour are fine.
Step 6: Fold in Any Mix-ins
If you’re adding chocolate chips, walnuts, or any other mix-ins, fold them in now with a spatula. Use a gentle hand; the same rule applies here. Don’t overmix.
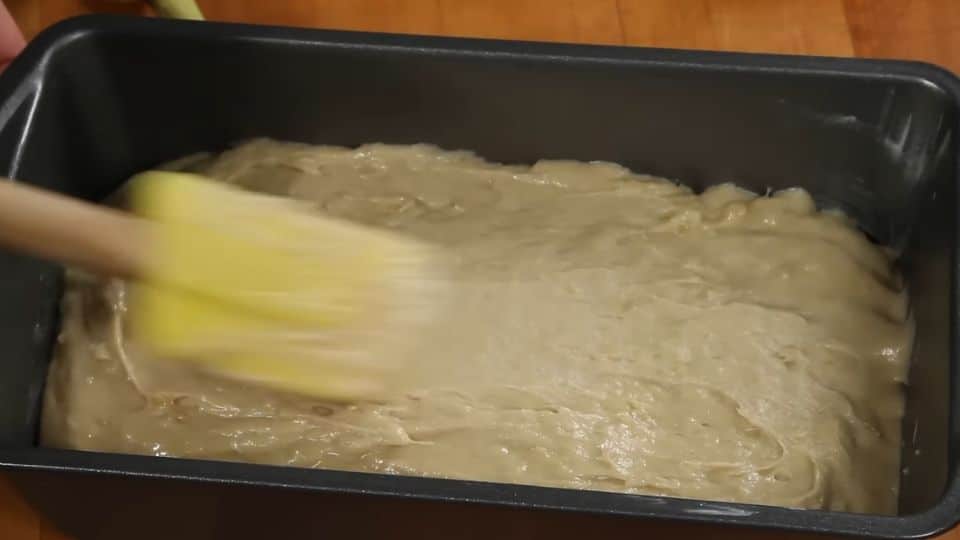
Step 7: Pour and Bake
Pour the batter into your prepared loaf pan and smooth out the top with your spatula. For a bakery-style crust, sprinkle a little brown sugar over the top before it goes in the oven. It bakes into a lightly caramelized, slightly crunchy topping that people always ask about.
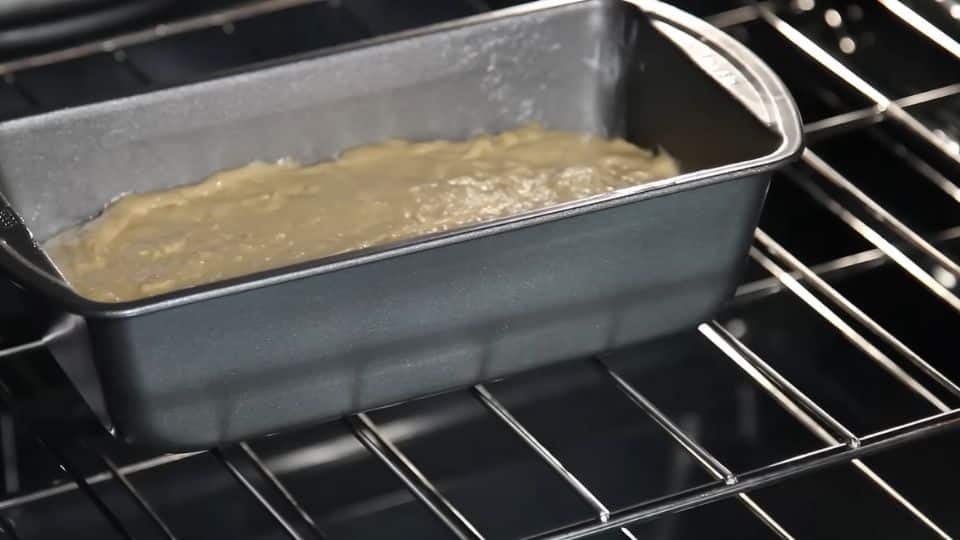
Bake for 55 to 65 minutes. At the 30-minute mark, check on your loaf. If the top is browning faster than you’d like, lay a loose piece of foil over it and continue baking. This keeps the crust from over-browning while the center finishes cooking.
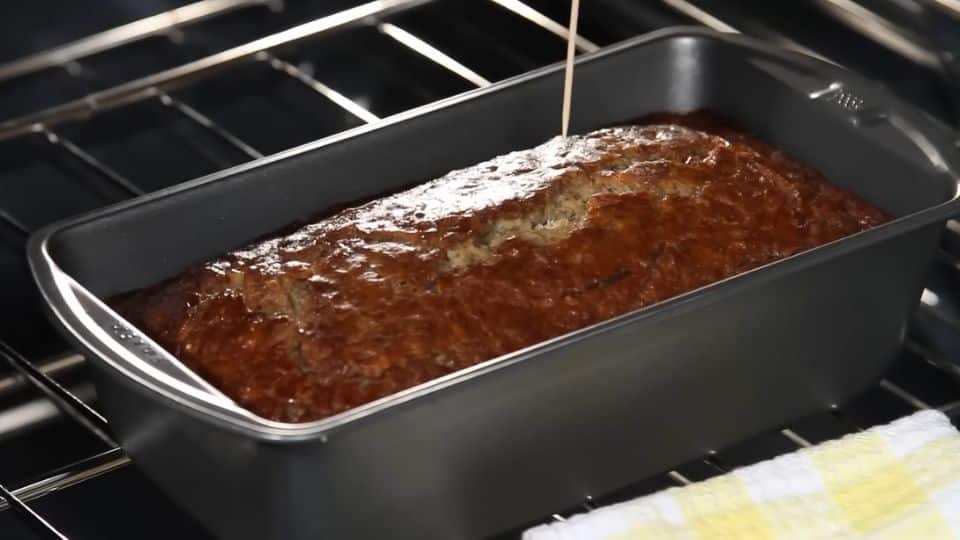
Step 8: Test for Doneness
Start checking at the 55-minute mark. Insert a toothpick into the center of the loaf. It should come out clean or with just a few moist crumbs attached. If it comes out with wet batter, give it another 5 to 10 minutes and test again. Every oven runs a little differently, so trust the toothpick over the timer.
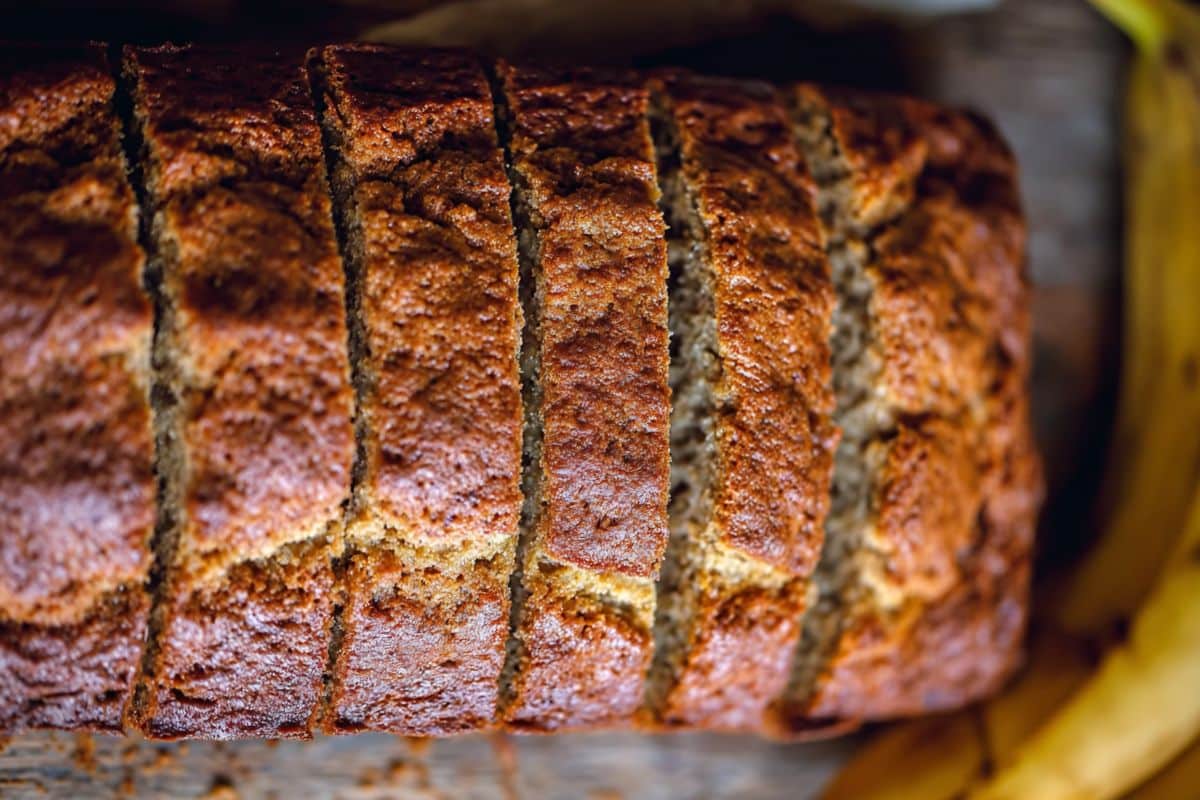
Step 9: Cool Before Slicing
Take the loaf out of the oven and let it cool in the pan for 10 minutes. Transfer it to a wire rack to cool completely. I know this is the hardest part. But slicing too early makes the crumb gummy and wet inside. Give it at least 20 to 30 minutes on the rack before you cut in.

Recipe Success Tips
These small things make a big difference between good banana bread and great banana bread.
- The riper the banana, the better the bread.
Yellow bananas with a few spots won’t provide enough sweetness or flavor. You want deep brown, almost black peels. If your bananas aren’t ripe yet, place them unpeeled in a 300°F oven for 15 to 20 minutes. They will turn black and soft, which is perfect for mashing. - Don’t overmix the batter.
Once you add the flour, stir gently and stop as soon as it’s combined. Overmixing makes the bread tough and dense. Don’t worry about undermixing; it’s almost impossible. - Measure your flour correctly.
Too much flour is the second most common issue. Don’t scoop directly from the bag with your measuring cup, as you’ll pack in too much. Instead, spoon the flour into the cup and level it off with a straight edge. If you have one, using a kitchen scale is even better. - Tent with foil at the halfway mark.
Check your loaf at 30 minutes. If the top is getting dark, loosely lay a piece of foil over it. This simple step protects the crust while the center finishes baking. - Always use the toothpick test.
Oven temperatures can vary more than most people realize. A toothpick inserted in the center of the loaf is the best way to check for doneness. A few moist crumbs on it are ideal. Wet batter means it needs more time. A completely clean toothpick means it’s done and might be slightly overbaked, so keep an eye on it near the end. - Let it cool before you slice.
The bread continues to cook from residual heat after coming out of the oven. Cutting into it too early can give you a gummy, undercooked-looking crumb, even if the bread is fully baked. Let it cool in the pan for 10 minutes, then on a rack for at least 20 to 30 more. - Use room temperature eggs.
Cold eggs can cause the melted butter to seize when they hit the batter. A quick fix is to place your cold eggs in a bowl of warm water for 5 minutes before cracking them. This small step helps everything mix together more smoothly.
Variations and Ingredient Swaps
This recipe is easy to customize. Here are some of my favorite ways to change it up.
- Chocolate Chip Banana Bread.
Fold in ½ cup of semi-sweet chocolate chips before baking. The chocolate melts into the bread and creates pockets of richness. This is the most popular variation in my house, and for good reason. - Banana Nut Bread.
Add ½ cup of roughly chopped walnuts or pecans. Walnuts bring a slight bitterness that balances the sweetness nicely. Pecans are milder and have a buttery flavor. Toast them in a dry pan for 3 minutes first; it makes a noticeable difference in taste. - Chocolate Chip and Walnut.
Combine both of the above. This is the classic bakery version most people grew up with. It’s hard to beat. - Spiced Banana Bread.
Add 1 teaspoon of cinnamon, ¼ teaspoon of nutmeg, and a small pinch of cardamom to the dry ingredients. The spices add warmth without overpowering the banana flavor. It’s great for autumn and winter baking. - Healthier Version.
Swap half the all-purpose flour for oat flour, reduce the sugar by about 25%, and use coconut oil instead of butter. The texture will be slightly denser but still delicious. This is a good option if you’re watching added sugar. - Dairy-Free Banana Bread.
Use melted coconut oil in place of butter and skip the sour cream entirely; you can replace it with dairy-free coconut yogurt. The bread will still be moist and flavorful. - Vegan Banana Bread.
Combine the dairy-free swaps above with a flax egg instead of each regular egg. Mix 1 tablespoon of ground flaxseed with 3 tablespoons of water for each egg, let it sit for 5 minutes, and add it to the batter as you normally would. - Streusel-Topped Banana Bread.
Mix together 3 tablespoons of brown sugar, 2 tablespoons of all-purpose flour, and 1 tablespoon of cold butter with your fingers until crumbly. Sprinkle it over the top of the batter before baking. It bakes into a crunchy, caramelized topping that makes this loaf feel a bit extra special.
What to Serve With Banana Bread
Banana bread is delicious on its own, but a few simple pairings make it even better.
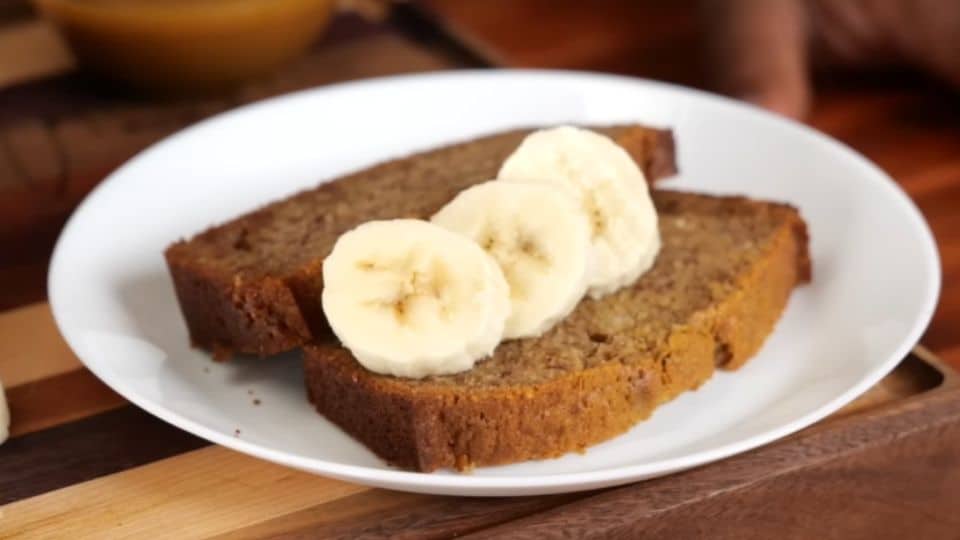
- For breakfast:
Serve a warm slice with salted butter melted into it. It’s simple and perfect. A drizzle of honey on top works well too. Pair it with a hot cup of coffee, chai tea, or a simple latte for a breakfast worth waking up for. - For a snack:
Spread a thick layer of peanut butter or almond butter on a slice for something more filling. The nuttiness complements the sweet banana flavor. Cream cheese is another great option, whether plain or sweetened with a bit of honey. - For dessert:
Warm a slice for 20 seconds in the microwave and serve it with a scoop of vanilla ice cream. It feels indulgent but takes about 30 seconds to prepare. A light dusting of powdered sugar or a drizzle of caramel sauce also makes a humble slice feel a bit more special. - On the side:
A bowl of fresh fruit, like sliced strawberries, blueberries, or mango, balances the richness of the bread and rounds out a simple breakfast plate nicely.
Storage and Make-Ahead Instructions
One of the best things about banana bread is how well it keeps. Here’s how to store it to keep it fresh and tasty.
- At room temperature:
Once the bread has cooled completely, wrap it tightly in plastic wrap or put it in an airtight container. It stays moist and fresh on the counter for 3 to 4 days. Don’t refrigerate it at this stage. The fridge dries it out faster than leaving it on the counter. - In the refrigerator:
If you need it to last longer, the fridge works well. Wrap it well to stop it from drying out. It keeps for up to 1 week in the refrigerator. Let a slice come to room temperature before eating, or warm it briefly in the microwave for 15 to 20 seconds. - In the freezer:
Banana bread freezes well, making it a great recipe to batch bake and freeze. You have two options here.
Freeze the whole loaf by wrapping it tightly in plastic wrap, then adding a layer of foil, and placing it in a zip-lock freezer bag. Or slice the loaf first and freeze the individual slices in the same way. I prefer individual slices since you can grab exactly what you need without thawing the whole loaf. Frozen banana bread stays good for up to 3 months. - Make-ahead tips:
Got bananas that are perfectly ripe right now but you’re not ready to bake? Peel them, place them in a zip-lock bag, and freeze them. They’ll keep for months. When you’re ready to bake, thaw them in the bag on the counter, drain off any liquid, and mash as usual. A great hack so you always have ripe bananas on hand for baking.
Frequently Asked Questions
- Why is my banana bread gummy in the middle?
This usually means the bread needed more time in the oven. Oven temperatures can vary quite a bit from what the dial shows, so always use the toothpick test instead of relying solely on the timer. If the top is browning but the center is still wet, cover the loaf with foil and continue baking in 5-minute increments until the toothpick comes out clean. - How ripe do my bananas really need to be?
As ripe as possible. The peels should be deeply brown or almost completely black. At that stage, the bananas are the sweetest and softest, giving you more flavor and making mashing easier. Yellow bananas, even with spots, won’t provide the same result. - Can I use frozen bananas?
Absolutely. Frozen bananas are often even better than fresh overripe ones. Thaw them completely at room temperature or overnight in the fridge. Pour off any liquid that collects in the bag, then mash and use them just like fresh bananas. - Why did my banana bread sink in the middle?
A few things can cause this. The most common reason is underbaking the center wasn’t fully set when the bread came out of the oven. Another possible reason is old baking soda that has lost its effectiveness. Test yours by dropping a pinch into hot water. It should bubble vigorously right away. Opening the oven door too early in the baking process can also lead to sinking, so resist the urge to check on it before the 30-minute mark. - Can I make this recipe without eggs?
Yes. Replace each egg with a flax egg mix 1 tablespoon of ground flaxseed with 3 tablespoons of water, stir, and let it sit for 5 minutes until it thickens slightly. The finished bread will be a bit denser, but it will still taste great. This is a reliable substitute for vegan baking. - Can I double the recipe?
Yes, easily. Mix a double batch and divide it evenly between two separate loaf pans. Bake them side by side at the same temperature and start checking for doneness at the same time. Don’t try to bake one oversized loaf it won’t cook evenly, and the center will likely stay raw while the outside overbakes.
The Best Moist Banana Bread Recipe (One Bowl, No Mixer)
Ingredients
Method
- Set your oven to 350°F (175°C). Grease a 9×5 inch loaf pan generously with butter or cooking spray.
- Peel your bananas and drop them into a large bowl. Mash them with a fork until mostly smooth.
- In a separate bowl, cream together the sugar and butter.
- Then add in the , eggs, and vanilla extract. If you’re using sour cream or Greek yogurt, add it now. Cream everything together until it looks uniform
- In a separate mixing bowl, combine all purpose flour, baking soda and salt and stir them together.
- Add the banana mixture directly into flour bowl and stir gently until it just disappears into the batter.
- Pour the batter into your prepared loaf pan and smooth out the top with your spatula
- Bake for 55 to 65 minutes. At the 30-minute mark, check on your loaf. If the top is browning faster than you’d like, lay a loose piece of foil over it and continue baking.
- Once timer is done, test for doneness. start. Insert a toothpick into the center of the loaf. It should come out clean or with just a few moist crumbs attached. If it comes out with wet batter, give it another 5 to 10 minutes and test again.
- Take the loaf out of the oven and let it cool in the pan for 10 minutes.
- Transfer it to a wire rack to cool completely. About 30 - 1hr
- Serve and enjoy!!