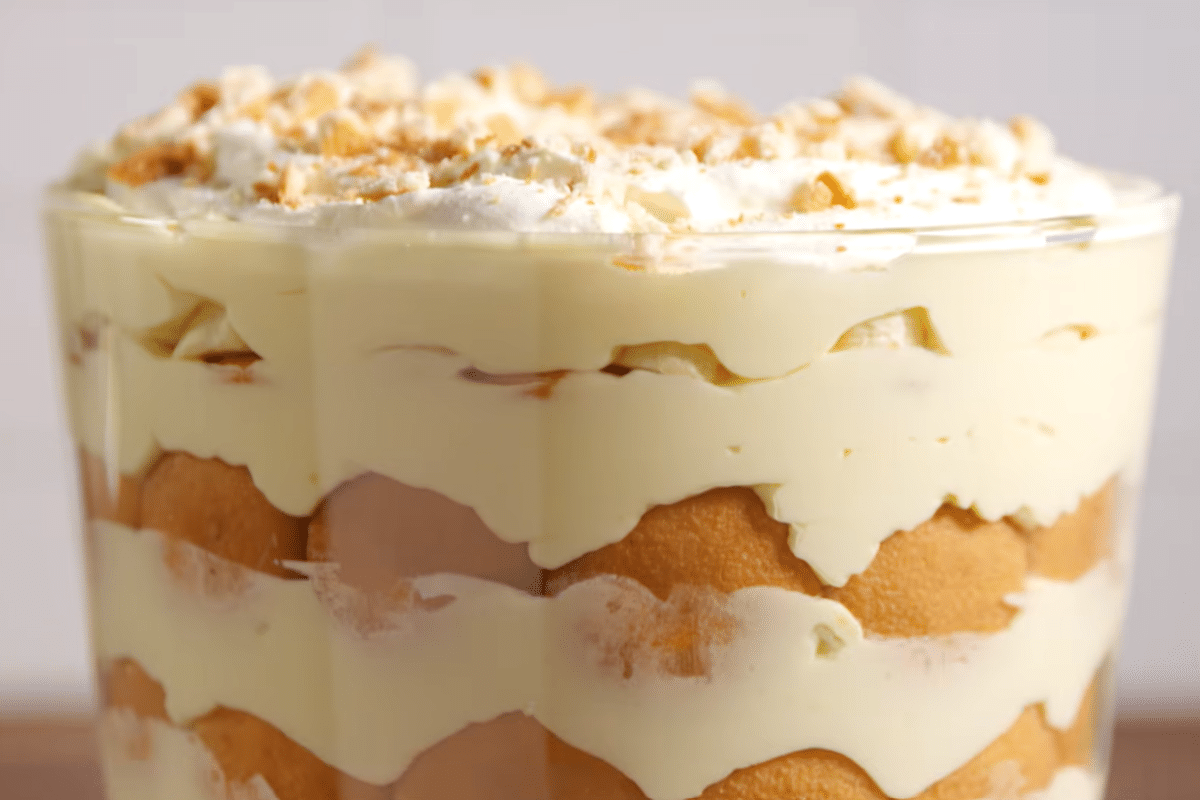
The Best Homemade Banana Pudding
This banana pudding is one dessert I keep coming back to. It’s creamy, comforting, and always the first thing to disappear at any gathering. And the best part? You don’t need to turn on the oven.
It takes about 20 minutes to make. It only needs a few simple ingredients: ripe bananas, vanilla wafers, pudding, and some pantry staples to create a dessert that tastes like you spent hours on it. But you didn’t. That’s the secret.
What makes this version special is the cream cheese base. It makes the pudding thicker, richer, and more stable. It holds up well in the fridge overnight, so you can prepare it in advance without worrying that it will fall apart.
You will love the texture. The wafers soften as they chill, becoming almost cake-like between the layers. The bananas remain sweet and fresh. The pudding stays silky and smooth.
This dessert works for any occasion. Take it to a potluck and watch it disappear. Make it for a Sunday family dinner, and you’ll get requests for the recipe. Whip it up on a weeknight when you want something homemade without too much effort.
No baking required. No fuss. Just a dessert that everyone enjoys.
Why You’ll Love This Recipe
This isn’t just another banana pudding. Here’s why this recipe works so well and why you’ll keep making it.
- No baking is needed. You don’t need to turn on the oven at all. Just mix, layer, chill, and serve. That’s it.
- It tastes better overnight. The longer it sits in the fridge, the better it becomes. The wafers soften in the pudding, and everything blends together nicely. Make it the night before, and it will taste even better the next day.
- It can feed a crowd without costing a lot. This recipe fills a full 9×13 dish and serves up to 12 people. Every ingredient is affordable and easy to find at any grocery store.
- The cream cheese takes it to the next level. Most basic banana pudding recipes skip this step, but this one includes it. It makes the pudding thicker, creamier, and much more satisfying than the standard version.
- It’s completely customizable. You can swap the cookies, add peanut butter, or throw in some strawberries. This recipe is flexible and forgiving.
- Kids and adults both enjoy it. It’s one of those rare desserts that appeals to everyone at the table. No one ever turns down a bowl.
- It’s a sure crowd-pleaser. I’ve never taken this to a gathering and come home with leftovers. Not once.
Ingredient Notes
You don’t need anything fancy here. These are simple, everyday ingredients you can find at any grocery store. Here’s what each one does and how to swap it if necessary.
- Vanilla Wafers
Nilla Wafers are the classic choice, and for good reason. They soften perfectly as they absorb the pudding, creating that signature cake-like layer everyone loves. Chessmen cookies are a popular upgrade; they’re buttery and keep their shape a little longer. Graham crackers work well too and add a subtle honey flavor. Avoid anything too thick or crunchy, as it won’t soften the same way. - Ripe Bananas
Choose bananas that are yellow with small brown spots; they should be sweet, soft, and full of flavor. Underripe bananas taste starchy and bland inside the pudding. Overripe bananas become mushy too quickly and can make the layers watery. Aim for that sweet spot right in the middle. - Instant Vanilla Pudding Mix
Two boxes of instant pudding give you enough to fill a full 9×13 dish generously. Cook-and-serve pudding works too, but you’ll need to let it cool completely before layering. The instant version is faster and just as delicious in this case. - Whole Milk
Cold, whole milk straight from the fridge is what makes instant pudding set thick and creamy. 2% milk works as a substitute, but it gives you a slightly thinner result. Avoid plant-based milks; most don’t set instant pudding properly. - Cream Cheese
This is the secret ingredient that takes this recipe from good to great. It adds richness, a subtle tang, and makes the pudding layer much more stable. Make sure it’s fully softened at room temperature before mixing; cold cream cheese will leave lumps that don’t blend out. If you prefer a lighter pudding, you can leave this out, but I strongly recommend keeping it in. - Sweetened Condensed Milk
This works alongside the cream cheese to add sweetness and body. It gives the pudding that thick, almost custard-like consistency. Don’t substitute regular milk here; it won’t give you the same result. - Whipped Topping (Cool Whip)
Cool Whip keeps the pudding light and fluffy without deflating overnight. It’s also more stable than fresh whipped cream in the fridge. If you prefer homemade whipped cream, use heavy whipping cream beaten to stiff peaks. Just know it may deflate a little faster, especially after day one.
How to Make Banana Pudding
This comes together faster than you’d think. Here’s the full process, step by step.
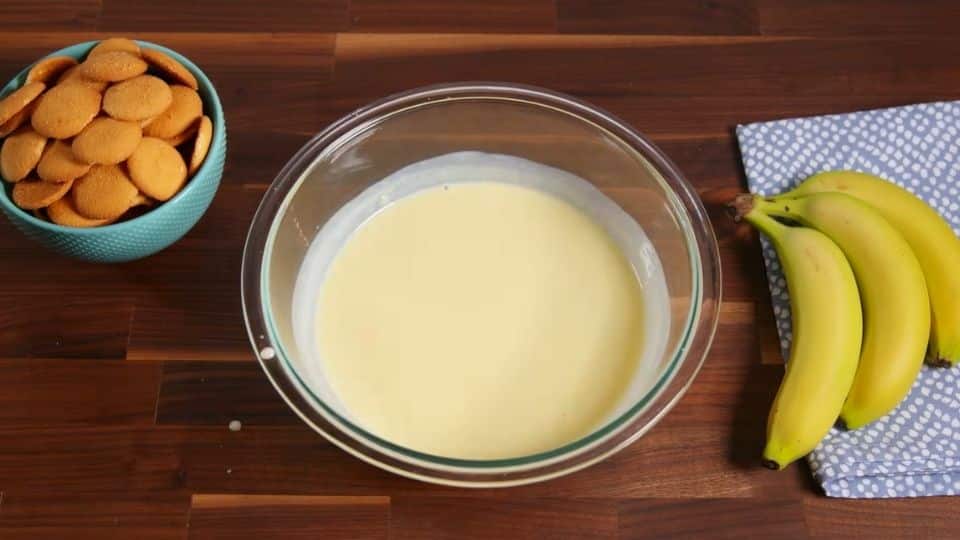
Step 1: Make the Pudding Base
Pour the cold milk into a large bowl. Add in your instant pudding mix. Whisk for about two minutes until it starts to thicken. Add the sweetened condensed milk and beat until fully combined and smooth. Set it aside and let it sit for five minutes. It will continue to firm up as it rests.
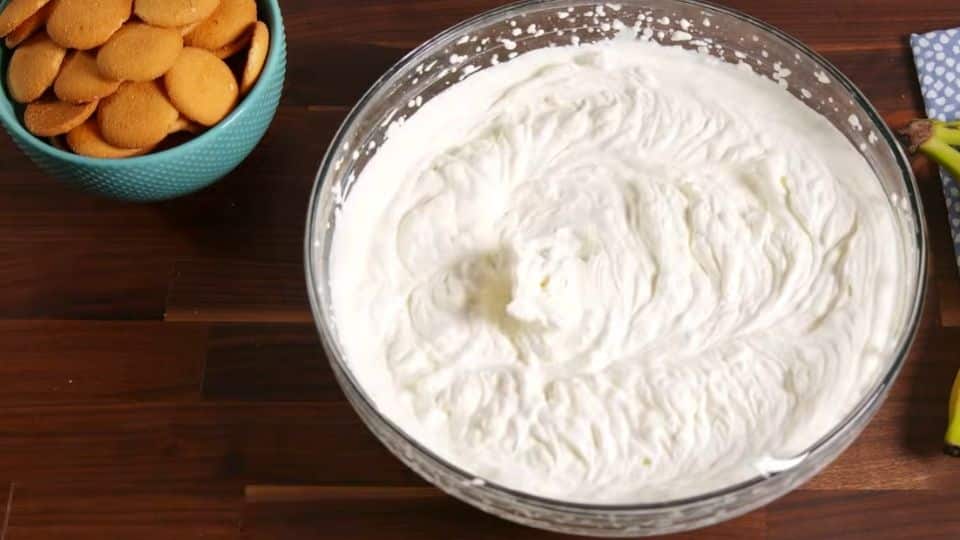
Step 2: Beat the Cream Cheese Mixture
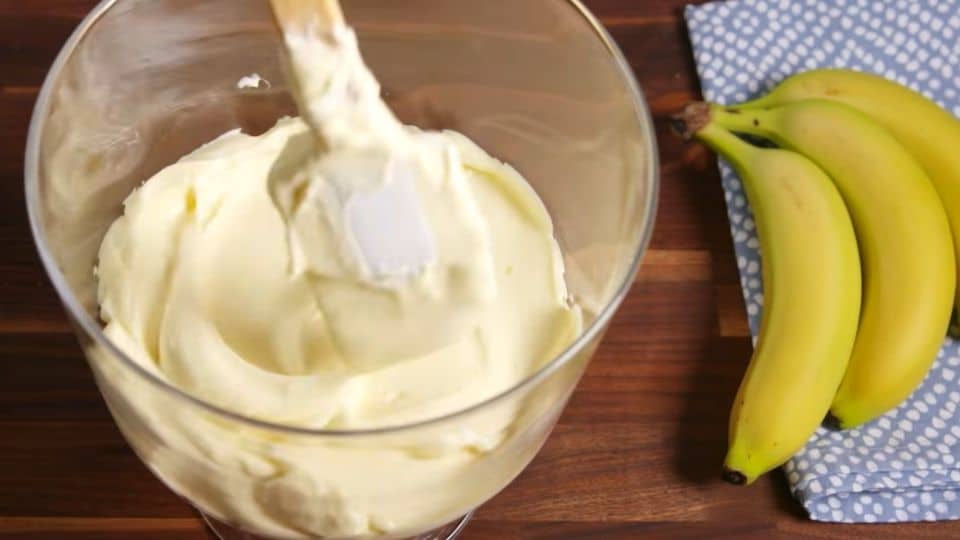
In a separate bowl, beat the softened heavy cream and vanilla with a hand mixer on medium speed until smooth. This takes about two minutes. Don’t rush this step; any lumps will remain in the final dish. A
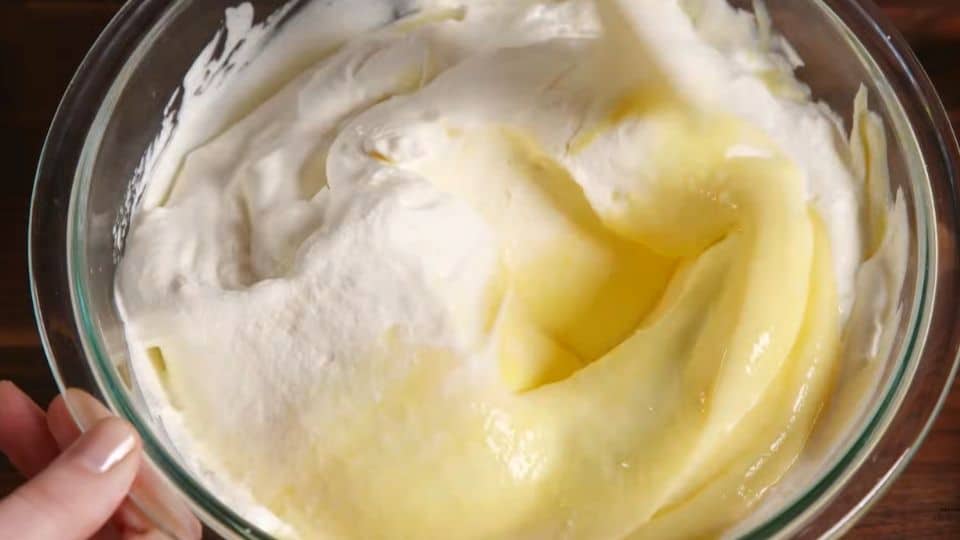
Step 3: Combine the Two Mixtures
Add half the heavy cream mixture to the pudding bowl. Stir until fully combined. The mixture should be thick, creamy, and smooth. Use gentle folding motions; don’t stir too hard or you’ll lose the air. This keeps the pudding light and fluffy.
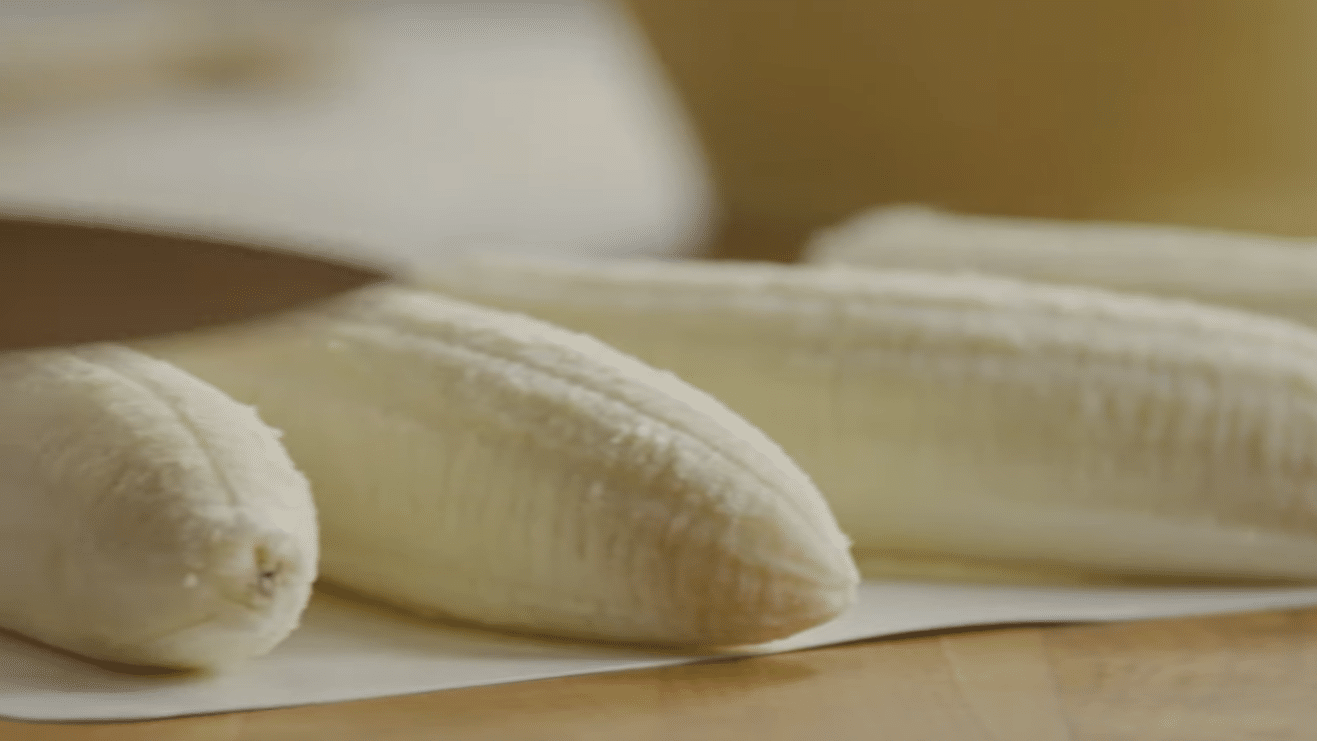
Step 4: Slice the Bananas
Slice your bananas just before layering. Aim for slices about a quarter inch thick; thin enough to layer easily but thick enough to hold their shape. If you’re making this more than a few hours ahead, lightly toss the slices in fresh lemon juice to slow browning. It won’t change the flavor.
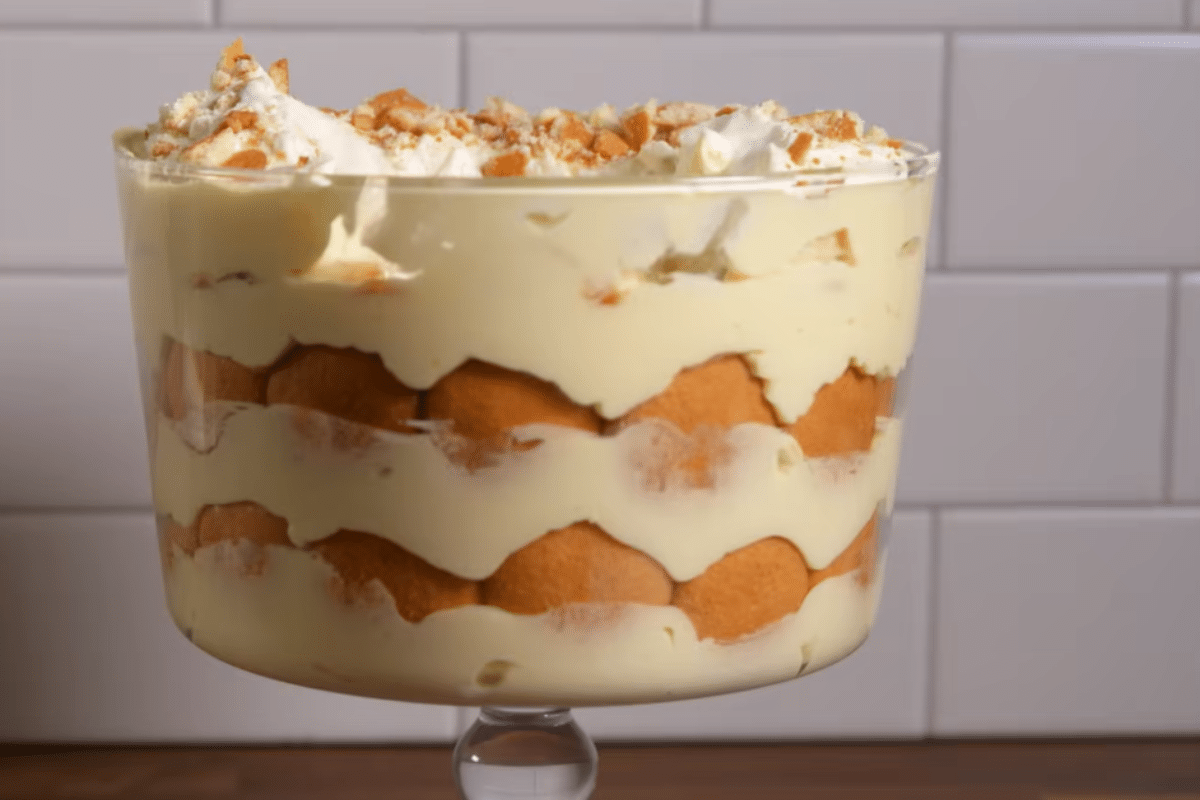
Step 5: Layer Everything Together
Now comes the fun part. Here’s how to build your layers:
First layer – Spread a thin layer of pudding across the bottom of your trifle bowl. This keeps the wafers from sliding around.

Second layer – Add a single layer of vanilla wafers across the entire base.
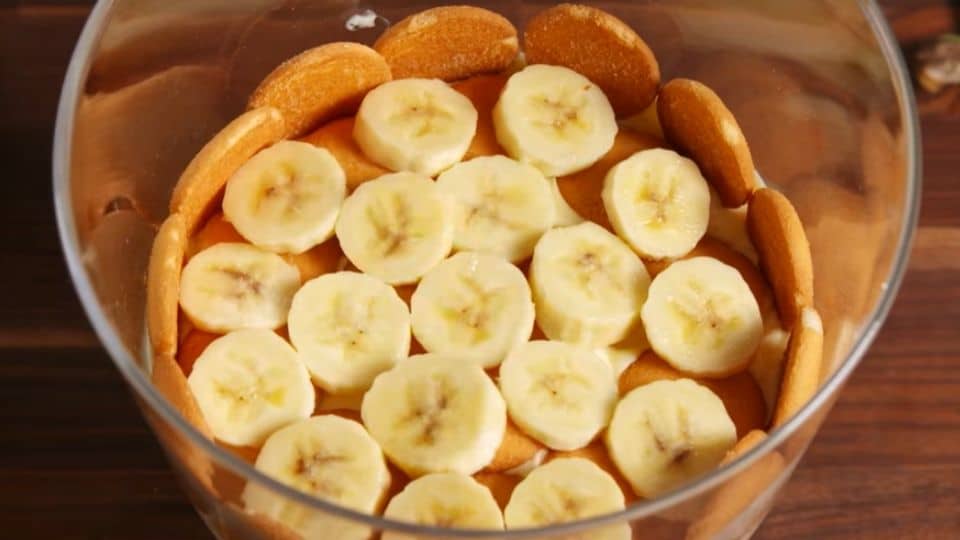
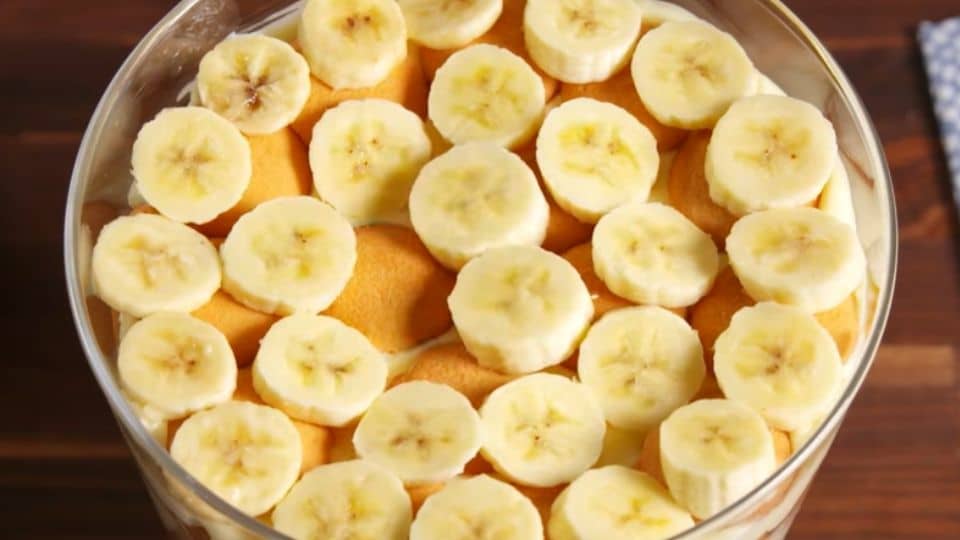
Third layer – Arrange banana slices evenly over the wafers. Cover as much surface as you can.

Fourth layer – Spoon half of the remaining pudding mixture over the bananas and spread it evenly with a spatula.
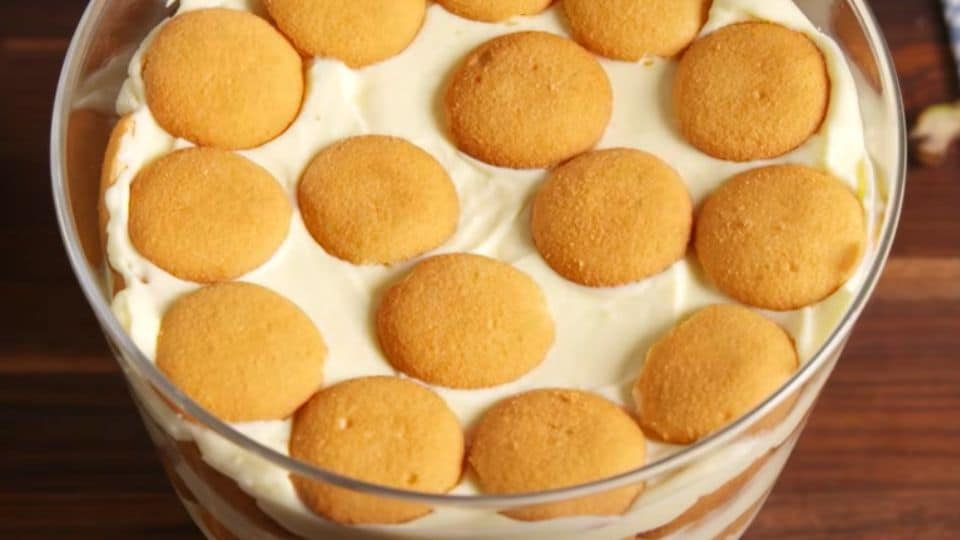
Repeat – Add another layer of wafers, then bananas, and then the rest of the pudding.
Repeat the process until the trifle bowl is almost full.
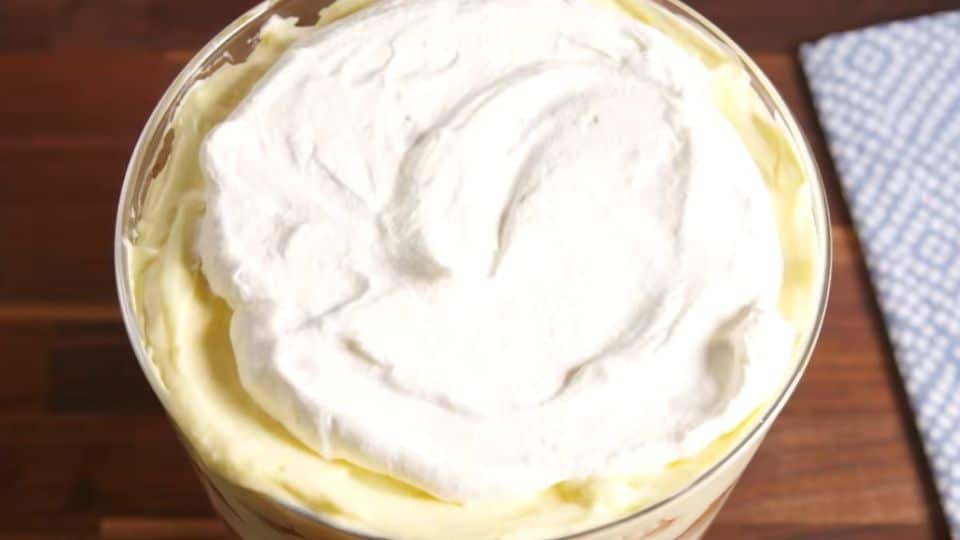
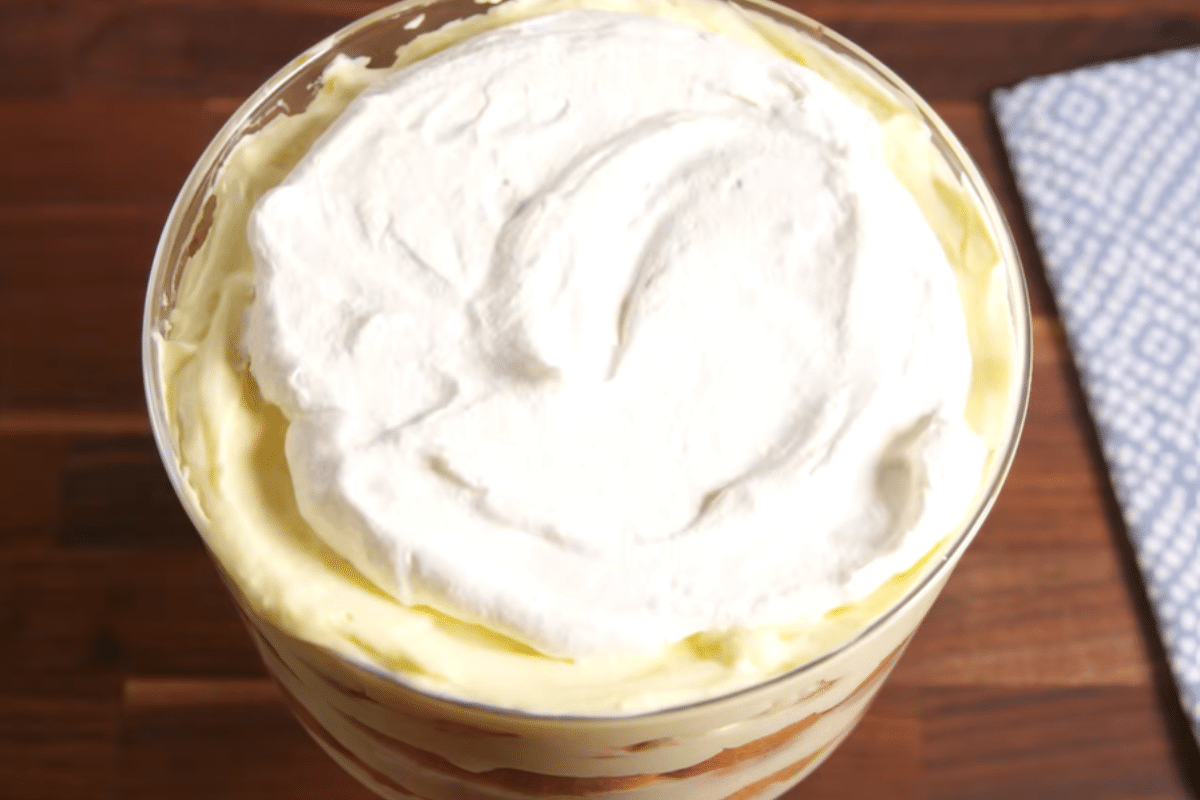
Top layer – Sweeten the remaining whipped cream with sugar and spread the cream across the top in an even layer.
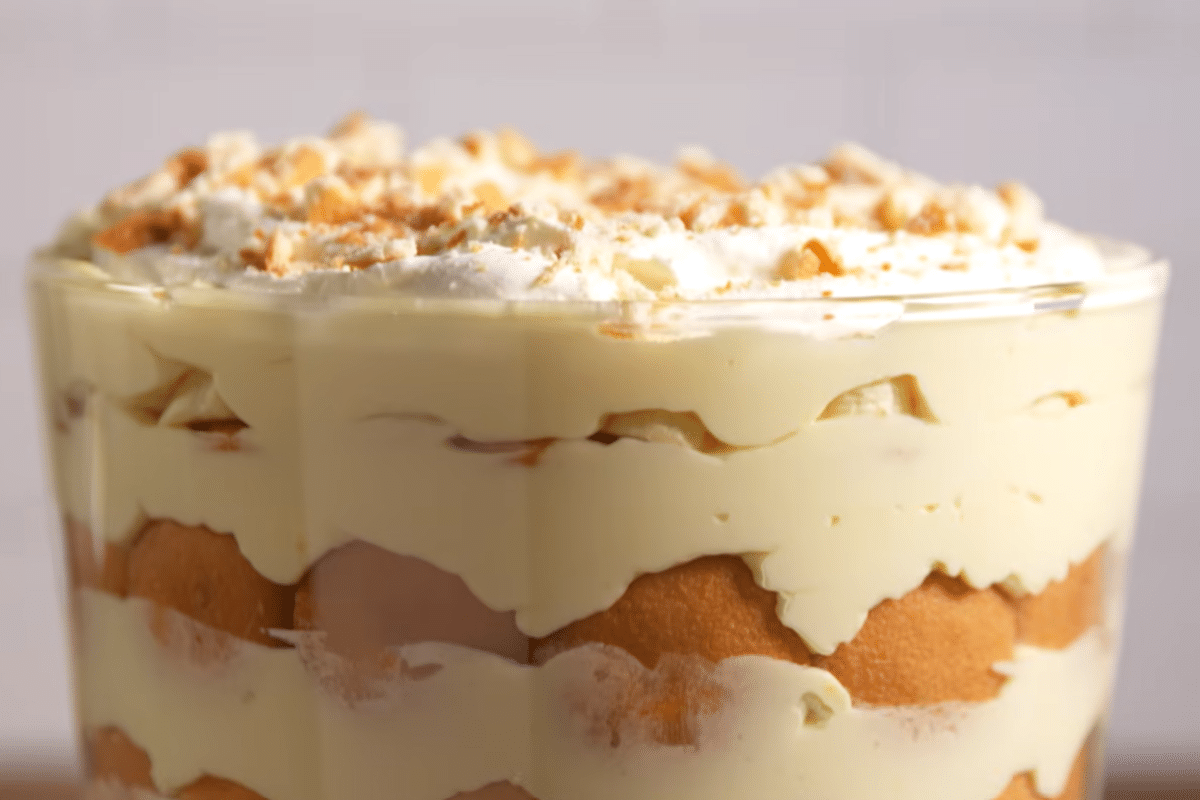
Step 6: Add the Finishing Touch
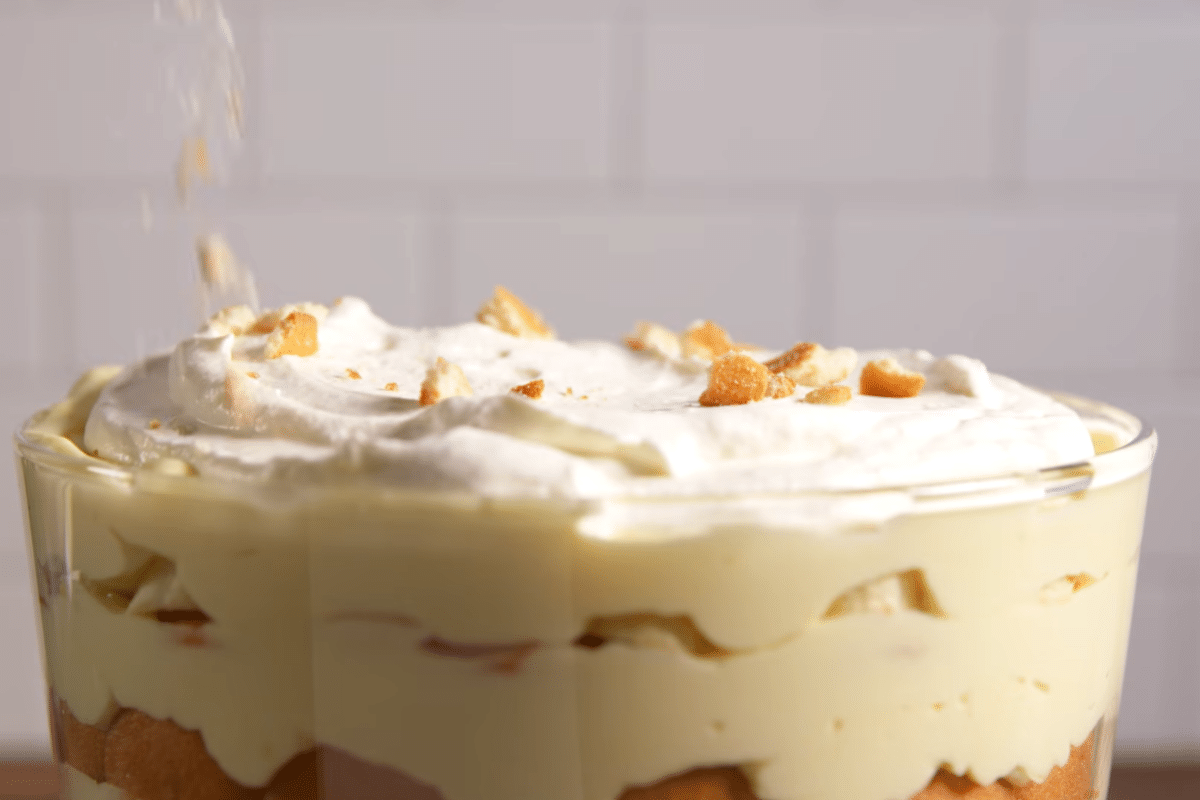
Crush a small handful of vanilla wafers and sprinkle them over the top. You can also add a few banana slices on top for a nice look. This step is simple but makes the dish look polished.
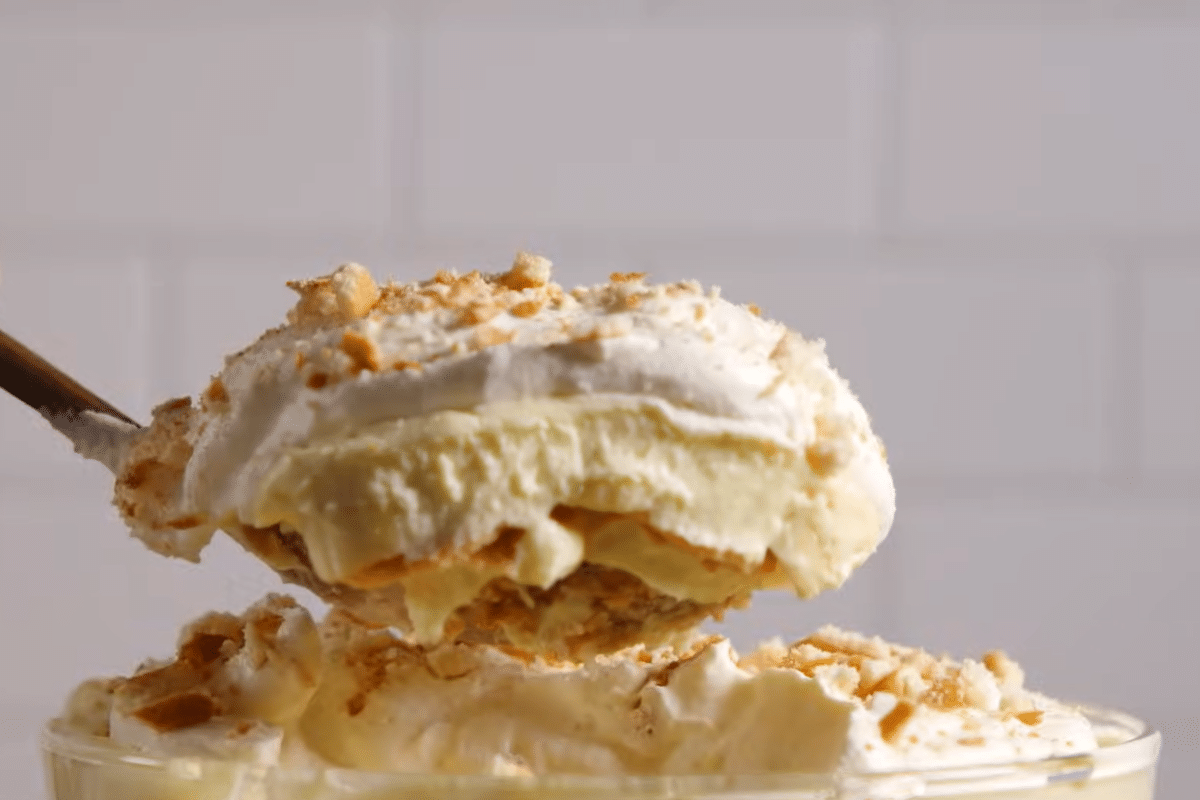
Step 7: Chill and Serve
Cover the dish tightly with plastic wrap and refrigerate for at least 4 hours. Overnight is even better. This resting time is key as it transforms the layers from good to truly great. The wafers soften, the pudding firms up, and everything comes together in that perfect creamy, layered texture. When you’re ready to serve, scoop generous portions straight from the dish. It serves up to 12 people comfortably.
Recipe Success Tips
These small details make a big difference. Follow these tips, and your banana pudding will turn out perfectly every time.
1. Soften the Cream Cheese Completely
Cold cream cheese does not blend smoothly. Take it out of the fridge at least one hour before you start. Press it with your finger; it should give easily with no resistance. Soft cream cheese blends into a silky, lump-free mixture.
2. Always Use Cold Milk for the Pudding
Instant pudding needs cold milk to set properly. If your milk is warm or even at room temperature, the pudding won’t thicken the way it should. Keep it in the fridge until you need it. This small detail makes a noticeable difference in the final texture.
3. Don’t Skip the Bottom Pudding Layer
Before you place your first layer of wafers, spread a thin layer of pudding across the bottom of the dish. It acts like glue. It keeps the wafers from sliding around when you’re layering and helps everything hold together when you scoop and serve.
4. Fold the Cool Whip, Don’t Stir It
When you add the Cool Whip to the pudding mixture, use a rubber spatula and fold it in gently. Stirring too hard knocks out all the air and leaves you with dense, heavy pudding instead of a light, fluffy one. Slow, gentle folds make a big difference here.
5. Slice Bananas Just Before Layering
Bananas start to brown quickly when sliced. Cut them right before you need them, not in advance. If you’re putting the dish together more than a few hours before serving, toss the slices in a small amount of fresh lemon juice first. It slows browning significantly without adding any noticeable lemon flavor to the finished dish.
6. Give It Enough Time to Chill
Four hours is the minimum. Overnight is ideal. I know it’s tempting to dig in early, but the chill time is what makes this recipe work. The wafers need time to absorb the pudding and soften into that signature cake-like texture. If you serve it too soon, the wafers will still be crunchy, and the layers won’t hold together properly when scooped.
7. Add the Top Garnish Close to Serving Time
The crushed wafers on top look great when freshly added, but they soften quickly once they hit the Cool Whip layer. If you want them to have some texture and crunch, wait until an hour or two before serving to sprinkle them on. The same goes for any fresh banana slices on top add them close to serving time to keep them looking fresh.
Variations and Ingredient Swaps
One of the best things about banana pudding is how flexible it is. Here are some easy ways to switch it up without losing what makes it great.
- Chocolate Banana Pudding
Replace the vanilla pudding mix with chocolate pudding mix. The combination of chocolate and fresh banana is outstanding. It gives the whole dish a richer, more indulgent flavor. Top it with chocolate shavings or crushed Oreos instead of vanilla wafers for an extra chocolatey finish. - Peanut Butter Banana Pudding
Add 2 to 3 tablespoons of creamy peanut butter to the cream cheese mixture before beating. It blends in smoothly and adds a subtle nutty richness that pairs beautifully with the banana. Crushed Nutter Butter cookies make a perfect swap for the vanilla wafers here. - Strawberry Banana Pudding
Add a layer of fresh sliced strawberries alongside the bananas. The strawberries add a bright, fruity contrast to the creamy pudding and make the dish look gorgeous when served. Use vanilla pudding to let the fruit flavors shine through. This version is a crowd favorite in summer. - Caramel Banana Pudding
Drizzle 2 to 3 tablespoons of caramel sauce over each banana layer before adding the pudding. It adds a warm, buttery sweetness that enhances the whole dish. Use chessmen cookies instead of vanilla wafers, as their buttery flavor pairs perfectly with the caramel. A sprinkle of sea salt on top ties everything together beautifully. - Lighter Version
Skip the cream cheese and condensed milk entirely. Use sugar-free instant pudding, low-fat milk, and light Cool Whip. The result is noticeably lighter in both calories and texture. It won’t be as thick or rich, but it’s still delicious and much easier on the waistline. This is a great option if you’re watching what you eat but still want dessert. - Cookies and Cream Banana Pudding
Replace the vanilla wafers with crushed Oreo cookies. Use chocolate pudding mix to lean into the cookies and cream theme. The Oreos soften just like the wafers do overnight, creating dark, chocolatey layers between the banana and pudding. This version always gets people’s attention at parties. - Individual Serving Cups
Instead of one large dish, layer everything into mason jars, clear plastic cups, or ramekins. This is perfect for parties, potlucks, or meal prepping individual portions for the week. Cover each cup with plastic wrap and refrigerate. No scooping, no mess, and everyone gets their own serving. Kids especially love having their own personal cup.
What to Serve With It
Banana pudding is a satisfying dessert on its own, but it fits well into almost any menu. Here’s how to build a meal around it.
- At a Summer BBQ or Cookout
This is where banana pudding truly shines. It’s the perfect finish after a big, savory spread. Serve it alongside Grilled ribs or pulled pork, Classic coleslaw, Corn on the cob and Baked beans; - At a Family Dinner
Banana pudding works just as well on a regular weeknight as it does at a big gathering. Pair it with: Fried or baked chicken, Macaroni and cheese, Collard greens or roasted vegetables; and Dinner rolls. - At a Potluck or Holiday Table
When you need a dessert that travels well and serves a crowd, banana pudding delivers every time. It sits comfortably alongside:
- Other no-bake desserts; like a fruit salad or cheesecake bars, keeping the dessert table light and varied.
- Peach cobbler or apple pie; classic Southern desserts that go well with banana pudding without competing with it.
- A simple cheese board; for gatherings where people graze before dessert comes out.
When to Serve It
Banana pudding fits almost every occasion without feeling out of place. Here are the moments it works best:
- Weeknight treat, quick to make and satisfying after a long day.
- Sunday family dinner, feels homemade and special without much effort.
- Potlucks and block parties, travels well, feeds a crowd, and always gets compliments.
- Baby showers and birthday parties, crowd-pleasing and easy to serve in individual cups.
- Holiday gatherings, a no-bake dessert that frees up your oven for everything else.
- Meal prep dessert, portion into cups on Sunday and enjoy throughout the week.
Storage and Make-Ahead Instructions
One of the best things about banana pudding is that it actually gets better with time. Here’s everything you need to know about storing it, preparing it ahead of time, and keeping it fresh.
- Storing Leftovers in the Fridge
Cover the dish tightly with plastic wrap or move leftovers into an airtight container. Banana pudding stays good in the refrigerator for up to 3 days. The texture on day two is honestly better than on day one; the wafers have softened fully, and every layer blends together nicely.
By day three, the bananas will start to brown, and the wafers will be very soft. It still tastes good, but the texture and appearance aren’t at their best. Try to finish it within three days for the best experience. - Make-Ahead Instructions
This is one of the easiest desserts to prepare ahead of time. Here’s how to do it:- Up to 24 hours ahead – Assemble the entire dish, including all layers, but skip the top layer and garnish. Cover it tightly with plastic wrap and refrigerate. Add the final Cool Whip layer and crushed wafer topping a few hours before serving. This keeps the topping looking fresh and stops the garnish from getting soggy.
- Up to 48 hours ahead – You can prepare the complete dish this far in advance if you need to. Just keep in mind that the bananas will be softer and may brown by the time you serve it. The flavor will still be great. Toss the banana slices in lemon juice before layering to slow the browning as much as possible.
- Keeping Bananas Fresh Longer
Browning bananas are the biggest challenge with this recipe. Here are three ways to slow it down:- Lemon juice – Lightly toss sliced bananas in fresh lemon juice before layering. This is the most effective method and adds no noticeable lemon flavor to the finished dish.
- Pineapple juice – Works the same way as lemon juice but adds a very subtle tropical sweetness. It’s a great option if you have it on hand.
- Layer bananas in the middle -Keep banana slices away from the top and bottom layers, where they’re more exposed. Placing them between pudding layers slows browning naturally.
- Meal Prep Tips
If you want to enjoy banana pudding throughout the week without making a full trifle dish all at once, here’s a smarter approach:
-
- Layer into individual mason jars or cups – Portion everything into single-serving containers right from the start. Grab one from the fridge whenever you want a serving. No scooping, no mess.
- Store bananas separately – If you’re meal prepping for the week, keep sliced bananas in a separate container tossed in lemon juice. Add them to each serving just before eating. This keeps the bananas looking and tasting fresh for longer.
- Make the pudding base ahead – The cream cheese and pudding mixture can be made up to two days in advance and stored in the fridge. Assemble the full dish or individual cups when you’re ready.
Frequently Asked Questions
These are the questions I get asked most often about this recipe. If you have something on your mind, the answer is probably here.
- Can I use homemade pudding instead of instant?
Yes, you can. Homemade custard-style pudding tastes great in this recipe and adds an extra layer of richness. The key is to let it cool completely before layering. Hot or even warm pudding will make the wafers collapse and turn the whole dish watery. Pour it into a bowl, press plastic wrap directly onto the surface to prevent a skin from forming, and refrigerate until fully cold before assembling. - Why is my pudding not thick enough?
There are a few common reasons this can happen. The most likely reason is warm milk. Instant pudding needs cold milk to set properly. Another possibility is not enough mixing time. Whisk the pudding and milk together for a full two minutes, then let it rest for five minutes before mixing it with the cream cheese. If you skip the cream cheese, the pudding will naturally be thinner. Adding the cream cheese and condensed milk gives this recipe a thick, stable consistency. - Can I make this recipe without Cool Whip?
Yes. Fresh whipped cream works well as a substitute. Use 1 to 1.5 cups of heavy whipping cream beaten to stiff peaks. It has a more natural and less sweet taste than Cool Whip. The downside is that fresh whipped cream deflates faster in the fridge, especially after the first day. If you’re making this more than a few hours ahead, Cool Whip holds up better. If you’re serving it the same day, fresh whipped cream is a great option. - How do I know when the bananas are ripe enough?
Look for bananas that are fully yellow with small brown spots starting to show. At this stage, they’re sweet, soft, and full of flavor, which is exactly what you want inside the pudding. Avoid green-tipped bananas, as they taste starchy and bland. Also, avoid bananas that are heavily black or completely soft. They will turn mushy inside the layers and release too much moisture into the pudding. - Can I use banana pudding mix instead of vanilla?
Yes, that’s a great choice if you want a stronger banana flavor throughout. Banana cream pudding mix deepens the banana taste in every layer, not just where the fresh banana slices are. Keep everything else in the recipe the same. Just know that the flavor will be more intensely banana, which some people love while others might find it a bit too sweet. Try it both ways and see which one your family prefers. - Why do I need to let it chill for so long?
The chill time is what transforms this dish. As the pudding sits in the fridge, the wafers absorb moisture from the pudding and soften into an almost cake-like texture. The layers settle and firm up. The flavors meld together into something cohesive and satisfying. Four hours is the minimum, but overnight is ideal. Serving it too soon is the most common mistake people make with this recipe. Be patient; it’s completely worth the wait. - Is this recipe gluten-free?
The standard recipe is not gluten-free because of the vanilla wafers. However, it’s easy to make it work. Simply swap the vanilla wafers for your favorite gluten-free vanilla cookies. Everything else in the recipe the pudding mix, cream cheese, condensed milk, Cool Whip, and bananas are naturally gluten-free. Just double-check the labels on your pudding mix and Cool Whip to be sure, as formulations can vary by brand.
The Best Homemade Banana Pudding
Ingredients
Method
- Pour the cold milk into a large bowl. Add both boxes of instant pudding mix. Whisk for about two minutes until it starts to thicken.
- Add the sweetened condensed milk and beat until fully combined and smooth. Set it aside and let it sit for five minutes. It will continue to firm up as it rests.
- In a separate bowl, beat the softened heavy cream and vanilla with a hand mixer on medium speed until smooth.
- Add half the heavy cream mixture to the pudding bowl. Stir until fully combined. The mixture should be thick, creamy, and smooth.
- Slice your bananas into coins before layering. Aim for slices about a quarter inch thick; thin enough to layer easily but thick enough to hold their shape.
- To assemble your banana pudding, spread a thin layer of pudding across the bottom of your trifle bowl. This keeps the wafers from sliding around.
- Add a single layer of vanilla wafers across the entire base.
- Arrange banana slices evenly over the wafers. Cover as much surface as you can.
- Spoon half of the remaining pudding mixture over the bananas and spread it evenly with a spatula.
- Add another layer of wafers, then bananas, and then the rest of the pudding.
- Repeat the process until the trifle bowl is almost full.
- Sweeeten the remaining whipped cream with sugar and spread the cream across the top in an even layer.
- Dollop on top of the banana pudding
- Crush a small handful of vanilla wafers and sprinkle them over the top just before serving
- Cover the dish tightly with plastic wrap and refrigerate for at least 4 hours.
- Serve and enjoy
sugar