3 Ingredient Peanut Butter Cookies (Easy, Chewy, and Gluten-Free)
Peanut butter cookies made with only three ingredients? That can’t actually work. It does. Once you try these, you’ll wonder why you ever made cookies any other way.
All you need is peanut butter, sugar, and one egg. No flour, no butter, no mixer, no fuss. Just three everyday ingredients that come together in about 20 minutes, from bowl to oven to plate.
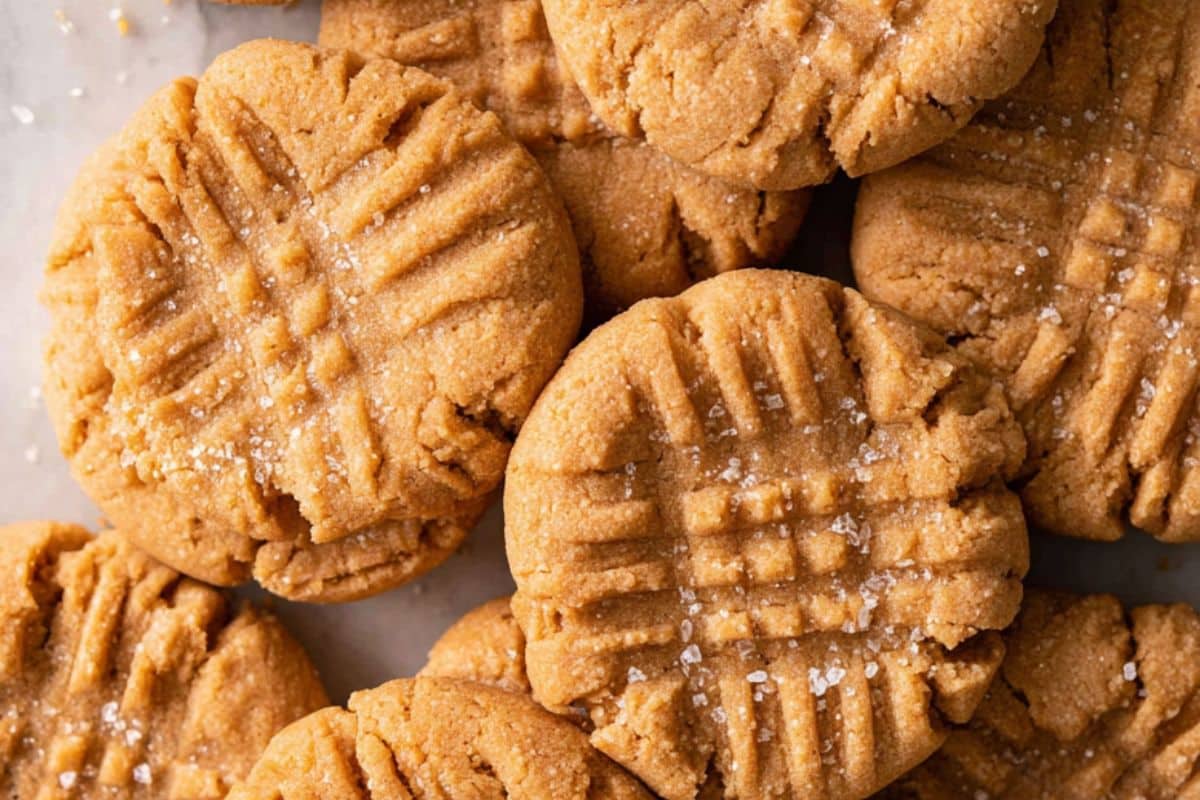
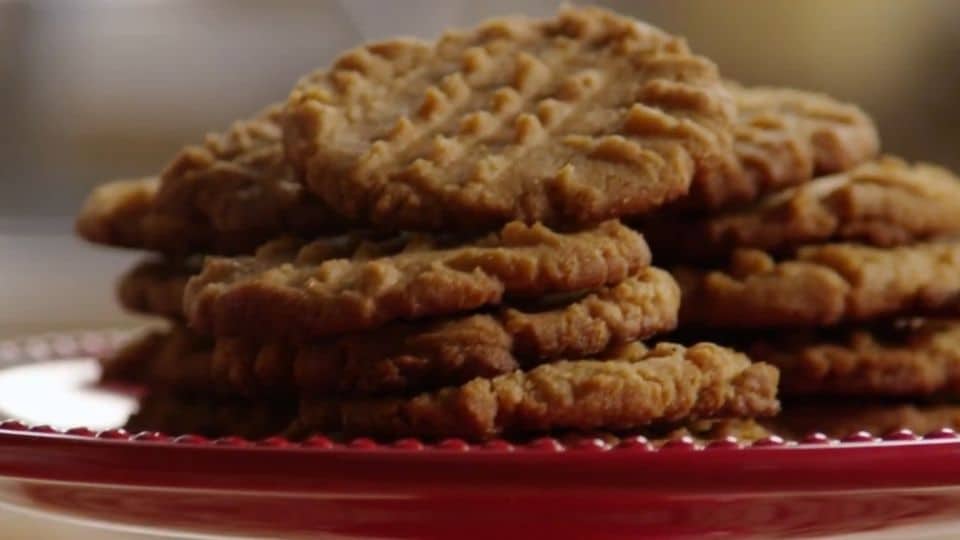
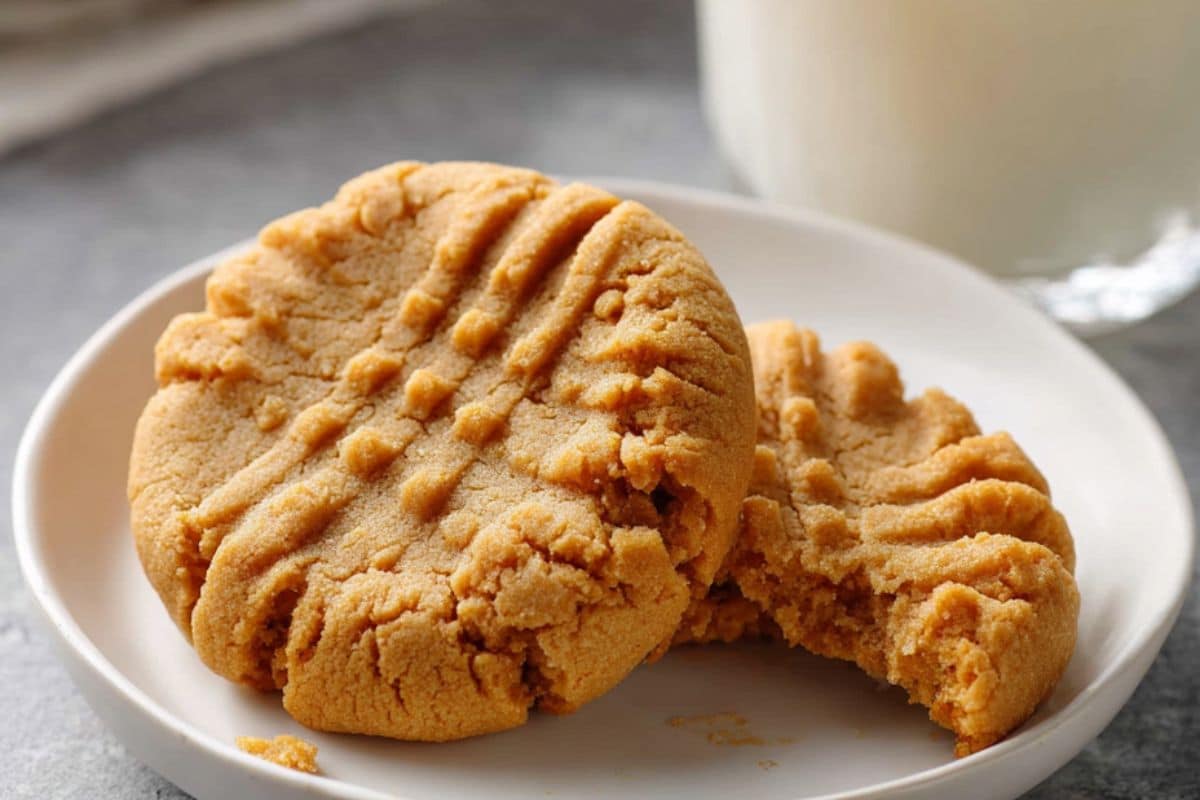
These cookies have crispy edges and a soft, chewy center. The peanut butter flavor is rich and bold. There’s a natural sweetness without anything tasting overdone. Every bite is satisfying in that simple, homemade way that’s hard to beat.
I make these when I need something quick for the lunchboxes. I make them when unexpected guests show up. I make them when I want something sweet but don’t want to dirty half the kitchen. They always deliver.
The best part? You don’t need any baking experience. If you can stir a bowl and use an oven, you can make these cookies. They’re practically foolproof, and I’ll walk you through every step to ensure yours turn out perfectly.
One more thing worth mentioning. Since there’s no flour in this recipe, these cookies are naturally gluten-free. If you’re cooking for someone with a gluten sensitivity, this recipe is a great no-compromise option that everyone at the table will enjoy.
Ready? Let’s make the easiest cookies of your life.
Why You’ll Love This Recipe
This is one of those recipes that deserves a regular spot in your collection. Here’s why:
- Only 3 ingredients: peanut butter, sugar, and an egg. That’s it.
- Ready in 20 minutes: mix, scoop, bake, and you’re done. It’s faster than driving to the store for a packet of biscuits.
- No special equipment: no mixer, no food processor, and no fancy tools. Just a bowl, a fork, and a baking sheet.
- Naturally gluten-free: no flour means no need for substitutions for gluten-sensitive friends and family. It’s built right into the recipe.
- Beginner-friendly: if you’ve never baked a cookie before, start here. There’s very little that can go wrong.
- Easy to customize: add chocolate chips, sprinkle some sea salt, or swirl in jam. The base recipe is simple enough for you to make it your own.
- Budget-friendly: a full batch costs less than one or two dollars using ingredients you likely have in your pantry.
- Kid-approved and easy for kids to help make: it’s simple enough for little hands to assist with the rolling and fork pressing.
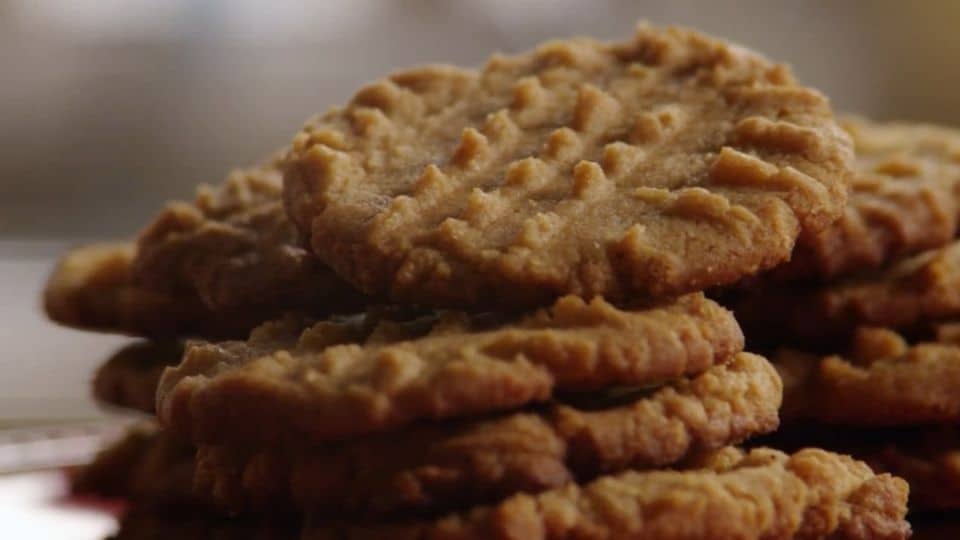
- Stores well: make a batch today and enjoy them all week.
Ingredient Notes
You only need three ingredients, but choosing the right ones is important. Here’s what to know before you start.
- Peanut Butter
This is the star ingredient. Use regular, creamy peanut butter. Brands like Jif, Skippy, or any supermarket equivalent work well. These contain extra sugar and stabilizers that help the cookies keep their shape and bake evenly. Avoid natural peanut butter if possible. The separated oil and rough texture can make the dough unpredictable. Your cookies might spread too much, crumble, or become greasy. If natural peanut butter is your only option, stir it very well first and expect different results. Chunky peanut butter works well if you like some texture in each bite. The cookies will hold together just as well. - Sugar
Sugar does more than sweeten. It helps the cookies spread, set, and get those slightly crisp edges. White granulated sugar is the classic choice. It offers a clean, sweet flavor and a light crisp to the cookie’s outside. Brown sugar is a great alternative if you want chewier, slightly softer cookies with a hint of caramel warmth. You can also mix half white and half brown for the best of both. Avoid liquid sweeteners like honey or maple syrup. They add too much moisture and the dough won’t hold together properly. - Egg
The egg is your binder. It keeps everything together and gives the cookies structure. One large egg at room temperature is all you need. Room temperature is important; a cold egg straight from the fridge doesn’t mix smoothly with the peanut butter. - Vegan or egg-free? Make a flax egg instead. Mix 1 tablespoon of ground flaxseed with 3 tablespoons of water. Let it sit for 5 minutes until it becomes gel-like, then use it just like a regular egg. The cookies will be a bit softer and denser, but they’ll still taste great.
How to Make 3 Ingredient Peanut Butter Cookies
This is truly one of the easiest recipes you’ll ever make. You won’t chill the dough, cream butter, or sift flour. Just mix, scoop, press, and bake. Here’s how to do it.
Step 1: Preheat Your Oven
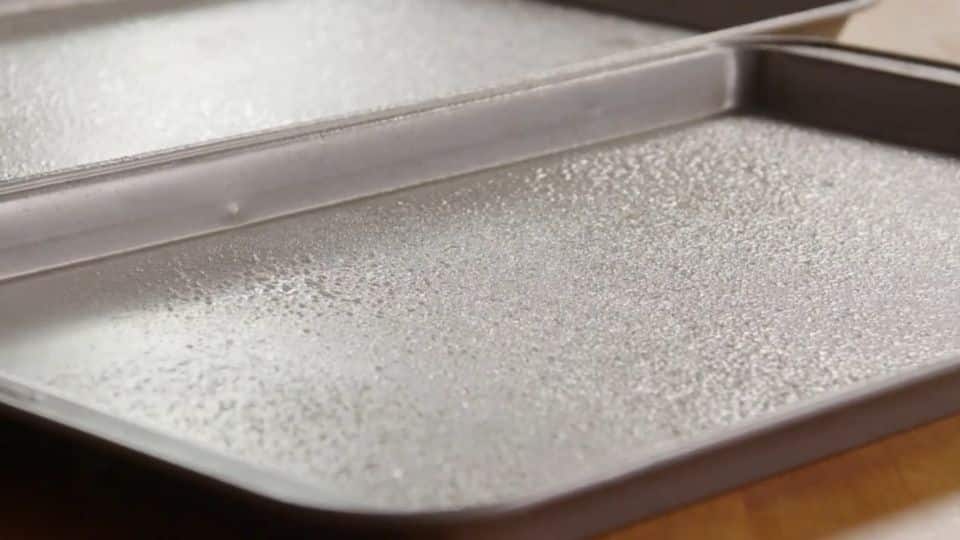
Set your oven to 180°C (350°F). Line your baking sheet with parchment paper or lightly grease it.
Step 2: Mix the Dough
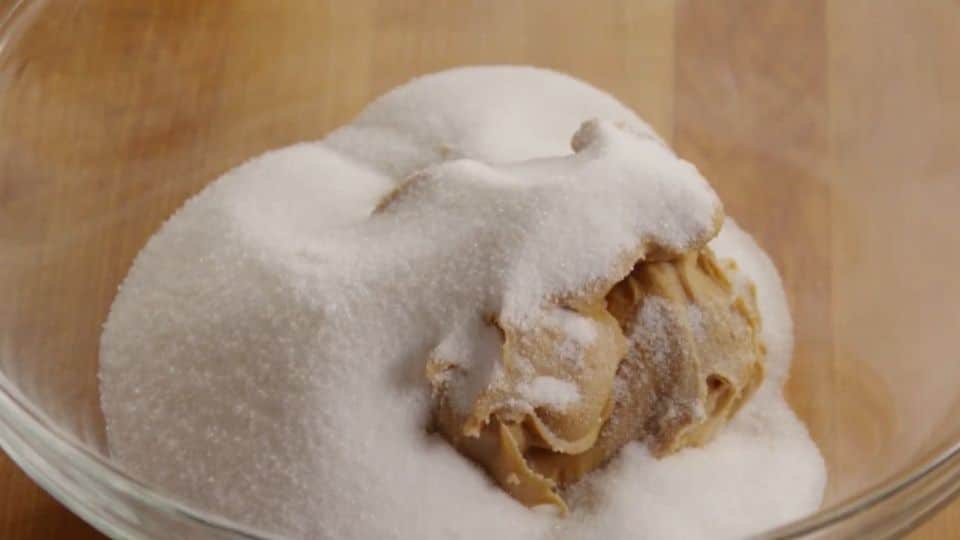
Add the peanut butter, and sugar and combine.
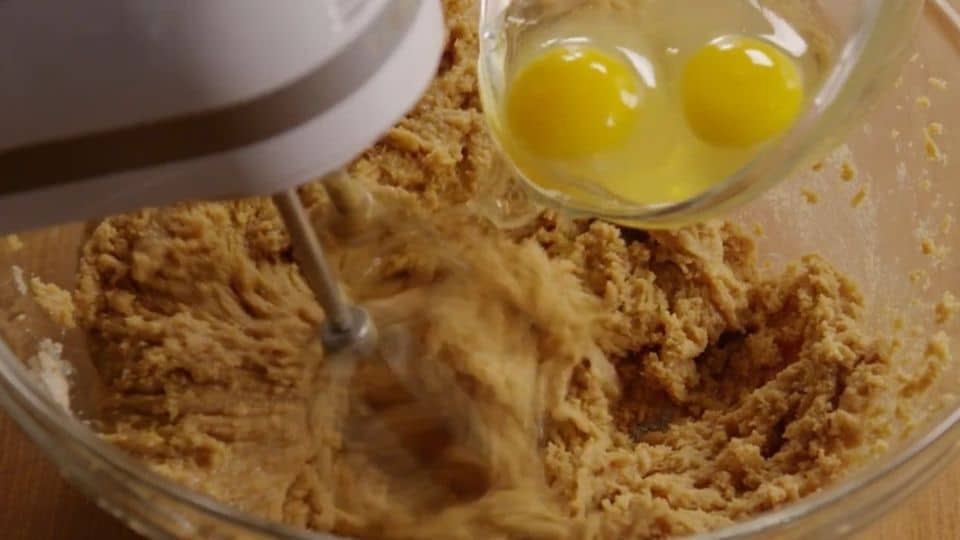
Step 4: Add in your eggs
Add in eggs and vanilla extract to your mixing bowl. Stir until everything is fully combined. The dough will come together quickly usually in about a minute. It will feel stiffer and denser than regular cookie dough. That’s normal. Don’t add liquid to loosen it.
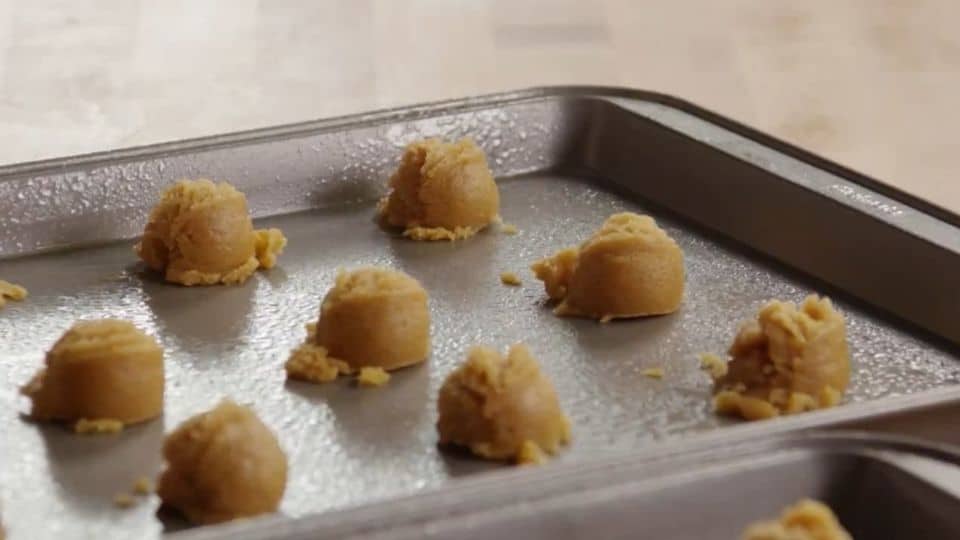
Step 3: Scoop and Roll
Scoop about 1 tablespoon of dough and roll it between your palms into a smooth ball. Place it on your prepared baking sheet. Repeat until all the dough is used, spacing the balls about 2 inches apart. They will spread a little while baking. Or better yet use a cookie scoop.
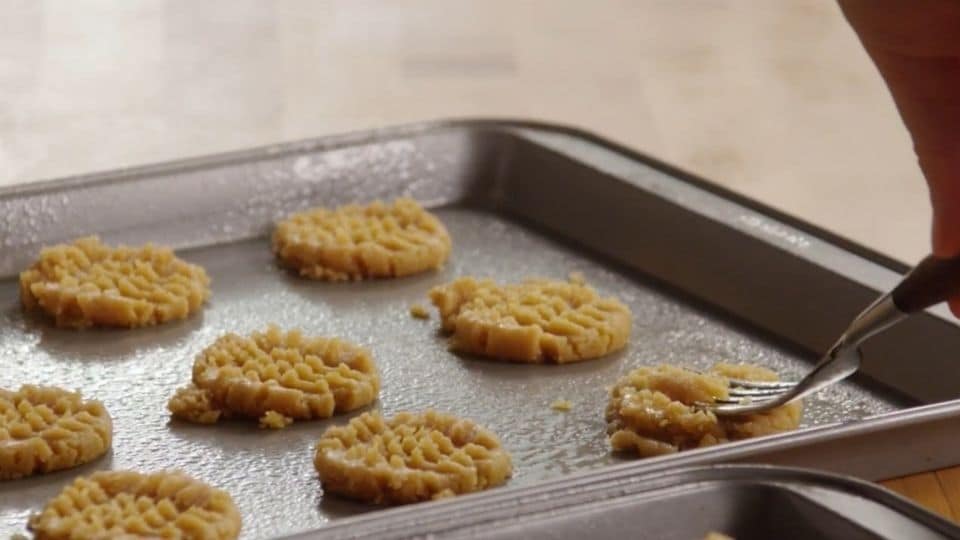
Step 4: Press With a Fork
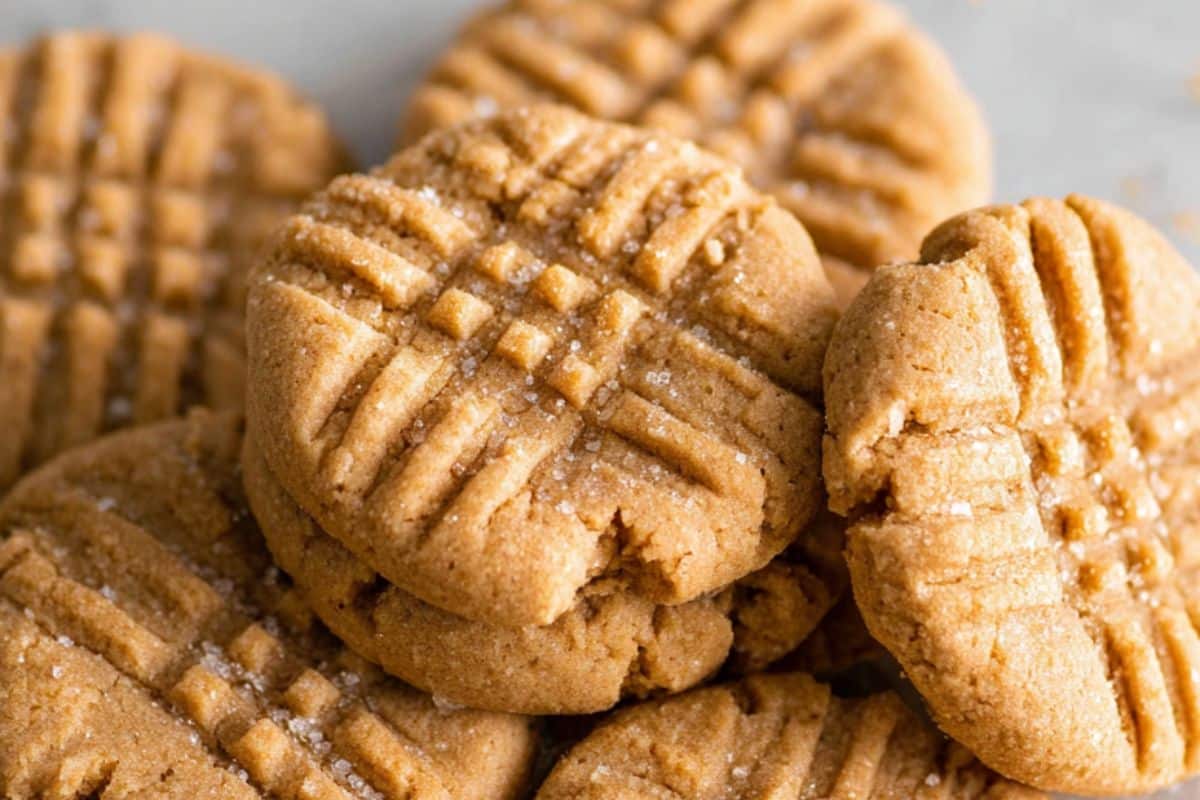
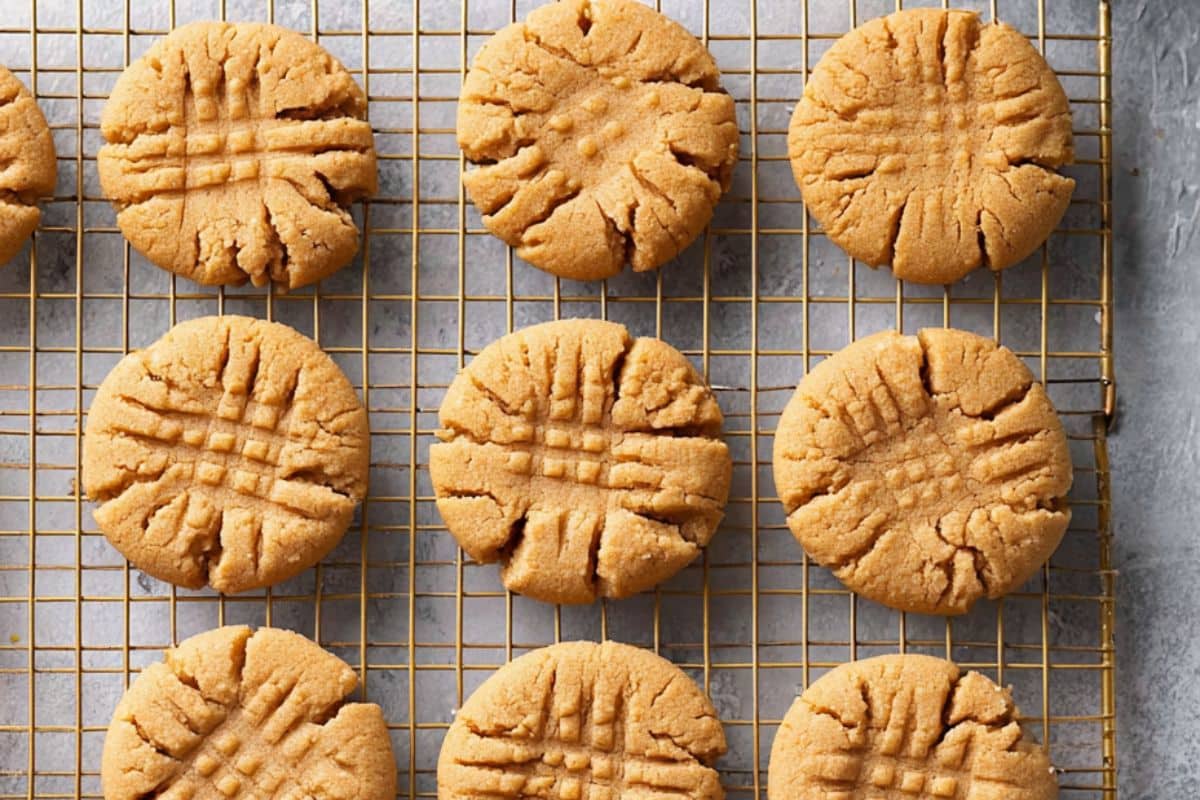
Use a fork to press each dough ball down gently, creating the classic crosshatch pattern. Press in one direction, then again in the opposite direction. This step does two things. It flattens the cookie to the right thickness for even baking. It also gives them that recognizable peanut butter cookie look that everyone loves.
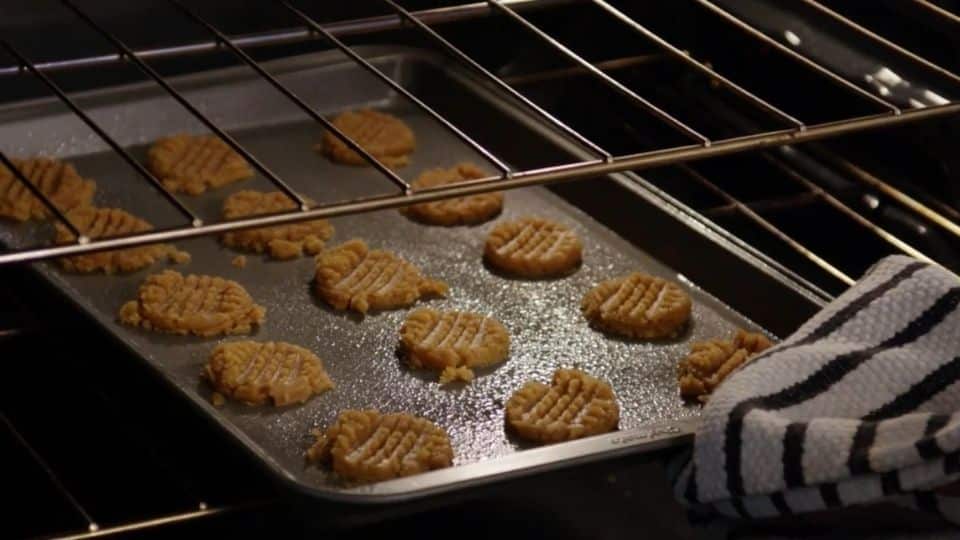
Step 5: Bake
Slide the baking sheet into your preheated oven and bake for 10 to 12 minutes.
Look for the edges to be just set and lightly golden. The centers may still look slightly soft when you take them out. That’s exactly what you want.
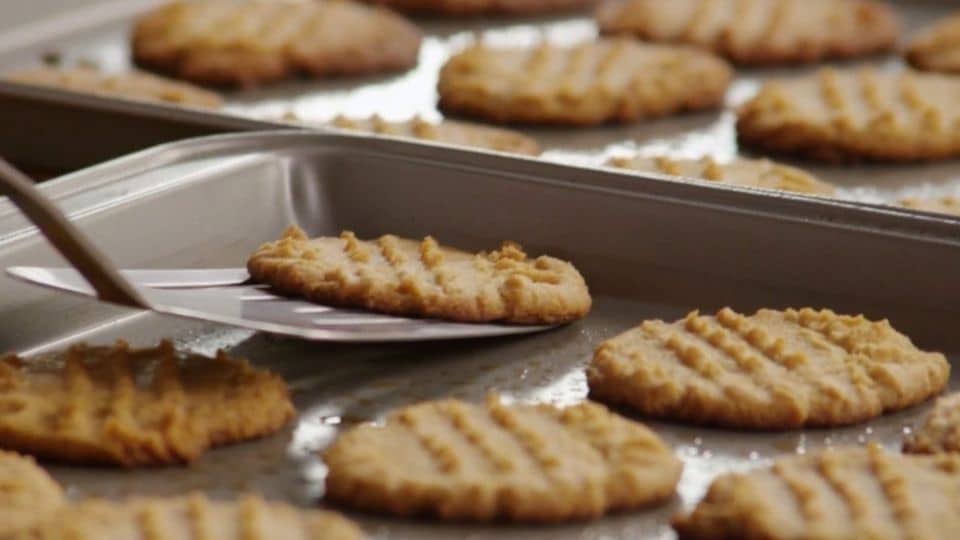
Step 6: Cool on the Pan
Leave the cookies on the baking sheet for at least 5 minutes before moving them.
Fresh out of the oven, these cookies are very fragile. They need time to set.
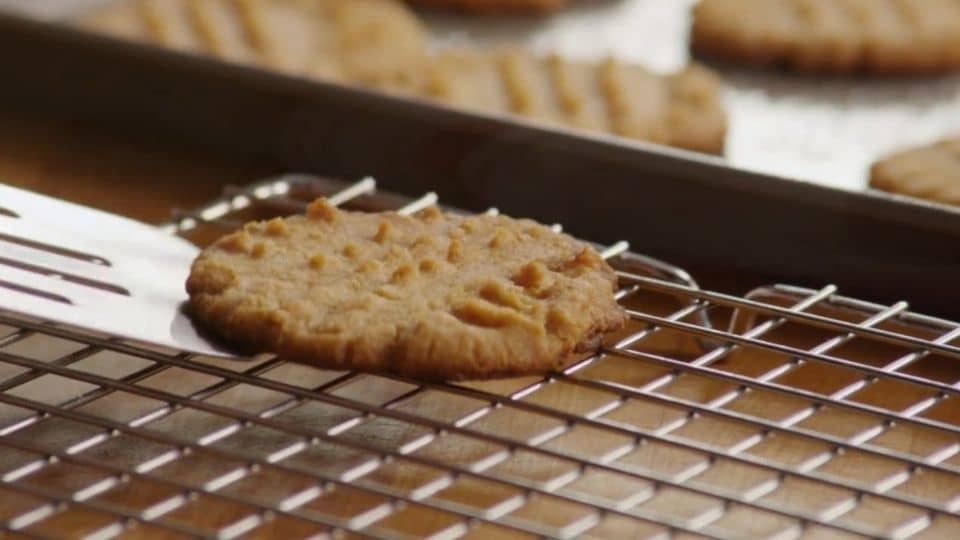
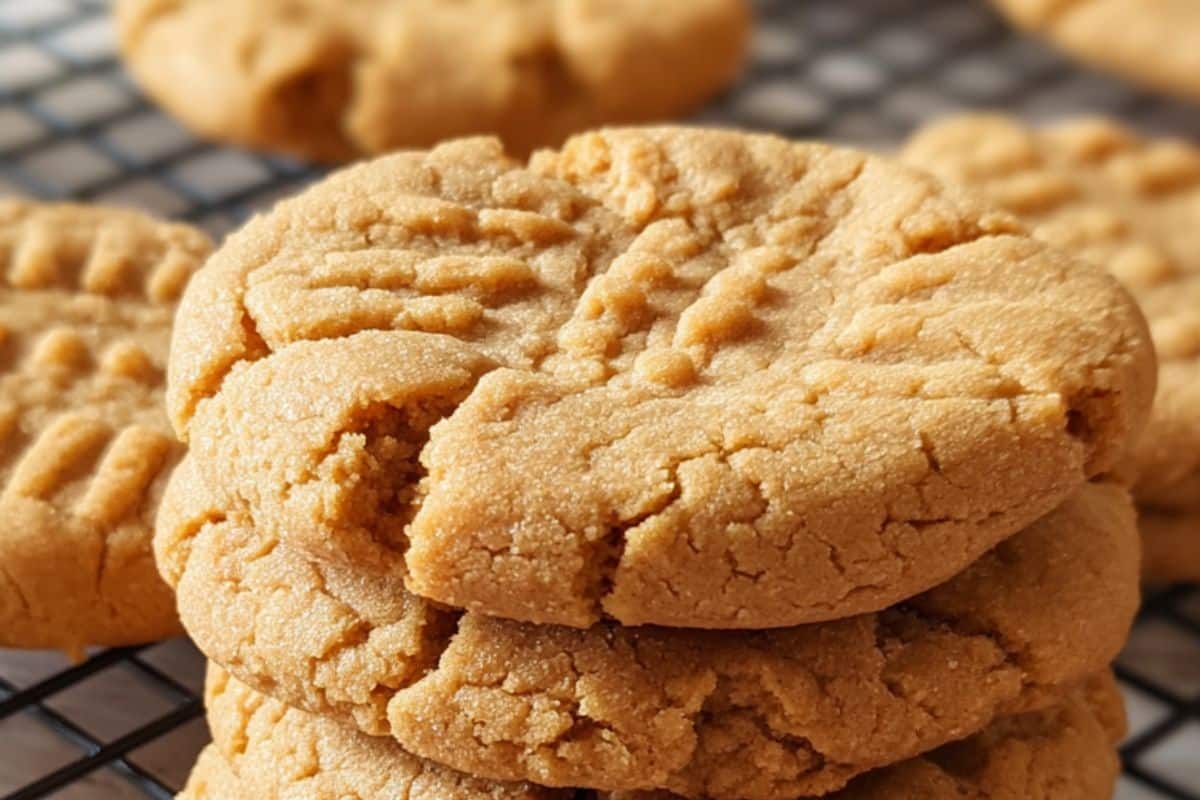
After 5 minutes, carefully transfer them to a wire cooling rack and let them cool completely.
Recipe Success Tips
These cookies are simple, but a few small things make the difference between good cookies and really great ones. Here’s what I’ve learned from making these again and again.
- Pull them out earlier than you think.
This is the biggest mistake people make with this recipe. The cookies will look underdone when you take them out at 10 to 12 minutes. That’s okay. The centers should look soft and a bit shiny. They firm up as they cool on the pan. If you leave them in too long, they become dry and crumbly, and you can’t fix that. - Don’t skip the cooling time on the pan.
These cookies are very fragile when hot. Give them a full 5 minutes on the baking sheet before moving them. They need that time to set. Rushing this step is the second most common reason for the cookies to fall apart. - Use room temperature peanut butter and egg.
Cold peanut butter is stiff and hard to mix evenly. A cold egg doesn’t incorporate as smoothly. Both ingredients from a warm pantry mix together quickly. If your peanut butter has been refrigerated, let it sit out for 20 to 30 minutes before you start. - Stick to conventional peanut butter.
Natural peanut butter acts differently in this recipe. The unstabilized oils affect how the dough holds together and how the cookies bake. Store bought peanut butter the kind with a bit of added sugar and oil gives you consistent, reliable results every time. - Keep your cookies the same size.
Uneven cookies mean uneven baking. The smaller ones will overbake while the larger ones are still underdone. A tablespoon cookie scoop is a great tool for any home baker. If you don’t have one, use a regular tablespoon and try to keep each portion as similar as possible. - Add a pinch of flaky salt on top.
Okay, this technically brings you to four ingredients. But a small pinch of flaky sea salt pressed onto each cookie just before baking makes a big difference. It enhances the peanut butter flavor, balances the sweetness, and makes these taste like something from a bakery. Don’t skip it if you have it. - Chill the dough if your kitchen is warm.
In a hot kitchen, the dough can feel soft and sticky, making it harder to roll. If that happens, cover the bowl and refrigerate the dough for 15 to 20 minutes. It firms up and becomes much easier to handle. This is especially helpful in summer or if you’re baking in a warm space.
Variations and Ingredient Swaps
The base recipe is brilliant in its simplicity. After you’ve made it once, it’s fun to experiment. Here are my favorite ways to change things up, all easy and delicious.
- Chocolate chips
This is the most popular variation for good reason. Fold in ½ cup of chocolate chips after mixing the dough. The chocolate melts slightly during baking and goes perfectly with the salty peanut butter base. Semi-sweet chips work best, but dark or milk chocolate both work beautifully. - Chopped peanuts
Stir in ¼ cup of roughly chopped roasted peanuts for extra crunch and a stronger peanut flavor. This is great if you love texture in every bite. - Reese’s pieces or M&Ms
Press a few pieces into the top of each cookie before baking instead of using the fork. This adds fun for kids, makes great birthday treats, or anytime you want a little color and crunch. - Mini marshmallows
Press two or three mini marshmallows into the top of each cookie during the last 2 minutes of baking. They puff, toast slightly, and create a s’mores-inspired finish that people absolutely love. - Replace the egg with a flax egg – 1 tablespoon ground flaxseed mixed with 3 tablespoons water, rested for 5 minutes. The cookies will be slightly softer and denser but still hold together well and taste great.
- Nut-free version
Sunflower seed butter is the most reliable substitute for a nut-free household. The flavor is slightly different but still delicious. Just keep in mind that sunflower seed butter can cause cookies to turn a greenish color after baking due to a natural chemical reaction. It’s completely safe to eat; just worth knowing. - Fun Finishing Touches
Drizzle with melted chocolate after cooling for a bakery-style finish.
Sandwich two cookies with a spoonful of Nutella or jam in the middle.
Roll the dough balls in cinnamon sugar before pressing for a snickerdoodle-inspired twist.
Press a chocolate kiss into the center of each cookie straight out of the oven for a classic peanut butter blossom.
What to Serve With It
These cookies are delicious right off the cooling rack. But pairing them well makes them even better. Here are my favorite ways to serve them depending on the occasion.
- A cold glass of milk
This is the best pairing for a reason. The cool, creamy milk cuts through the richness of the peanut butter and perfectly balances the sweetness. Both dairy and non-dairy options work; oat milk and almond milk are particularly good here. - Hot coffee or espresso
The slight bitterness of good coffee balances the sweetness and makes the peanut butter flavor stand out more. I love these alongside my morning coffee as a small, satisfying treat. - Hot tea
A warm mug of black tea, chai, or even a simple green tea pairs beautifully with these cookies. The warmth softens the cookie slightly if you dip it, and the mix of flavors is really lovely. - Vanilla ice cream
Serve two or three warm cookies with a scoop of good vanilla ice cream. The contrast of warm cookie and cold ice cream is hard to beat. You can also sandwich a small scoop between two cookies for an easy homemade ice cream sandwich. - Hot chocolate
Perfect for cold evenings or as an after-school treat. The chocolate and peanut butter combination is a classic for good reason. It’s rich, warming, and deeply satisfying.
Storage and Make-Ahead Instructions
One of the best things about this recipe is how well it keeps. Make a full batch on Sunday, and you’ll have a treat ready all week. Here’s what you need to know about storing, freezing, and preparing in advance.
- Room Temperature Storage. Store fully cooled cookies in an airtight container at room temperature for up to 5 days.
Place a sheet of parchment paper between layers if you stack them. This prevents sticking and keeps the edges from chipping. Keep the container away from direct sunlight or heat sources. - Refrigerator Storage. These cookies stay good in the fridge for up to 2 weeks in an airtight container.
- Freezer Storage – Baked Cookies. These cookies freeze well. Here’s how to do it:
- Make sure cookies are completely cooled before freezing; never freeze warm cookies.
- Lay them in a single layer on a baking sheet and freeze for 1 hour until solid.
- Transfer to a zip-lock freezer bag or airtight container, layering with parchment paper between each layer.
- Label with the date and freeze for up to 3 months.
- Freezer Storage – Raw Dough. Freezing the raw dough is my favorite make-ahead trick for this recipe. It means fresh-baked cookies are never more than 15 minutes away. How to freeze the dough:
- Roll the dough into balls as usual.
- Place on a lined baking sheet and freeze until solid about 1 hour.
- Transfer the frozen balls to a zip-lock bag and freeze for up to 3 months.
- Label the bag with the date and baking instructions.
- Make-Ahead Dough – Refrigerator
If you’re planning to bake these the same day or the next morning, you can refrigerate the dough instead of freezing it.
Cover the bowl tightly with plastic wrap or move the dough to an airtight container. Refrigerate for up to 48 hours.
Chilled dough is actually easier to roll and handle than fresh dough. Plus, resting the dough overnight in the fridge slightly deepens the flavor. The cookies taste a bit richer and more developed. It’s worth trying if you have the time to plan ahead.
Frequently Asked Questions
These are the questions I see most often about this recipe. If you have something on your mind before you start baking, chances are the answer is right here.
- Do these 3 ingredient peanut butter cookies actually taste good?
Yes, they really do. The peanut butter flavor is bold, rich, and satisfying in every bite. They are not the same as a classic flour-based cookie. The texture is denser and more fudgy. But most people who try them love them just as much; many even prefer them. The simplicity is part of what makes them so good. - Why did my cookies fall apart or crumble?
A few things could cause this. The most common reason is moving the cookies too soon after baking. These cookies are very fragile when hot and need a full 5 minutes to set on the pan before you handle them. The second most common cause is using natural peanut butter. The unstabilized oils in natural peanut butter affect how the dough holds together. Overbaking is the third reason; dry cookies crumble easily. Pull them out while the centers still look slightly soft. - Can I make these without eggs?
Yes. A flax egg works well as a replacement. Mix 1 tablespoon of ground flaxseed with 3 tablespoons of water and let it sit for 5 minutes until it becomes gel-like. Use it just like a regular egg. The cookies will be slightly softer and denser in texture, but they hold together well and taste great. This also makes the recipe fully vegan. - Are these cookies gluten-free?
Yes, these are naturally gluten-free. There is no flour in this recipe, so there is nothing to substitute or swap. However, if you are baking for someone with a serious gluten intolerance or celiac disease, always check the labels on your peanut butter and sugar. Some brands are processed in facilities that also handle wheat. Look for a certified gluten-free label on the packaging to be safe. - Can I use natural peanut butter?
You can, but there are some things to keep in mind. Natural peanut butter behaves differently because it lacks the stabilizers found in regular brands. Your cookies may spread more, crumble slightly, or have a greasier texture. If natural peanut butter is your only option, stir it very thoroughly before measuring right down to the bottom of the jar to make sure the oil is fully mixed in. Chilling the dough for 20 minutes before baking also helps. - Can I double or triple the recipe?
Absolutely. The ratio scales perfectly. Two cups of peanut butter, two cups of sugar, and two eggs will give you roughly 40 cookies. Triple it for a large batch for events, bake sales, or freezing ahead. Mix in a large bowl and bake in batches. Everything else about the method stays exactly the same. - Why do my cookies look underdone when I take them out of the oven?
They are supposed to. This is one of the trickiest parts of this recipe for first-time bakers. The cookies continue cooking on the hot pan after you pull them from the oven. The centers firm up completely as they cool. If they look perfectly done in the oven, they will be overbaked and dry by the time they cool. Trust the timing, pull them out early, and let the pan do the rest of the work. - Can I reduce the sugar?
Yes. You can reduce the sugar to ¾ cup without the recipe falling apart. The cookies will be less sweet and slightly more crumbly but still very edible and enjoyable. Going below ¾ cup is not recommended; the sugar plays a structural role in this recipe as well as a flavor role, and reducing it too much affects how the cookies hold together and bake.
3 Ingredient Peanut Butter Cookies (Easy, Chewy, and Gluten-Free)
Ingredients
Method
- Set your oven to 180°C (350°F). Line your baking sheet with parchment paper or lightly grease it.
- In a bowl, add the peanut butter, and sugar and combine.
- Add in eggs and vanilla extract to your mixing bowl. Stir until everything is fully combined. The dough will come together quickly usually in about a minute. It will feel stiffer and denser than regular cookie dough. That’s normal. Don’t add liquid to loosen it.
- Using a cookie scoop and scoop about 1 tablespoon of dough.
- Place it on your prepared baking sheet. Repeat until all the dough is used, spacing the balls about 2 inches apart.
- Use a fork to press each dough ball down gently, creating the classic crosshatch pattern.
- Slide the baking sheet into your preheated oven and bake for 10 to 12 minutes.
- Leave the cookies on the baking sheet for at least 5 minutes before moving them.
- After 5 minutes, carefully transfer them to a wire cooling rack and let them cool completely.
- Enjoy!!