The Best Fudgy Brownies (One Bowl, No Mixer)
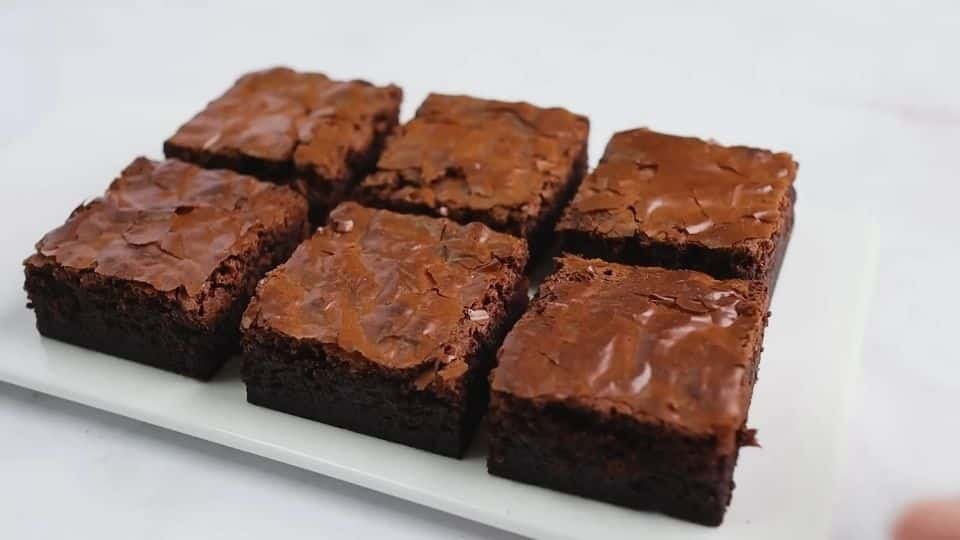
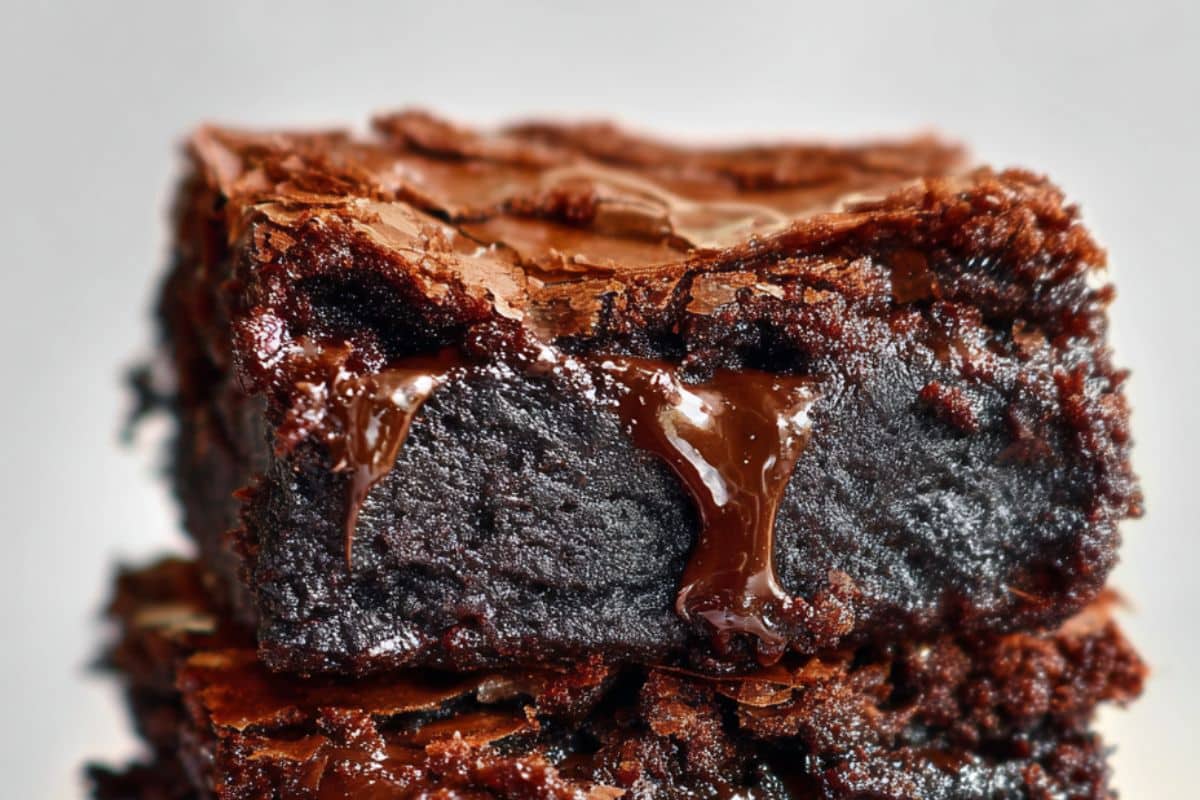
These fudgy brownies are rich, dense, and deeply chocolatey, with a signature crinkled top and a center that stays soft for days. You don’t need fancy equipment or tricky techniques. Just one bowl, a few pantry staples, and about 40 minutes from start to finish.
If you’ve ever pulled brownies out of the oven and thought, “These are too cakey,” this recipe is for you. The difference comes down to a few small but important choices: melted butter instead of softened, an extra egg yolk for richness, and just enough flour to hold everything together without drying it out. I’ll guide you through all of it.
These are the kind of brownies that make people ask you for the recipe. They are perfect for a weeknight treat, a bake sale, a gift box, or, honestly, just because it’s Tuesday and you want chocolate.
The best part? You probably already have everything you need.

Why You’ll Love This Recipe
- One bowl, minimal clean-up. Melt, stir, pour, bake. You won’t dirty an extra dish beyond your mixing bowl and pan.
- No mixer needed. Everything comes together with a wooden spoon or spatula.
- Made with pantry staples. Butter, sugar, eggs, flour, cocoa powder nothing you need to get specially.
- Ready in under 40 minutes. From pulling out your mixing bowl to sliding the pan into the oven takes about 10 minutes flat.
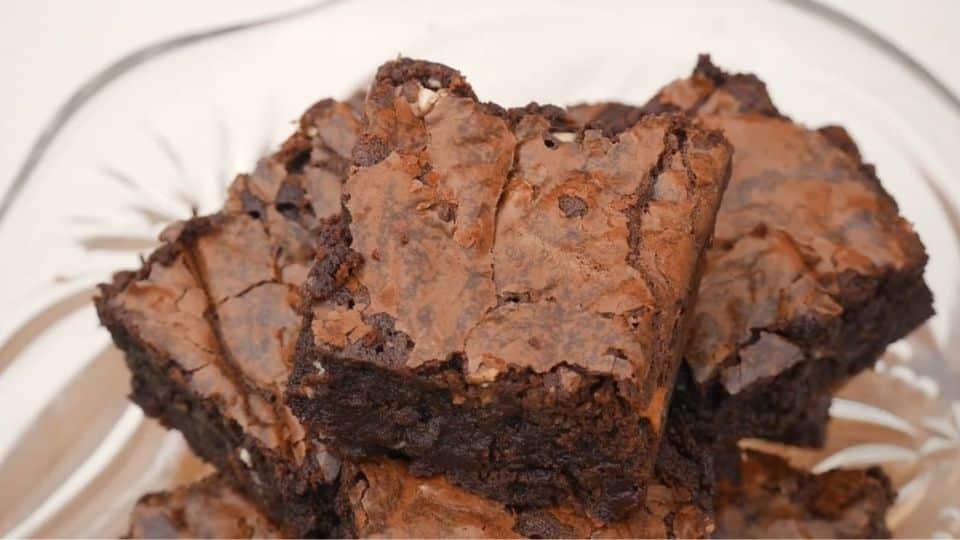
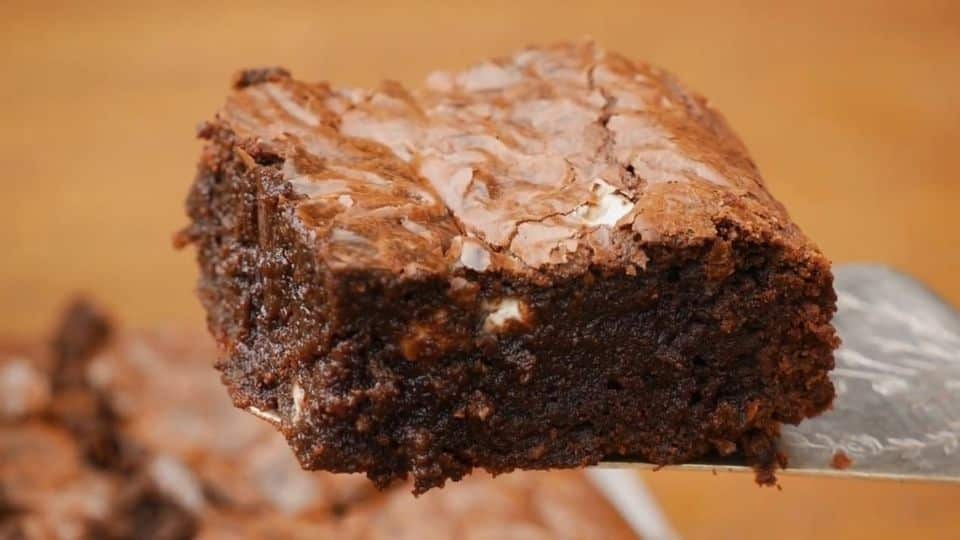
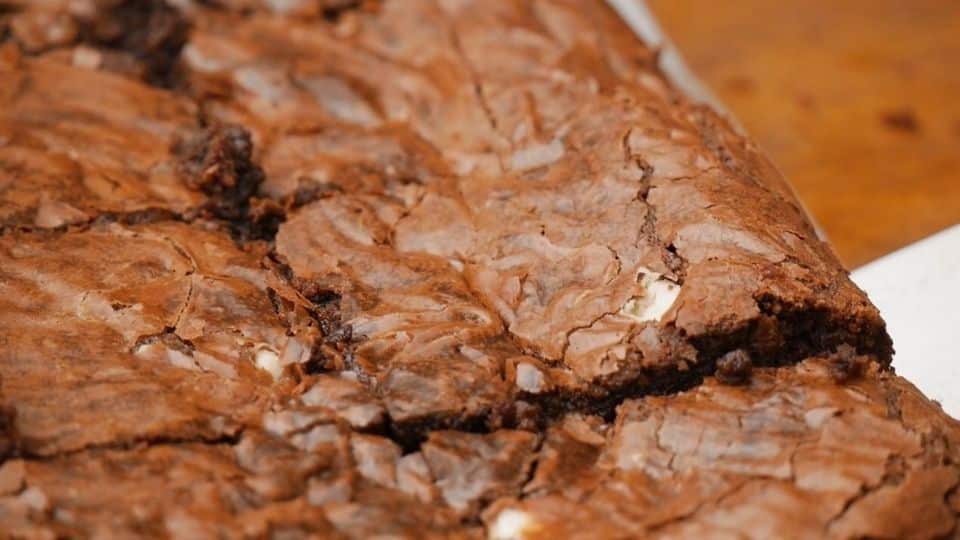
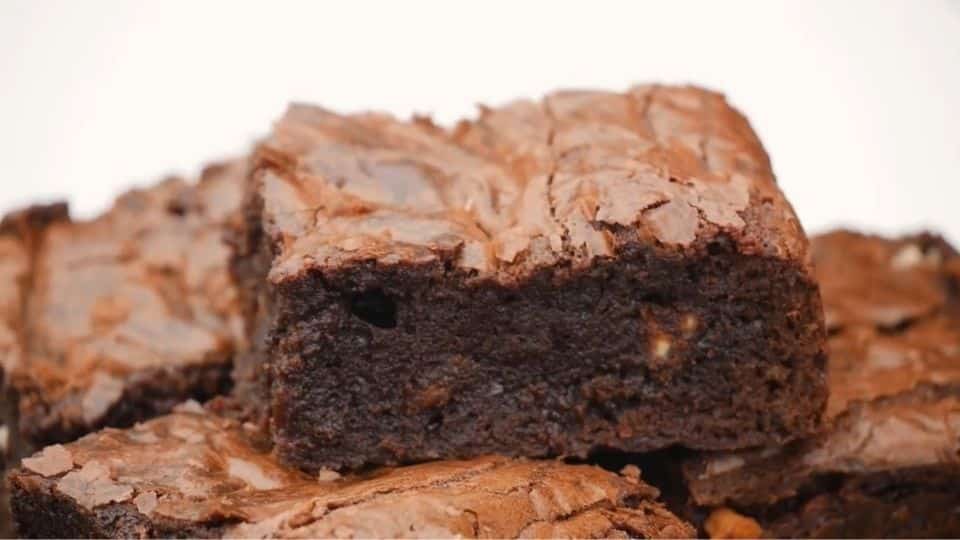
- That crinkle top, every time. You know the one. Papery, slightly crisp on the surface with a dense, fudgy center underneath. This recipe delivers it consistently.
- They get better the next day. The texture sets overnight and the chocolate flavor deepens. Make them the evening before and thank yourself in the morning.
- Endlessly customizable. Swirl in peanut butter, fold in walnuts, add a pinch of espresso powder, or top with flaky salt. The base recipe is a great canvas.
- Freezer-friendly. Cut into squares, wrap individually, and freeze for up to 3 months. Homemade brownies on demand always a good idea.
Ingredient Notes
You only need a few simple ingredients here. Each one serves a specific purpose, so it helps to know what that is before you start.
- Butter (melted, not softened)
Melted butter gives these brownies their dense, fudgy texture. If you’re in a hurry, coconut oil works as a 1:1 substitute for a dairy-free version. The flavor is slightly different but still delicious. - Cocoa powder
I use unsweetened Dutch-process cocoa for a deep, smooth chocolate flavor. Natural cocoa works too but gives a sharper, more acidic taste. For an even richer and more intense flavor, replace half the cocoa with melted dark chocolate. - Sugar (granulated + brown)
I usually use mostly granulated sugar with a small amount of brown sugar. The granulated sugar helps create that crinkle top. The brown sugar adds a bit of moisture and chew. You can use all granulated sugar if that’s what you have; the brownies will still turn out great. - Eggs + one extra yolk
This part of the recipe is crucial. The whole eggs provide structure. The extra yolk adds fat and richness without adding more whites, which can dry out the brownies. Make sure your eggs are at room temperature. Cold eggs mixed with melted chocolate can cause the mixture to seize and become grainy. - Flour
We use very little flour here on purpose. It’s just enough to hold the batter together. The less flour you use, the fudgier the brownie will be. Measure it carefully: spoon it into your measuring cup and level it off. Scooping straight from the bag packs in too much flour, which can lead to cakey brownies. - Salt
It balances the sweetness and enhances the chocolate flavor. I also like to finish the top of the batter with a pinch of flaky sea salt right before baking. It makes a real difference. - Vanilla extract
A small amount rounds out the flavor. If you want to boost the chocolate even more, add half a teaspoon of espresso powder along with the vanilla. You won’t taste the coffee; it just makes the chocolate taste more like chocolate. - Optional: chocolate chips
Fold in a handful of dark or semi-sweet chocolate chips into the batter before baking. They melt into little pockets of extra chocolate throughout. I highly recommend this.
How to Make Fudgy Brownies
The process is simple: melt, mix, bake. You can complete it in one bowl and it takes about 10 minutes of hands-on time. Here’s how to do it correctly.
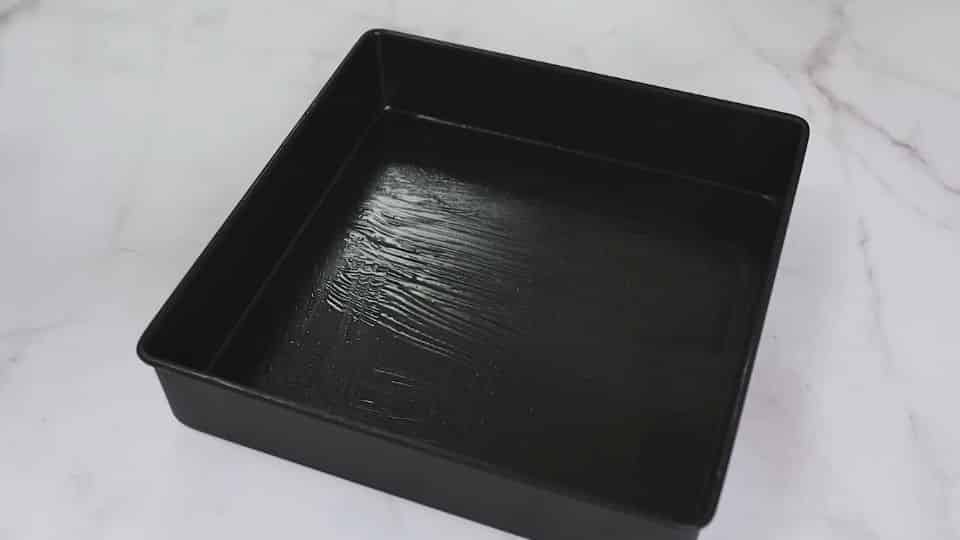
Step 1: Prep your pan
Preheat your oven to 325°F (160°C). Grease an 8×8 inch metal baking pan, then line it with parchment paper, leaving some paper hanging over two sides. This overhang acts as handles, making it easy to lift the brownies out of the pan once they cool.
Step 2: Melt the butter and cocoa together
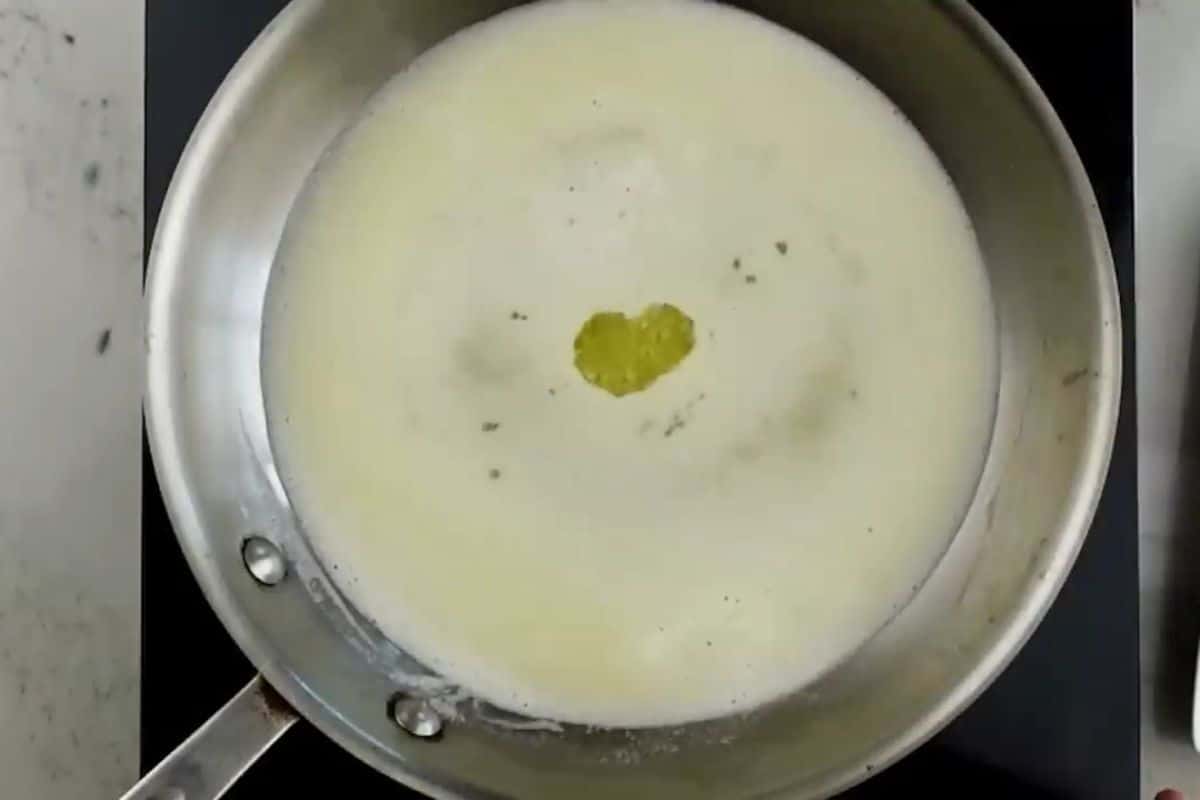
Add the butter to a light-colored pan and melt on medium heat. Using a spatula, stir the butter until it turns medium brown, once it turns color, turn off the heat
Once melted, add the cocoa powder and stir until smooth. You can also melt them together in a small saucepan over low heat if you prefer. The mixture should look glossy and well combined. Let it sit for 3 to 4 minutes to cool a bit before the next step, as adding eggs to hot butter will scramble them.

Step 3: Add the sugars and eggs
In a separate bowl, add in both sugars, add the eggs and the extra yolk. Then, add the vanilla extract. Stir until the batter looks glossy and smooth. This is the one part where you should mix a little more it helps create that shiny, crinkle top.
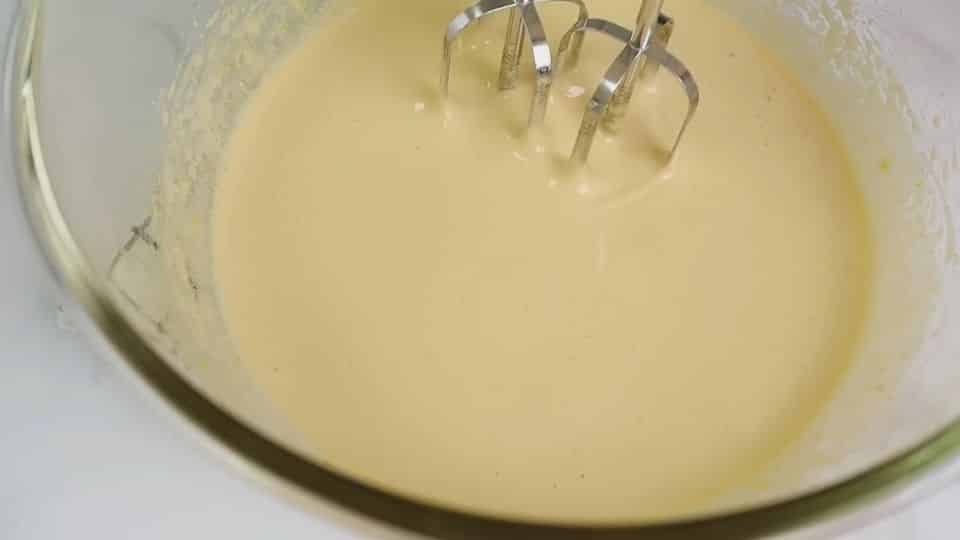
Step 4: Whisk
Whisk the sugar and egg mixture until light and fluffy. Beat at low speed for about 1-minute.
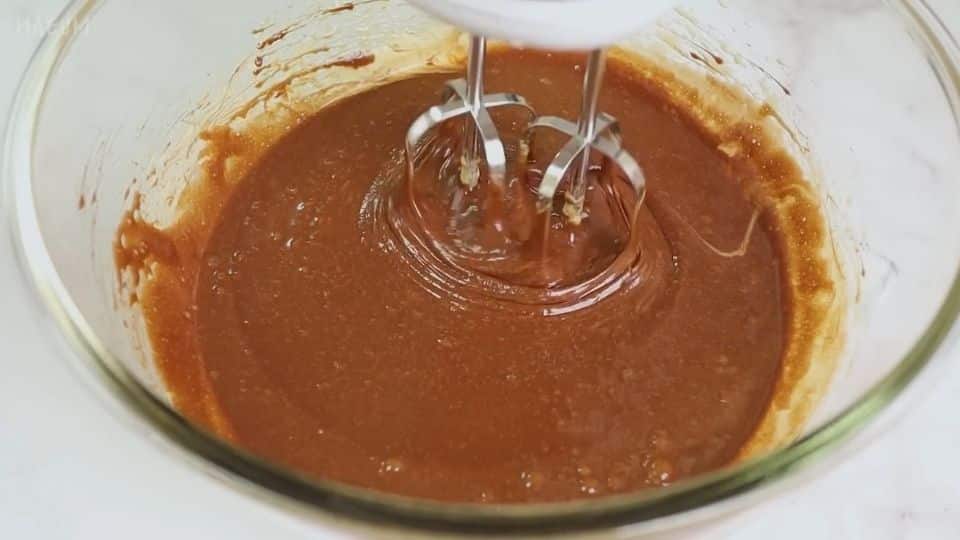
Step 5: Add the chocolate mixture
To the egg mixture add in the chocolate mixture. Whisk on low speed for about 1-minute. Beat until the mixture is well combines. Set aside
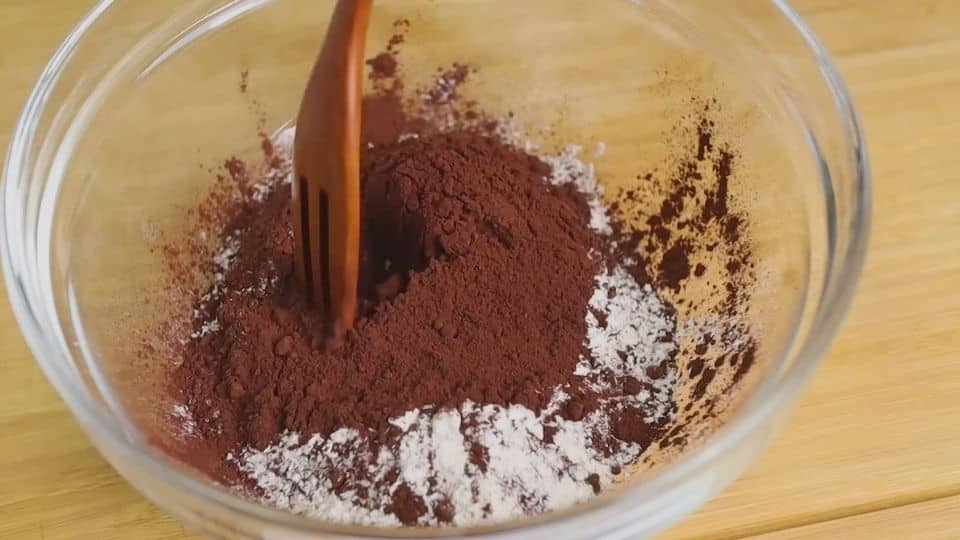
Step 6: Mix the dry ingredients
In a separate bowl, mix together the flour, cocoa powder, and salt.

Step 5: Fold in the dry ingredients
Sieve the dry ingredients directly to the chocolate mixture . Switch to a spatula and fold everything together gently.
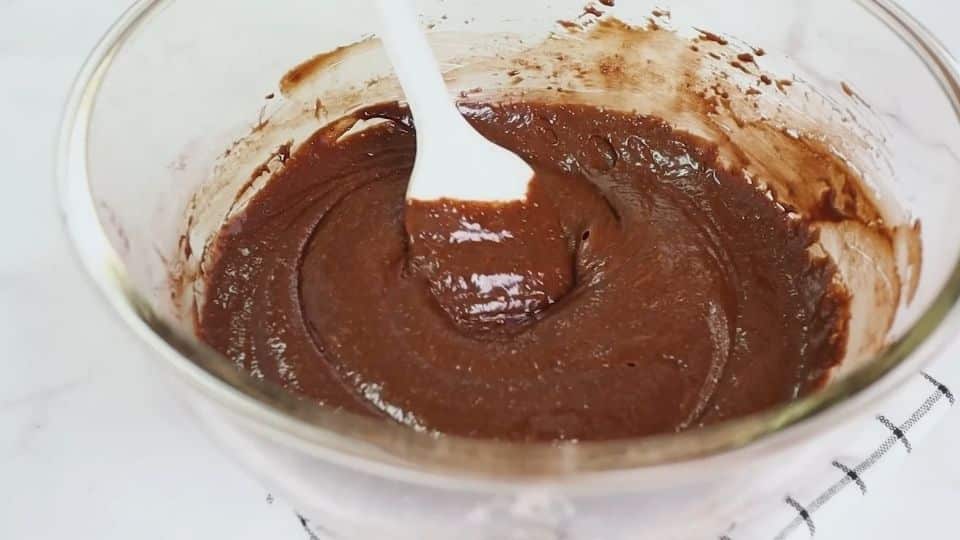
Stop as soon as you can no longer see streaks of flour. Overmixing here develops the gluten and makes your brownies tough and cakey. A few extra folds can ruin the texture, so be careful. If you’re adding chocolate chips or other mix-ins, do it now with just two or three gentle folds.
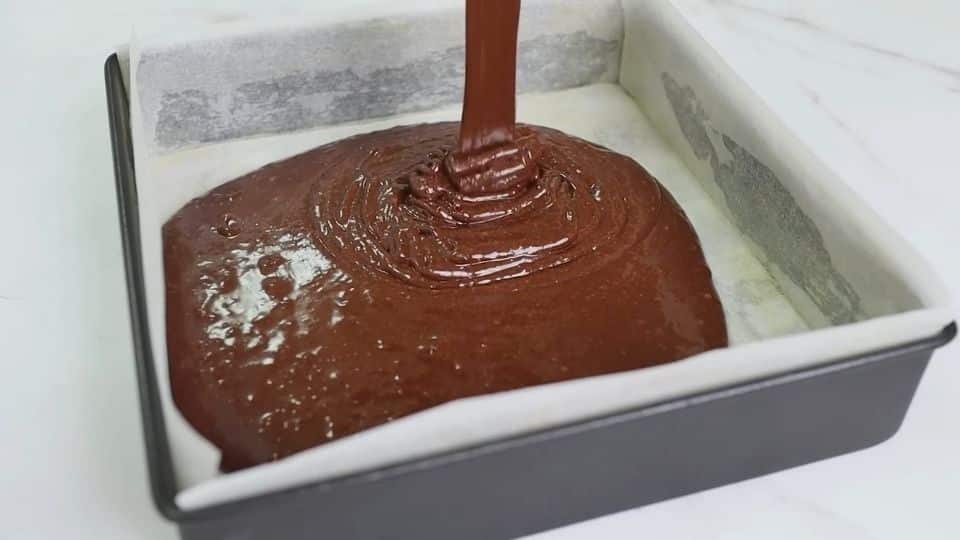
Step 6: Pour and smooth
Pour the batter into your prepared pan and smooth the top with your spatula. The batter will be thick, which is what you want. If you plan to top it with flaky salt, sprinkle it on now.

Step 7: Bake
Bake at 350°F (180°C) for 22 to 25 minutes. The edges should look set, and the center should have a slight wobble when you shake the pan gently. Insert a toothpick into the center; it should come out with a few moist crumbs. If it comes out clean, the brownies are overbaked. If it comes out with wet batter, bake them for another 2 to 3 minutes.
Using a 9×13 pan? The batter will spread thinner, so reduce the baking time to around 18 to 20 minutes and check early.
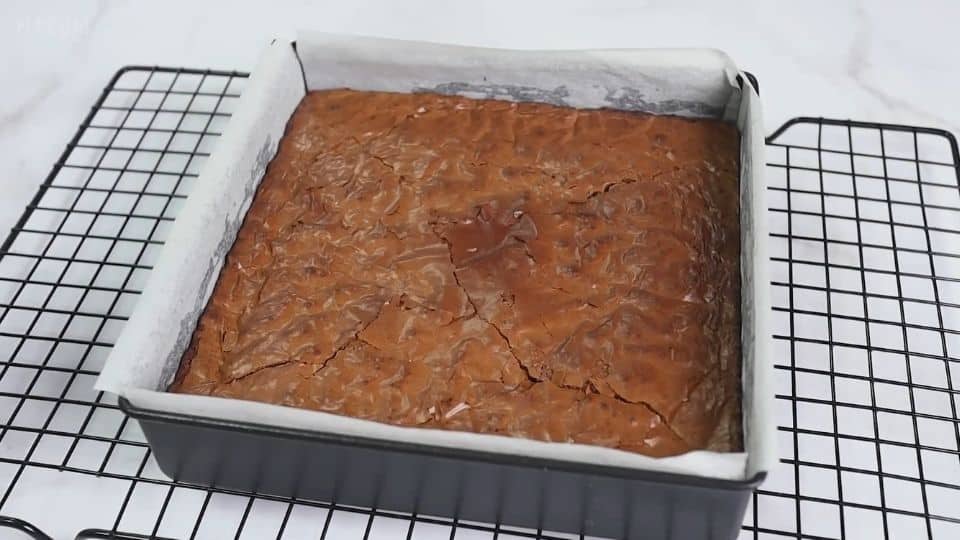
Step 8: Cool completely before cutting
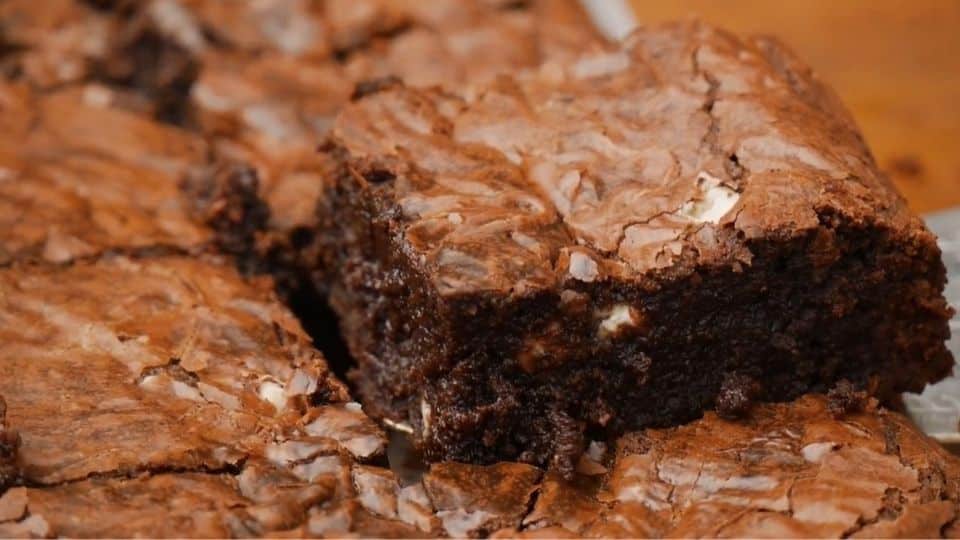
Leave the brownies in the pan on a wire rack for at least an hour before lifting them out and cutting. I know it’s tough, but cutting into warm brownies results in crumbly, messy squares that fall apart. Waiting allows you to slice clean, fudgy pieces with neat edges. It’s worth every second.
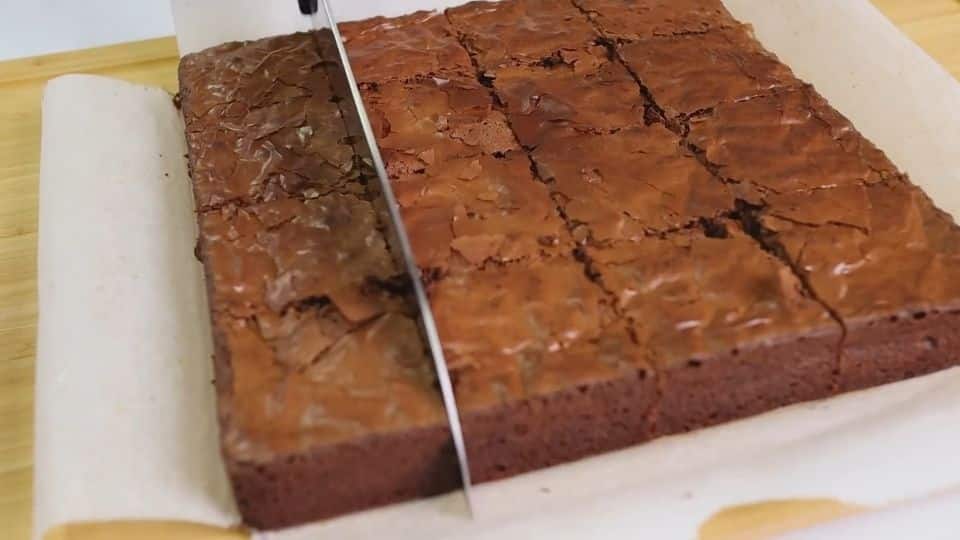
When you’re ready to cut, use a sharp knife dipped in hot water and wiped dry between each cut. This way, you’ll achieve clean, bakery-style squares every time.

Recipe Success Tips
These small details make a big difference. Follow these tips for perfect fudgy brownies every time.
- Use a metal pan, not glass or ceramic.
Metal conducts heat more evenly and gives you consistent results. Glass and ceramic pans retain heat differently, often resulting in overbaked edges and an underbaked center. - Measure your flour carefully. Too much flour is the main reason brownies turn out cakey. Don’t scoop the measuring cup directly from the flour bag, as it packs the flour and you’ll end up with more than the recipe requires. Instead, spoon the flour into the cup and level it off with a straight edge. Using a kitchen scale is even better if you have one.
- Let the butter mixture cool before adding eggs.
If the melted butter and cocoa are still very hot when you add the eggs, you’ll get bits of scrambled egg in your batter. Allow it to cool for at least 3 to 4 minutes. If it feels warm to the touch rather than hot, you’re ready to proceed. - Use room temperature eggs.
Cold eggs don’t mix smoothly with warm melted butter. They can cause the fat to seize, making the batter look broken or lumpy. Take your eggs out of the fridge 30 minutes before you start. If you forget, just sit them in a bowl of warm water for 5 minutes; this works every time. - Don’t overmix after adding the flour.
Once the flour is in the batter, mix as little as possible. Fold gently with a spatula and stop when the flour disappears. Extra stirring develops more gluten, which leads to a tougher, cakier brownie. - Underbake slightly on purpose.
Remove the brownies when the center still has a slight wobble and the toothpick comes out with moist crumbs. They will continue to cook in the hot pan after you take them out of the oven. This carryover cooking is what gives you that perfect fudgy center. Trust the process and don’t give them extra time. - Cool fully before cutting.
I’ll mention this again because it’s very important. Wait at least an hour before cutting; two hours is even better. The brownies firm up as they cool, and the fudgy texture sets completely during this time. Cutting them warm makes them soft and crumbly, making it hard to serve neatly. Patience here is what turns good brownies into great ones.
Variations and Ingredient Swaps
The base recipe is simple, making it a great starting point for customizing. Here are some of my favorite ways to change things up.
- Salted Caramel Swirl Brownies
Before baking, drop 2 to 3 tablespoons of caramel sauce over the top of the batter in spoonfuls. Use a toothpick or skewer to swirl it gently through the surface. The caramel bakes into ribbons of buttery sweetness throughout. Finish with a pinch of flaky sea salt on top. These are perfect for a dinner party dessert. - Peanut Butter Brownies
Warm 3 tablespoons of smooth peanut butter in the microwave for 20 seconds to loosen it. Then drop spoonfuls over the batter and swirl it in. The peanut butter adds a nutty richness that pairs beautifully with the deep chocolate. Almond butter or cashew butter works just as well. - Nutella Marble Brownies
Use the same method as the peanut butter version. Drop spoonfuls of Nutella over the batter and swirl with a skewer. It melts into the brownies as they bake and adds a hazelnut-chocolate flavor that’s hard to resist. Kids will love these - Double Chocolate Brownies
Replace half the cocoa powder with an equal amount of melted dark chocolate. Fold a generous handful of chocolate chips into the batter. The result is an even richer, more intensely chocolatey brownie with extra pockets of melted chocolate throughout. Perfect for chocolate lovers. - Gluten-Free Brownies
Swap the all-purpose flour for a 1:1 gluten-free flour blend. The texture stays very close to the original and can be even fudgier, since gluten-free blends tend to absorb less moisture. Almond flour also works well and adds a slightly nutty flavor. - Dairy-Free Brownies
Replace the butter with refined coconut oil or a good quality vegan butter block, not the spreadable kind. Use dairy-free dark chocolate chips if you’re folding any in. The brownies bake up just as fudgy and rich. Refined coconut oil has a neutral flavor, so it won’t taste like coconut. - Add-In Ideas
The batter can handle a good handful of mix-ins folded in at the end. Some favorites include:
– Roughly chopped walnuts or pecans, which add crunch and a slightly bitter contrast
– Dried sour cherries, which pair beautifully with dark chocolate
– Crushed Oreos pressed into the top before baking
– Toasted coconut flakes folded through the batter
– White chocolate chips for a sweet, creamy contrast
What to Serve With It
Fudgy brownies are really good on their own. But if you want to make them a bit more special, here are my favorite ways to serve them.
- Classic Vanilla Ice Cream
A classic pairing. A warm brownie with cold vanilla ice cream, plus a bit of the ice cream melting into the edges of the brownie, is unbeatable. - Whipped Cream and Fresh Berries
Add a dollop of lightly sweetened whipped cream and a handful of fresh raspberries or strawberries. This contrasts nicely with the richness of the brownie. The tartness of the berries matches well with the deep chocolate flavor. - Salted Caramel Drizzle
Warm a few tablespoons of caramel sauce and drizzle it over the top right before serving. A pinch of flaky sea salt on everything adds the finishing touch. It’s simple, impressive, and takes about 30 seconds to prepare. - Brownie Sundae Bar
If you’re serving a crowd or hosting a party, set up a sundae bar. Put out the brownie squares along with a few ice cream flavors, warm chocolate sauce, caramel sauce, crushed nuts, sprinkles, and whipped cream. Let everyone build their own. It’s interactive, low-effort for you, and always a hit with kids and adults. - A Dusting of Icing Sugar
Sometimes the simplest presentation is the best. A light dusting of icing sugar right before serving makes the brownies look freshly baked with no extra effort. Use a small sieve for an even, fine layer.
Storage and Make-Ahead Instructions
One of the best things about this recipe is how well it keeps. The texture actually improves after the first day. The fudginess sets more fully, and the chocolate flavor deepens overnight. So don’t stress if you’re making these ahead of time. They’ll be even better tomorrow.
- Room Temperature
Store brownies in an airtight container at room temperature for up to 4 days. Place a sheet of parchment paper between layers if you’re stacking them to prevent sticking. Keep them away from direct sunlight or heat sources. - Refrigerator
Stored in an airtight container, brownies will keep in the fridge for up to 1 week. Cold brownies firm up quite a bit, which some people actually love, especially if you prefer a denser, more fudge-like texture. T - Freezer
These brownies freeze beautifully. Here’s the best way to do it:
1. Let the brownies cool completely and cut them into individual squares.
2. Wrap each square tightly in a layer of cling film, then place them in a zip-lock freezer bag or airtight container.
3. Freeze for up to 3 months.
- Make-Ahead Tips
If you’re baking these for an event, a gathering, or a gift, I recommend bake the brownies a day before. This is actually ideal. The brownies have time to cool and set fully overnight, and the texture on day two is consistently better than on day one. Wrap the whole uncut slab tightly in cling film once completely cool and store at room temperature. Cut into squares the next day.
Frequently Asked Questions
- Why are my brownies cakey and not fudgy?
This is the most common brownie issue, and it usually comes down to three main reasons. First, there might be too much flour. This can happen if the recipe calls for too much, or if the flour was measured incorrectly by scooping directly from the bag. Second, using too many whole eggs can also be a factor. Whole eggs create structure and lift, which is good for cake but not for brownies. Lastly, overmixing the batter after adding the flour can develop gluten, resulting in a tougher, more cake-like crumb. This recipe is designed to help you avoid all three of these problems. - Can I use cocoa powder instead of melted chocolate?
Yes, you can, and this recipe uses cocoa powder. It is actually easier to work with and provides a strong, consistent chocolate flavor. However, melted chocolate adds extra fat and richness that cocoa alone can’t fully match. If you want both benefits, use cocoa powder as the base and mix in some dark chocolate chips for pockets of melted chocolate. - How do I know when the brownies are done?
The toothpick test is different for brownies compared to cake. You shouldn’t expect a clean toothpick. Insert one into the center of the pan; it should come out with a few moist crumbs. That’s the right point. A clean toothpick means the brownies are overbaked and will be dry. If you find wet batter on the toothpick, bake for another 2 to 3 minutes. Look for edges that are set and have pulled slightly away from the sides of the pan, along with a center that has just a slight wobble when you gently shake the pan. - Can I double the recipe?
Absolutely. Double all the ingredients and use a 9×13 inch pan. The batter will spread thinner, so reduce the baking time slightly. Start checking around 20 minutes instead of the usual 22 to 25. Keep an eye on the edges; they will set faster in the larger pan. Everything else about the method remains the same. - Why do my brownies sink in the middle?
A sunken center is usually due to one of two reasons. The brownies might be underbaked, causing the center not to have enough structure as they cool. Alternatively, the pan could have been moved too soon while the center was still liquid. Ensure you bake until the edges are fully set, and the center has just a slight wobble not a full jiggle. Then, leave the pan undisturbed on the wire rack until it completely cools. - Do fudgy brownies need to be refrigerated?
No, they don’t. Refrigerating them right away can actually dry them out faster than you think. At room temperature in an airtight container, these brownies stay soft and fudgy for up to 4 days. Only move them to the fridge if your kitchen is very warm, if you need them to last beyond 4 days, or if you like a denser, cold fudge-like texture straight from the fridge. - Can I use salted butter instead of unsalted?
Yes, you can do that. Just omit the extra salt called for in the recipe. The brownies will have a slightly different taste; some people even prefer the added saltiness. However, this change won’t affect the texture or baking time.
The Best Fudgy Brownies (One Bowl, No Mixer)
Ingredients
Equipment
Method
- Preheat your oven to 325°F (160°C). Grease an 8×8 inch metal baking pan, then line it with parchment paper
- Add the butter to a light-colored pan and melt on medium heat
- Using a spatula, stir the butter until it turns medium brown, once it turns color, turn off the heat
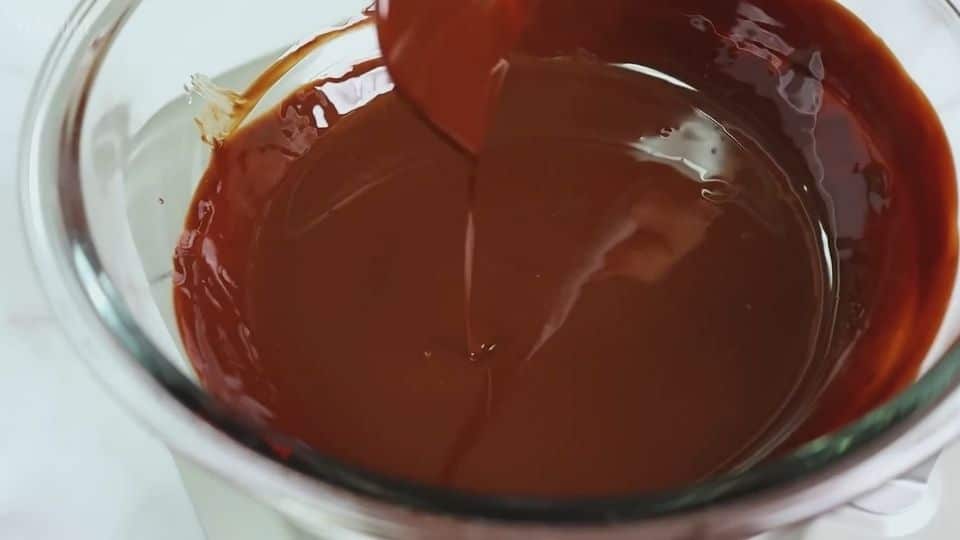
- To the browned butter, add in your dark chocolate and stir until well combined. The mixture should look glossy and well combined. Set it aside
- In a separate bowl, whish together both sugars, the eggs and vanilla extract. Stir until the batter looks glossy and smooth.
- Whisk the sugar and egg mixture until light and fluffy. Beat at low speed for about 1-minute.
- To the egg mixture add in the cooled chocolate butter mixture.
- Whisk on low speed for about 1-minute. Beat until the mixture is well combines. Set aside
- In a separate bowl, mix together the flour, cocoa powder, and salt.
- Sieve the dry ingredients directly to the chocolate mixture . Switch to a spatula and fold everything together gently.
- Stop as soon when you can no longer see streaks of flour.
- Pour the batter into your prepared pan
- Bake at 350°F (180°C) for 22 to 25 minutes
- Once timer is up, to check if brownies are done. The edges should look set, and the center should have a slight wobble when you shake the pan gently.
- Leave the brownies in the pan on a wire rack for at least an hour to cool
- Transfer to fridge for another 1-hr to cool and set
- Serve and enjoy!!