The Best Pumpkin Bread (Moist, Easy, One Bowl)
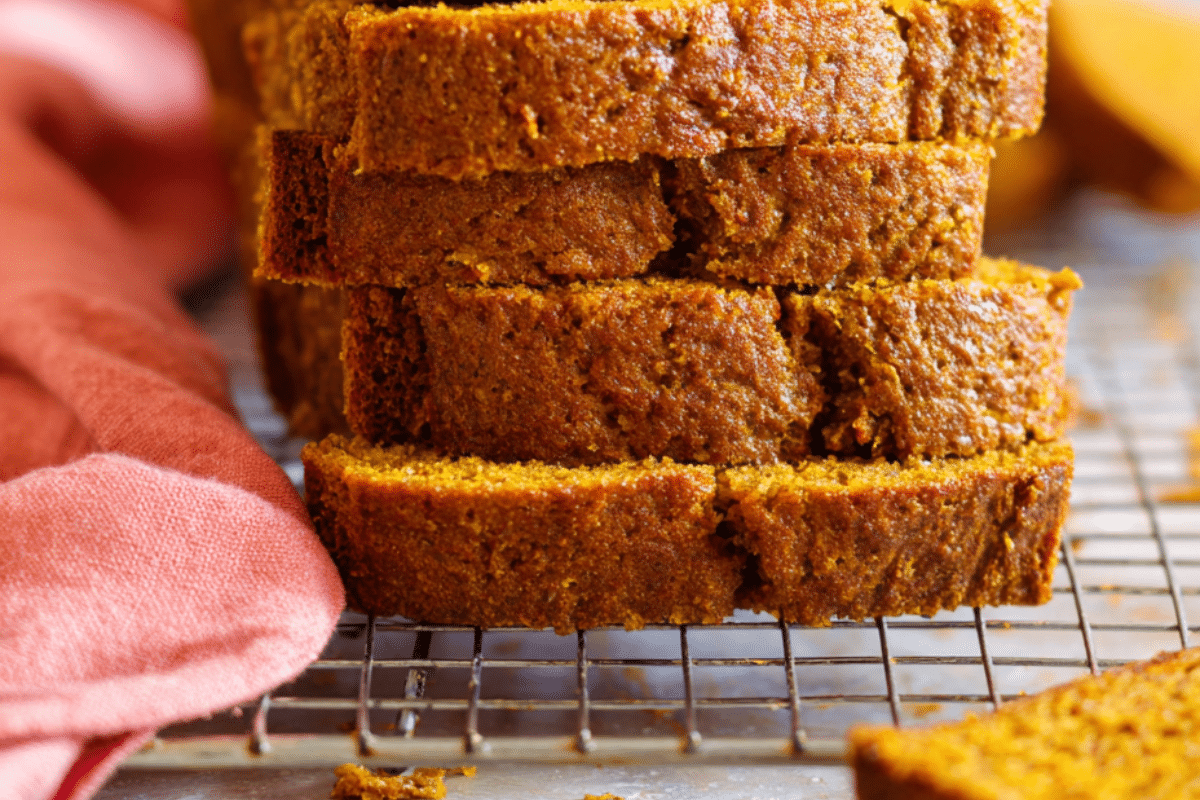
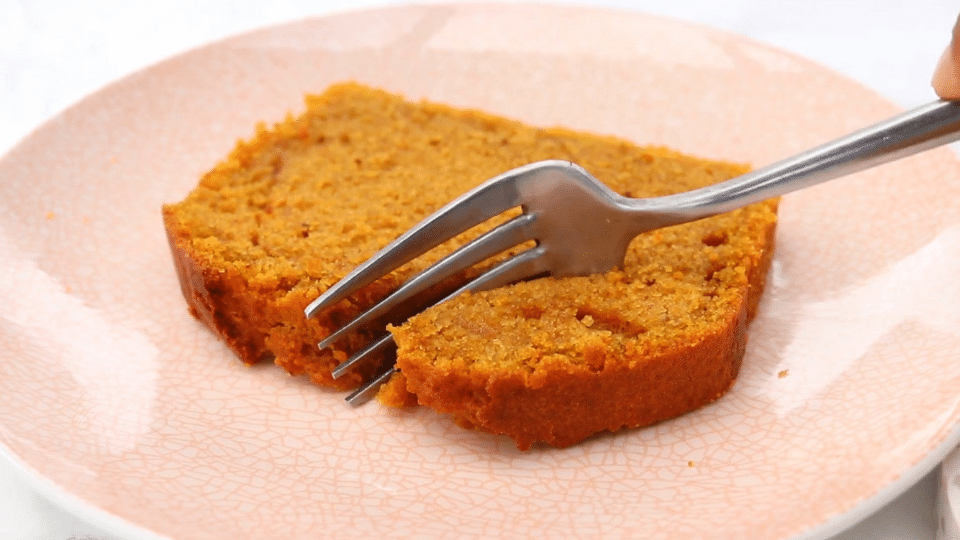
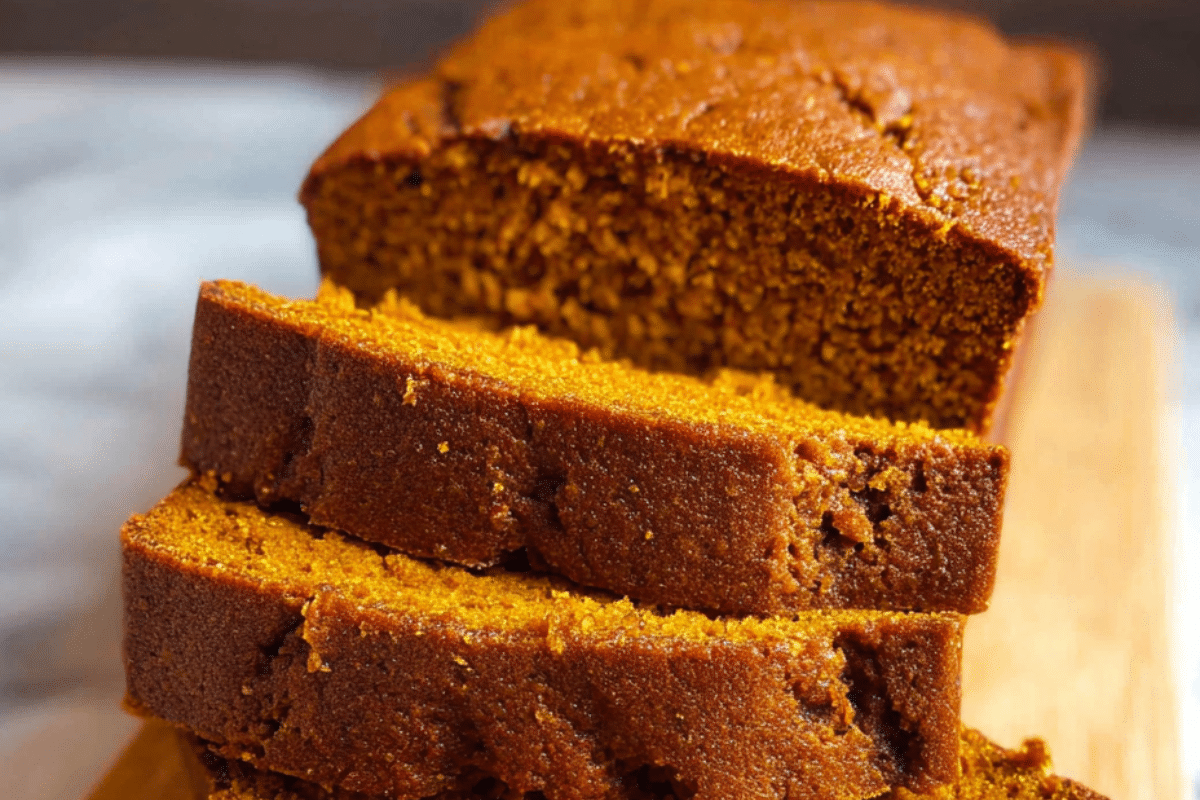
This pumpkin bread is moist, spiced just right, and you can make it in one bowl without a mixer. The crumb is tender, the crust has a slight chew, and the spice level is cozy without being too much. It slices beautifully and honestly tastes even better the next day.
I love making this when I want something homemade without much effort. It works as a grab-and-go breakfast, an afternoon snack with coffee, or something to share with a friend. It also makes a great gift: wrap a loaf in parchment, add a ribbon, and you have something homemade to gift your friends and family.
The ingredient list is short and affordable. If you bake at all, you probably have most of it on hand. The only thing you need to buy is a can of pumpkin purée, which is easy to find all year.
One bowl, about 70 minutes, and no stress. Let’s make it.
Why You’ll Love This Recipe
- One bowl, no mixer. Less mess, less cleanup, and no special equipment needed. Just a bowl, a whisk, and a loaf pan.
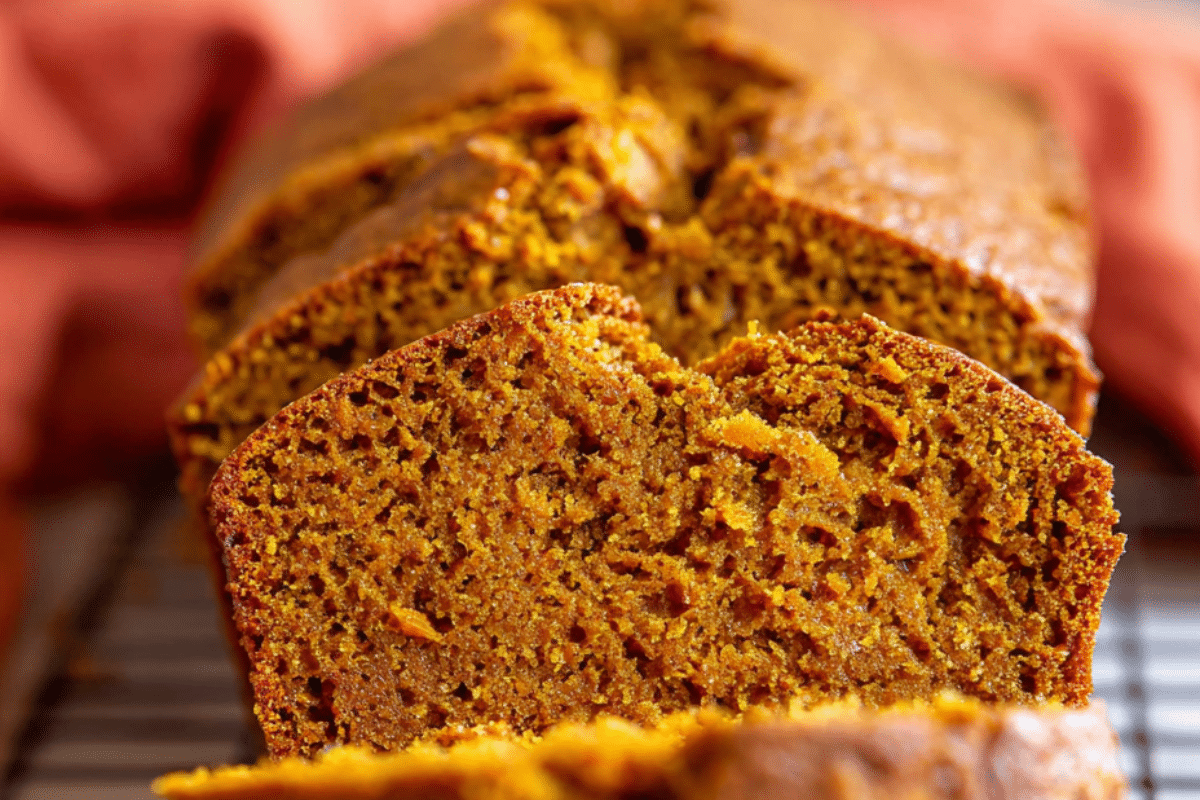
- Incredibly moist texture. Using oil instead of butter keeps this bread soft and tender for days.
- Simple, affordable ingredients. Everything comes from your pantry. No need for trips to a specialty store.
- Ready in about 70 minutes. Most of the work hands-off. Active prep takes around 10 minutes.
- Easy to customize. Add in chocolate chips, walnuts, a cream cheese swirl or whatever works for you, this recipe works well with add-ins and variations.
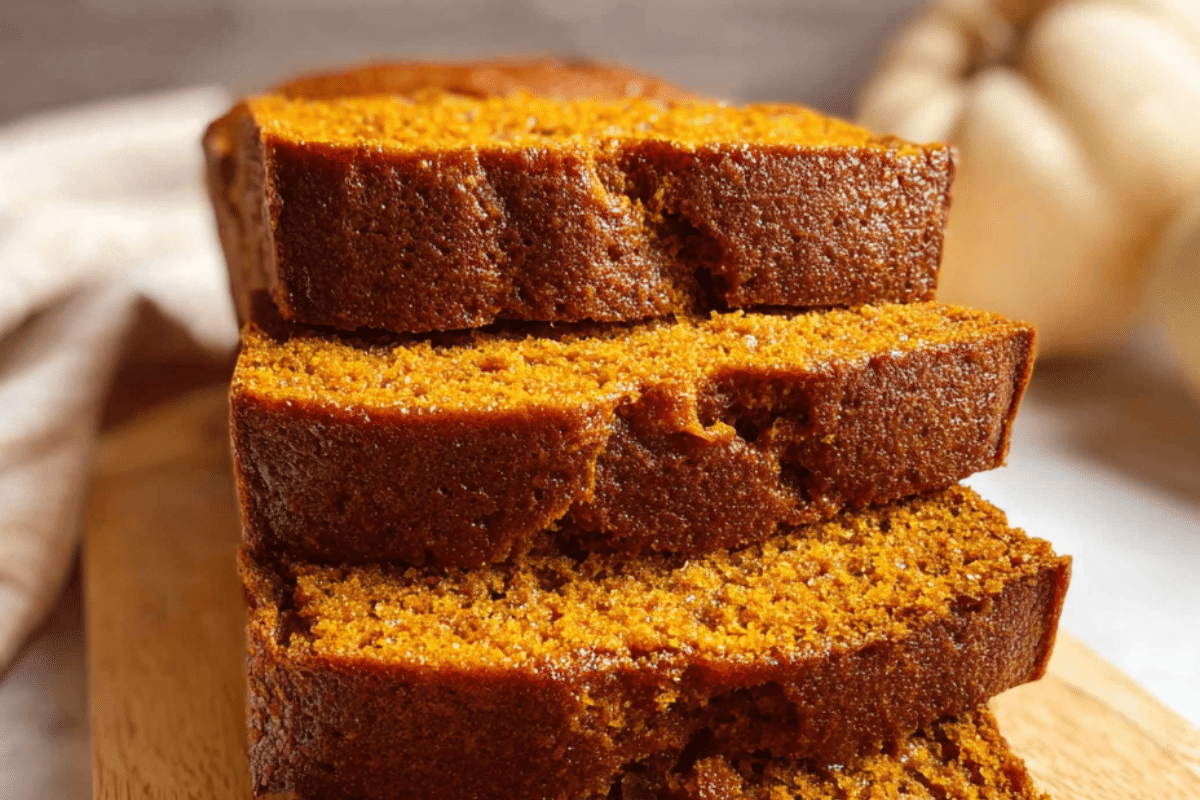
- Makes great leftovers. The flavor improves overnight. Day two is genuinely better than day one.
- Freezer-friendly. Bake two loaves, freeze one. Future you will be very grateful.
- Perfect for sharing. This loaf travels well and is always a hit at brunches, bake sales, or as a homemade gift.
Ingredient Notes
You don’t need anything special here. These are common ingredients that work together. Here’s what you should know before you start.
- Canned pumpkin purée. This is the star of the recipe. Make sure to choose 100% pure pumpkin puree. One standard 15-ounce can is exactly what you need.
- Oil. I use vegetable or canola oil. Oil keeps this bread moist much longer than butter. Melted coconut oil works well here too and adds a subtle richness. Avocado oil is another good substitute.
- Eggs. Eggs help bind the batter and provide structure to the bread. Room temperature eggs mix better, so take them out of the fridge 20 minutes before you start. For a vegan version, two flax eggs work nicely.
- All-purpose flour. Use standard all-purpose flour. The key is how you measure it. Spoon the flour into your measuring cup and level it off; don’t scoop directly from the bag. Scooping packs in too much flour and makes the bread dense.
- Sugar. I use a mix of white granulated sugar and brown sugar. The brown sugar adds a deeper, slightly molasses-like flavor and helps keep the crumb moist. If you only have white sugar, that’s fine the flavor will just be a bit lighter.
- Pumpkin pie spice. This one spice blend does a lot of work. If you don’t have it, you can make your own with 1½ teaspoons cinnamon, ½ teaspoon ginger, ¼ teaspoon nutmeg, and ¼ teaspoon cloves. Fresh spices make a big difference if yours have been in the cupboard for three years, it’s time to get new ones.
- Baking soda. This is your leavening agent. Make sure it’s fresh. To test it, drop a pinch into a small bowl of vinegar it should bubble right away. Old baking soda leads to a flat, dense loaf.
- Salt. Don’t skip this. Salt balances the sweetness and enhances the warm spice flavors. I use regular fine table salt.
- Vanilla extract. A teaspoon of pure vanilla adds to the flavor perfectly. It’s a small addition that makes a real difference.
How to Make Pumpkin Bread
The process is refreshingly simple. You mix wet ingredients, add dry ingredients, fold everything together, and bake. No complicated techniques or special skills are required. Here’s how it goes.
Step 1: Prep Your Pan and Preheat the Oven
Heat your oven to 350°F (180°C). Grease a 9×5 inch loaf pan with cooking spray or butter. Then line it with parchment paper, leaving some overhang on the sides. This overhang acts as handles, making it easy to lift the loaf out. This step is worth the extra 30 seconds.
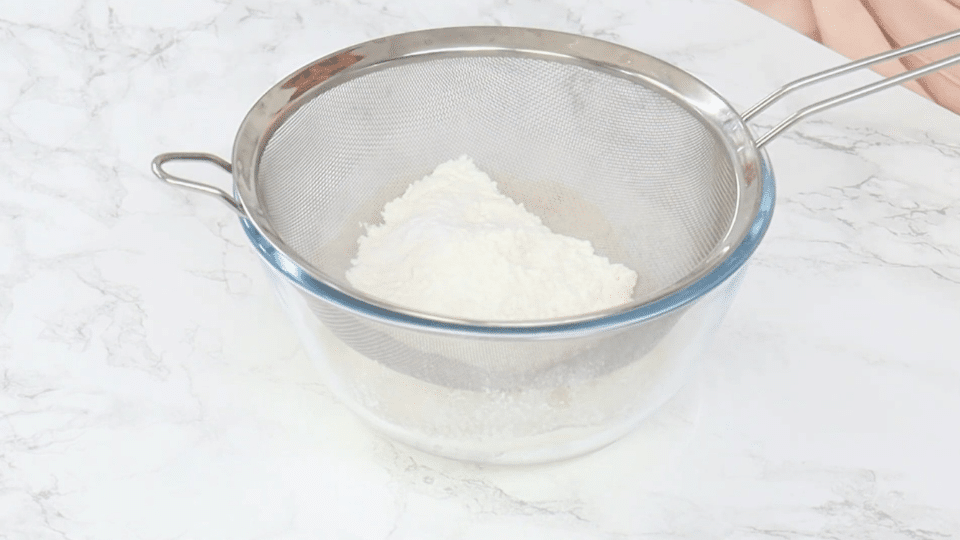
Step 2: Mix the Dry Ingredients
In a large bowl, sieve together flour, cornstarch, baking powder, baking soda, salt, cinnamon, ginger, nutmeg and cloves. Mix together until well combined and set aside.
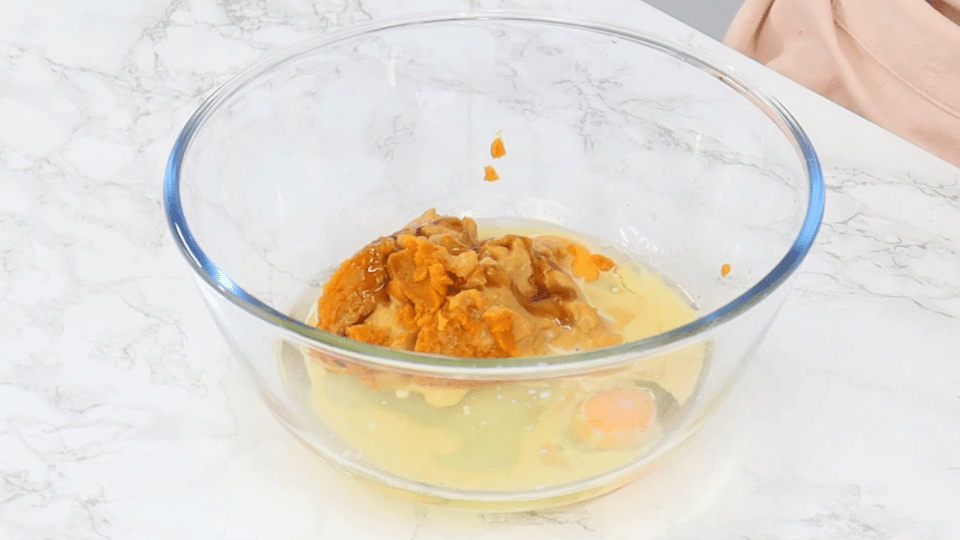
Step 2: Mix the Wet Ingredients
In a large bowl, whisk together the white granulated sugar, eggs, unflavored vegetable oil, pumpkin puree, milk and vanilla.
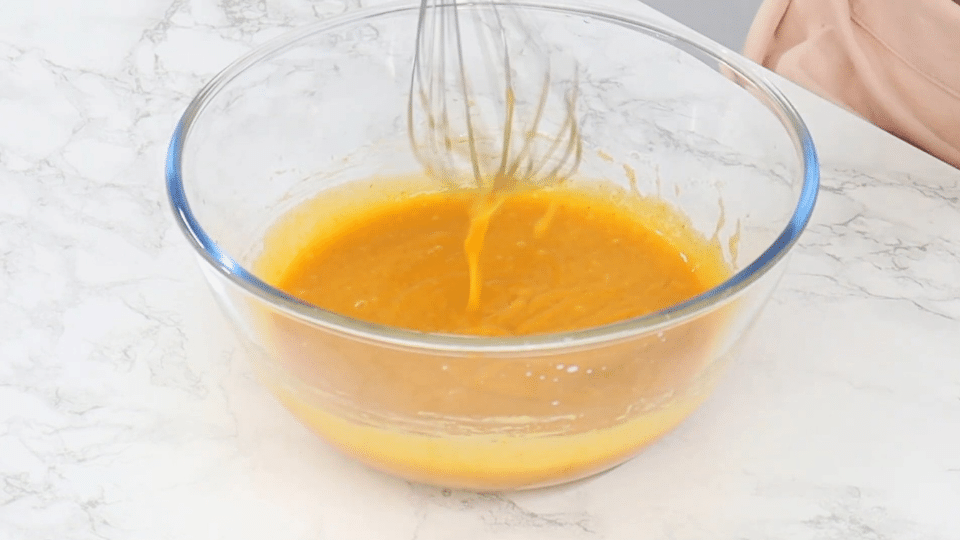
Whisk until the mixture is smooth and fully combined. You want the oil completely mixed in before adding anything else. If you can still see streaks of oil floating on top, keep whisking.

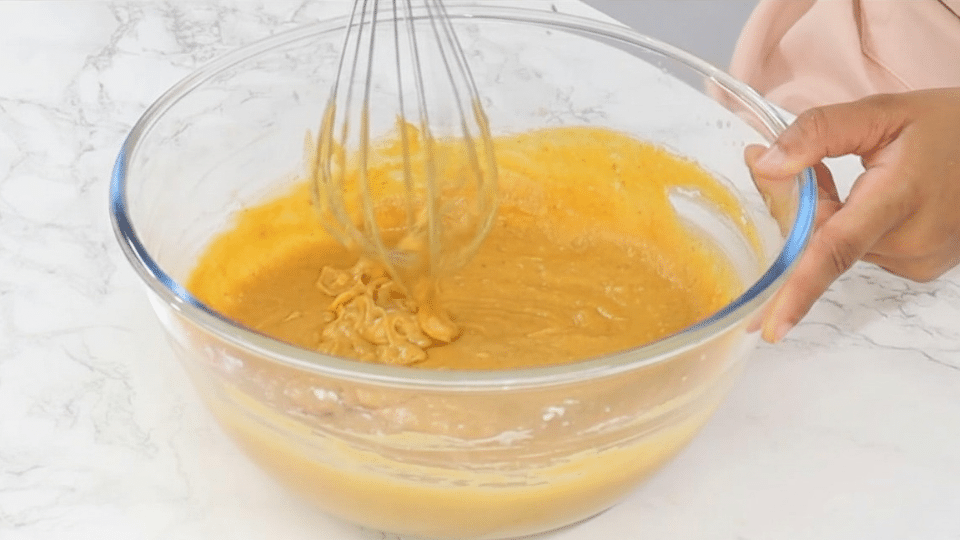
Step 3: Add the Dry Ingredients
Add the dry ingredients directly into the same bowl. No need to mix them separately first. Use a whisk, rubber spatula or wooden spoon to fold everything together gently. Stop as soon as there are no dry streaks of flour. Overmixing is the main reason pumpkin bread turns out tough and dense, so fold, don’t beat.
Step 4: Fold In Any Mix-Ins
If you’re adding chocolate chips, walnuts, or any other mix-ins, do it now. Fold them in with just a few strokes. The batter will be thick, which is exactly what you want.
Step 5: Bake
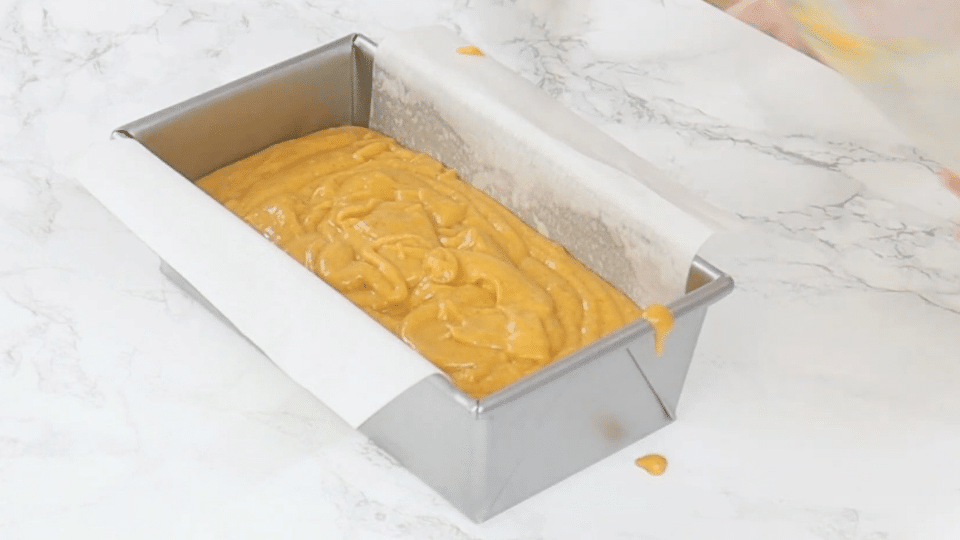
Pour the batter into your prepared loaf pan and smooth the top with your spatula.
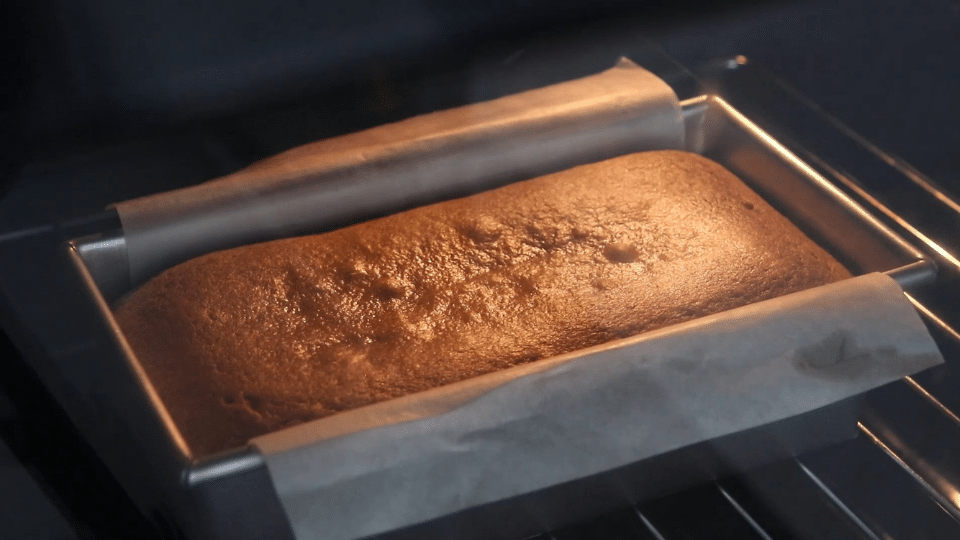
Bake for 60 to 70 minutes. At the 45-minute mark, take a quick peek. If the top is browning faster than you’d like, loosely lay a piece of foil over the pan for the remaining bake time. This protects the top while allowing the center to cook through.
Your bread is done when a toothpick inserted into the center comes out clean or with just a few moist crumbs. If it comes out with wet batter, give it another 5 minutes and test again. Always check the center, as the edges cook faster and may give a false reading.
Step 6: Cool Before Slicing
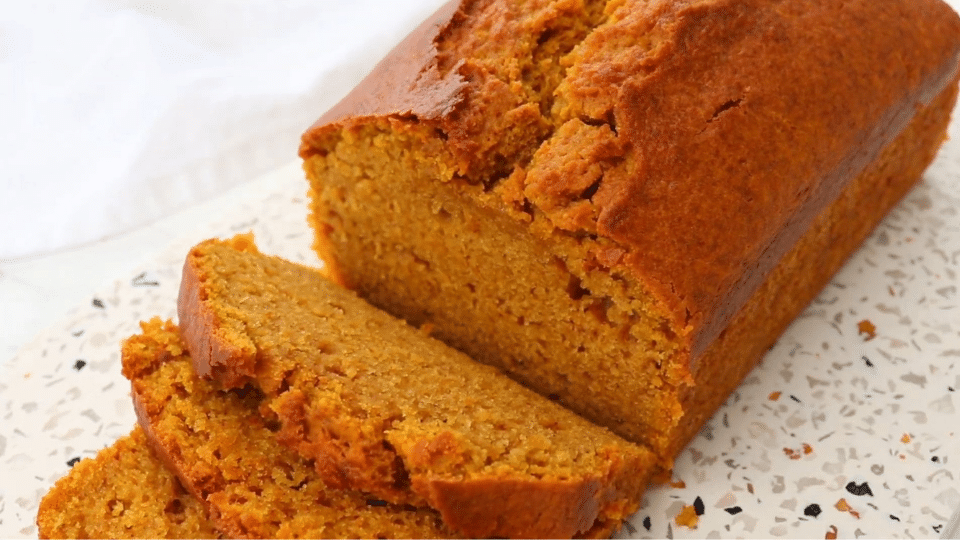
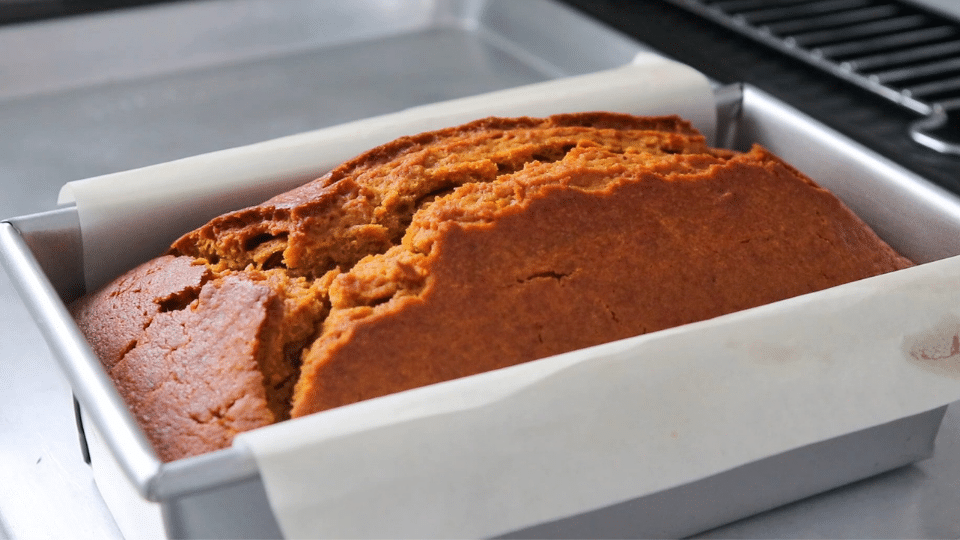
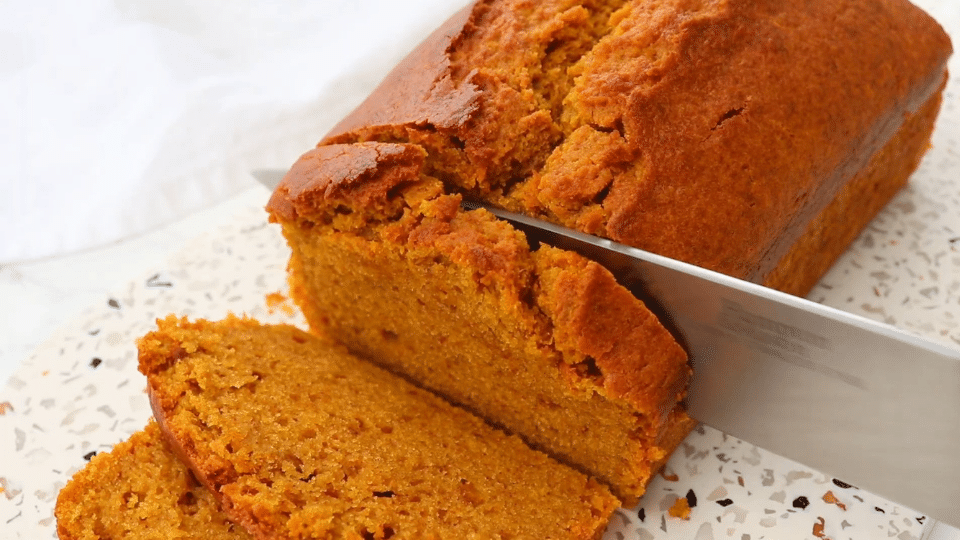
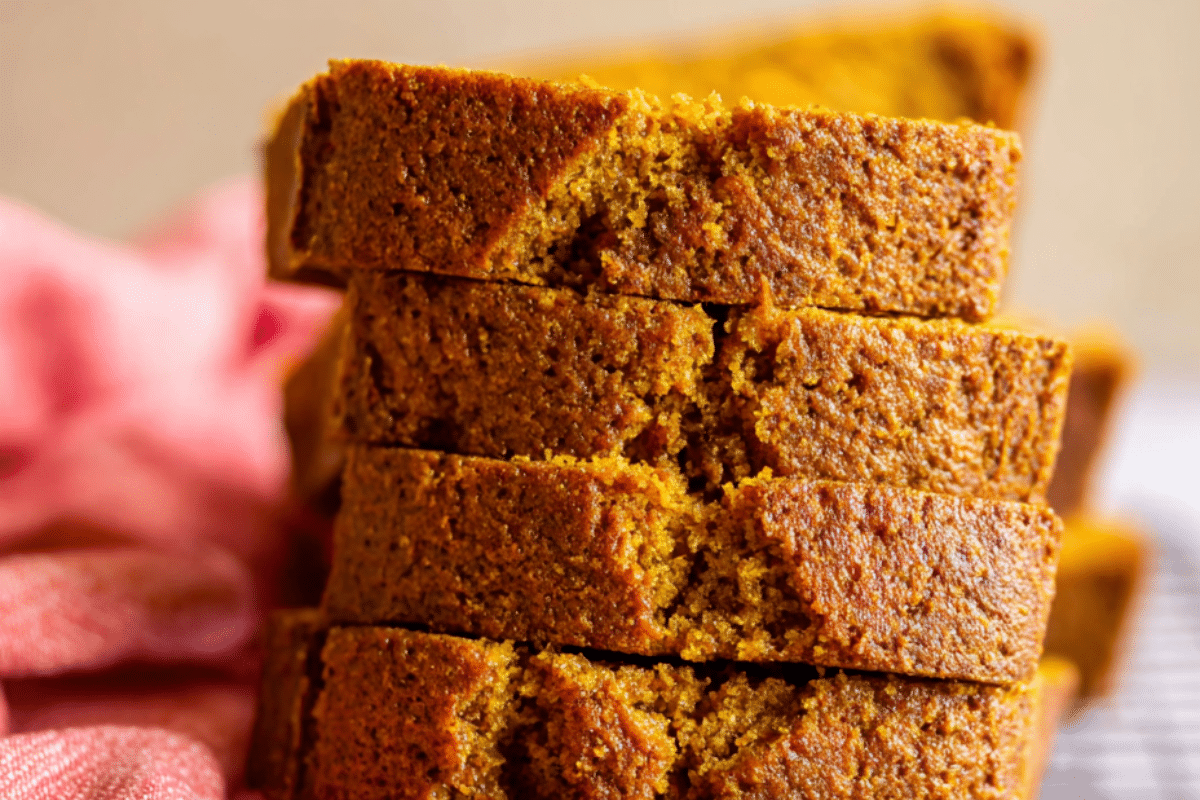
Once timer is up, remove from oven. Let the bread cool in the pan for 15 minutes. Then lift it out using the parchment overhang and transfer it to a wire rack. Let it cool completely before slicing, which takes at least 45 minutes to an hour. Cutting into it too soon will result in a gummy, collapsed center. The texture finishes setting as it cools, so let it do its thing.
Once cool, serve and enjoy
Recipe Success Tips
These are the small things that really make a difference between a good loaf and a great one.
- Measure your flour correctly.
Spoon the flour into your measuring cup, then level it off with a straight edge. Never scoop directly from the bag. Doing so packs in up to 20% more flour than you need, which leads to a dry, dense loaf. If you have a kitchen scale, that’s even better. Use 240 grams for this recipe. - Don’t overmix the batter.
Once you add the dry ingredients, switch to a spatula and fold gently. Mix just until you see no dry streaks, then stop. Overworking the batter develops gluten, making the bread tough instead of tender. - Use room temperature eggs.
Cold eggs don’t blend smoothly into the batter. Take them out of the fridge about 20 minutes before you start baking. In a hurry? Set them in a bowl of warm water for 5 minutes. - Check on it at 45 minutes.
Every oven runs a little differently. At 45 minutes, peek through the oven window. If the top looks very dark, tent it loosely with foil for the remaining bake time. Don’t open the door before then. Sudden temperature changes can cause the center to sink. - Always test the center, not the edges.
The edges of the loaf cook faster than the middle. Insert your toothpick straight into the very center of the bread. A clean toothpick or just a few moist crumbs means it’s done. Wet batter indicates it needs more time. - Let it cool completely before slicing.
I know it’s tempting to cut into it right from the oven. Don’t. The interior is still finishing up as the bread cools. Slicing too early gives you a gummy, undercooked-looking center, even when the bread is perfectly baked. Let it sit for at least 45 minutes on a wire rack. - Make it the day before if you can.
This bread improves overnight. The spices deepen, the crumb settles, and the whole loaf becomes more flavorful and cohesive. If you’re making it for brunch or as a gift, bake it the evening before and wrap it tightly once cooled.
Variations and Ingredient Swaps
This recipe is a great base. Once you’ve made it once, it’s easy to adjust and make it your own. Here are my favorite ways to change it up.
- Chocolate Chip Pumpkin Bread
Fold in ¾ cup of semi-sweet chocolate chips before pouring the batter into the pan. The chocolate melts into pockets of richness throughout the loaf and pairs surprisingly well with the warm spices. This is the version I make most often, and it disappears fastest every time. - Pumpkin Walnut Bread
Add ½ cup of roughly chopped walnuts to the batter. They add a satisfying crunch and a slightly earthy, nutty flavor that balances the sweetness nicely. Toast the walnuts in a dry pan for 3 to 4 minutes first; it makes a noticeable difference in flavor. - Cream Cheese Swirl Pumpkin Bread
Mix together 4 ounces of softened cream cheese, 2 tablespoons of sugar, and 1 egg yolk until smooth. Pour half the pumpkin batter into the pan, spoon the cream cheese mixture over it, then top with the remaining batter. Drag a knife through it a few times to create a swirl. It bakes into a tangy, creamy ribbon running through the middle of the loaf, which is really impressive for very little effort. - Pumpkin Bread Muffins
Use the same batter in a different pan. Fill a greased muffin tin about ¾ full and bake at 350°F for 20 to 22 minutes. This is a great option for portion control, lunchboxes, or when you want something that’s easy to grab and go. - Mini Loaves
Pour the batter into mini loaf pans and bake for 30 to 35 minutes. Mini loaves make excellent gifts; they look bakery-worthy wrapped in parchment and tied with twine. One batch makes about three mini loaves depending on your pan size. - Vegan Pumpkin Bread
This recipe is already dairy-free. To make it fully vegan, replace each egg with a flax egg. Mix 1 tablespoon of ground flaxseed with 3 tablespoons of water and let it sit for 5 minutes until it gels. The texture will be very slightly denser but still delicious.
What to Serve With It
Pumpkin bread is great on its own, but the right pairing makes it even better. Here are my favorite ways to serve it.
- For Breakfast
A warm slice of pumpkin bread with a generous spread of salted butter is hard to beat as a simple breakfast. Add a fried egg or some scrambled eggs on the side, and you have a proper fall morning meal. - For a Snack or Afternoon Treat
Cream cheese is my preferred spread for an afternoon slice. Plain cream cheese is wonderful, but if you want something special, mix in a little honey and a pinch of cinnamon. It tastes like a treat straight from a coffee shop. - With Drinks
This pumpkin bread pairs perfectly with a hot drink. Coffee is the classic match as the bitterness balances the sweetness of the bread. Chai tea also works well since the spice flavors complement each other. On colder mornings, a hot apple cider with a slice feels very intentional. - For Brunch
Pumpkin bread fits well on a brunch spread. Slice it thick and arrange it on a board with fresh fruit, whipped cream cheese, honey, and a few jams. It looks impressive with almost no extra effort. - As Dessert
Warm a slice slightly and top it with a scoop of vanilla ice cream or a dollop of whipped cream. A light drizzle of caramel sauce turns a simple loaf into a dessert that’s sure to impress. It’s one of those combinations that sounds easy but really delivers.
Storage and Make-Ahead Instructions
One of the best things about this pumpkin bread is how well it keeps. It actually improves over the first day or two, making it great for baking ahead.
- Room Temperature
Once the bread is completely cool, wrap it tightly in plastic wrap or store it in an airtight container. It stays moist and tasty at room temperature for up to 4 days. Keep it on the counter, away from direct sunlight or heat. - Refrigerator. If you need it to last longer, the fridge will keep it fresh for up to a week.
- Freezer
This bread freezes really well and is one of my favorite items to have ready for busy mornings. Here’s how to do it right:- Whole loaf . Wrap the fully cooled loaf tightly in a layer of plastic wrap, then wrap it again in aluminum foil. Label it with the date and freeze for up to 3 months.
Individual slices. Slice the loaf first, then wrap each slice individually in plastic wrap and place them all in a zip-lock freezer bag. This way you can take out exactly one slice at a time without thawing the whole loaf.
- Whole loaf . Wrap the fully cooled loaf tightly in a layer of plastic wrap, then wrap it again in aluminum foil. Label it with the date and freeze for up to 3 months.
- Make-Ahead Tips. Bake it the night before. This bread really tastes better on day two. The spices deepen, the crumb settles, and the flavors blend in a way that just-baked cannot match. If you’re making it for brunch, a holiday gathering, or as a gift, bake it the evening before and wrap it tightly once it’s completely cool.
- Bake two loaves at once. If you’re already making one, making two takes almost no extra effort. Keep one on the counter for the week and freeze the second one. You will really appreciate it on a busy morning when there’s nothing easy to grab for breakfast.
Frequently Asked Questions
- Can I use pumpkin pie filling instead of pumpkin purée?
No, pumpkin pie filling is already sweetened and has spices mixed in. Using it instead of pure pumpkin purée messes up the sugar and spice balance in the whole recipe. Always pick the can that says 100% pure pumpkin. When in doubt, check the ingredient list on the back; it should list only pumpkin and nothing else. - Why did my pumpkin bread sink in the middle?
A sunken center usually happens for one of three reasons. The bread was underbaked and needed more time in the oven. The oven door was opened too early, which caused a sudden drop in temperature. Or the baking soda was old and didn’t have enough lift. Always test for doneness with a toothpick inserted into the very center of the loaf, and resist opening the oven door before the 45-minute mark. - Why did my pumpkin bread turn out dense?
Dense bread is almost always caused by too much flour or an overmixed batter. Too much flour happens when you scoop directly from the bag instead of spooning into the measuring cup. Overmixing activates the gluten in the flour and makes the crumb tight and heavy instead of tender. Fold gently and stop as soon as the dry streaks disappear. - Can I make this into muffins?
Absolutely. Use the same batter and fill a greased muffin tin about ¾ full. Bake at 350°F for 20 to 22 minutes. Test with a toothpick in the center of a middle muffin, since those take the longest to cook through. This batch makes about 12 standard muffins. - Can I use fresh pumpkin instead of canned?
Yes, but handle it carefully. Fresh pumpkin purée has much more water than canned. This extra moisture will make your bread wet and heavy if you don’t adjust for it. After blending or processing your cooked pumpkin, drain it through a fine mesh strainer or cheesecloth for at least 30 minutes to remove the excess liquid. Once drained, use it as a 1:1 replacement for canned purée. - Can I reduce the sugar in this recipe?
Yes. You can cut the total sugar by up to ¼ cup without greatly affecting the texture. The bread will be less sweet and a little less moist since sugar adds tenderness, but it will still bake well. Reducing it more starts to affect the structure and texture noticeably. If you want a less sweet loaf, try cutting back on the white sugar first while keeping the brown sugar, as the brown sugar adds more moisture and flavor. - How do I know when the bread is fully baked?
The toothpick test is your best method. Insert a toothpick or thin skewer straight into the center of the loaf—not the edge, not the side, but the very center. It should come out clean or with just a couple of moist crumbs. If it has wet batter on it, the bread needs more time. Give it another 5 minutes and test again. The internal temperature of a fully baked quick bread should be around 200°F to 205°F if you have an instant-read thermometer.
The Best Pumpkin Bread (Moist, Easy, One Bowl)
Ingredients
Method
- Preheat oven to 180 °C (350°F)
- Grease an 8.5 x 4.5 inch loaf tin and line it with parchment paper
- Sift together flour, cornstarch, baking powder, baking soda, salt, cinnamon, ginger, nutmeg and cloves. Mix together and set aside for now.
- In another bowl, whisk together the white granulated sugar, eggs, unflavored vegetable oil, pumpkin puree, milk and vanilla.
- Whisk until the mixture is smooth and fully combined
- Add the dry ingredients directly into the same bowl. No need to mix them separately first. Stop as soon as there are no dry streaks of flour.
- Pour the batter into your prepared loaf pan and smooth the top with your spatula.
- Bake for 60 to 70 minutes. At the 45-minute mark, take a quick peek. If the top is browning faster than you’d like, loosely lay a piece of foil over the pan for the remaining bake time.
- Your bread is done when a toothpick inserted into the center comes out clean or with just a few moist crumbs.
- Once timer is up, remove from oven. Let the bread cool in the pan for 15 minutes. Then lift it out using the parchment overhang and transfer it to a wire rack.
- Let it cool completely before slicing, which takes at least 45 minutes to an hour.
- Serve and enjoy