The Best Homemade Pumpkin Pie Recipe (Easy & Foolproof)
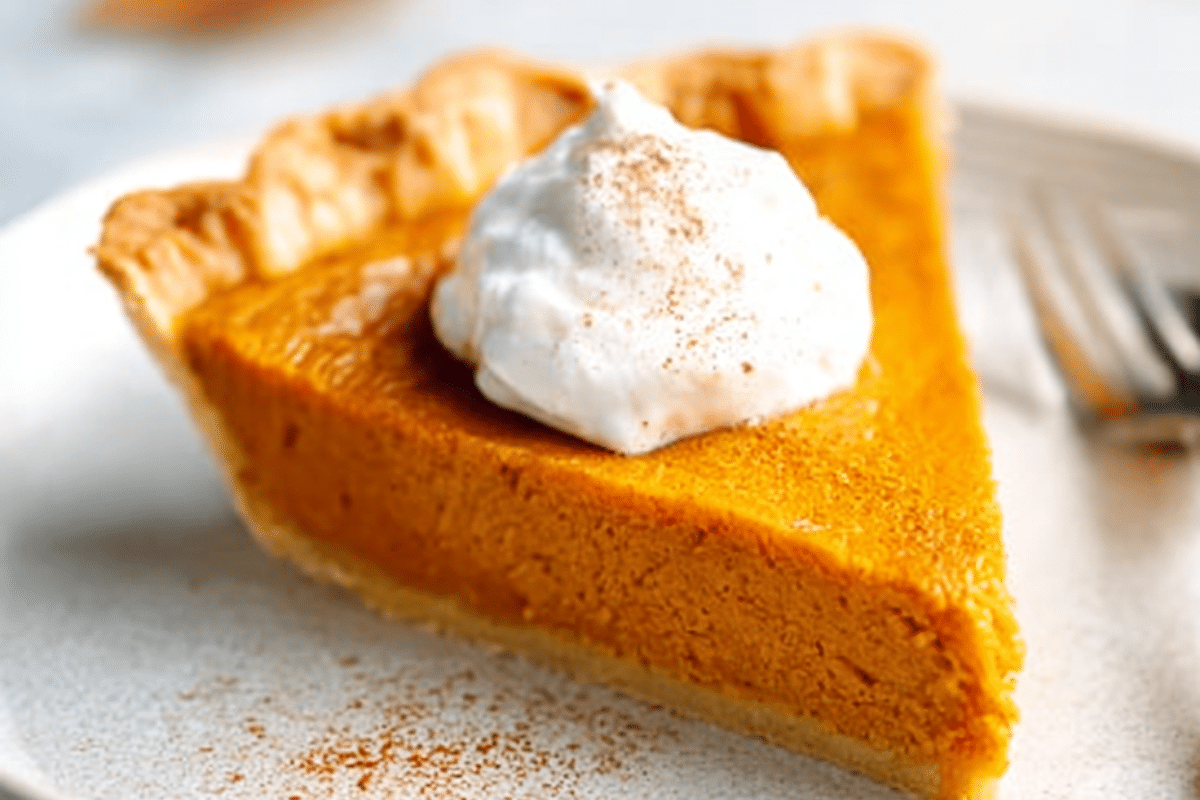
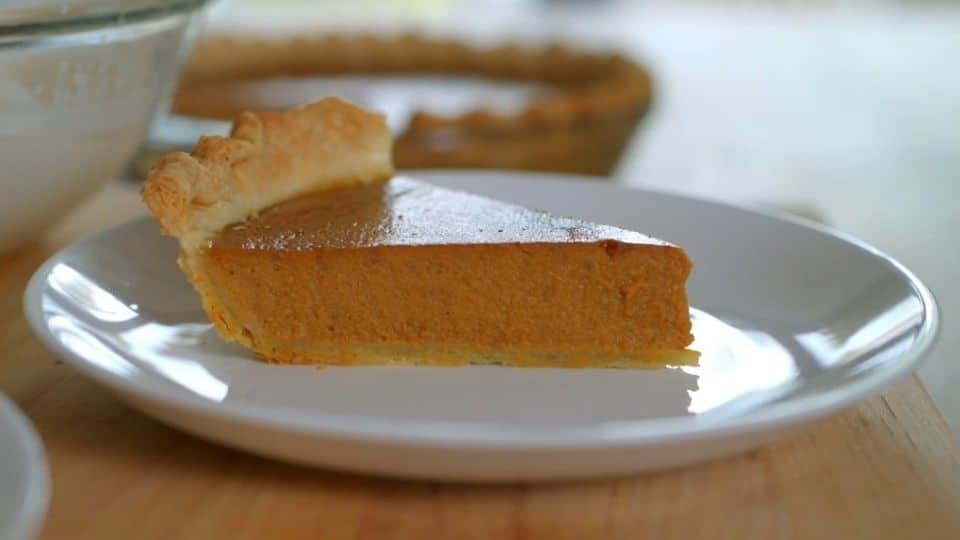
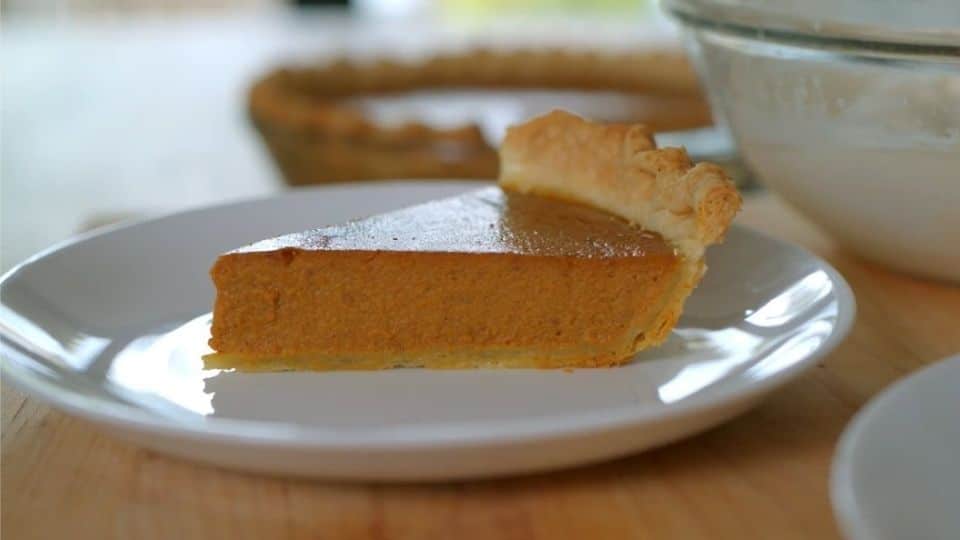
This is the pumpkin pie I’ve ever made. It has a silky, creamy filling that’s perfectly spiced, not too sweet, and not too heavy. The crust is buttery and flaky. The whole thing comes together with simple ingredients you can find at any grocery store.
Here’s the thing most people don’t realize: homemade pumpkin pie is actually easy to make. You don’t need special skills or fancy equipment. You just need a good recipe and a few simple tips. This one delivers every time.
It’s the perfect dessert for Thanksgiving and Christmas. But honestly, it’s good enough to make on any cool fall weekend when you want something warm and homemade.
The filling uses canned pumpkin, which I always recommend over fresh. It’s more consistent, requires less work, and has the same flavor. A handful of warm spices, cinnamon, ginger, nutmeg, and cloves give it that classic flavor everyone loves.
The best part is that you can make it one or two days ahead. That’s a huge win during the holidays when oven space and time are tight. One bite and you’ll never reach for a store-bought pie again.
Why You’ll Love This Recipe
- It’s easier than you think. There are no complicated techniques and no special equipment. Just mix, pour, and bake.
- Uses simple pantry ingredients. Canned pumpkin, eggs, evaporated milk, sugar, and spices are all you need.
- Works with canned or fresh pumpkin. Either option gives you a delicious result. I’ll show you how to use both.
- Make it 1 to 2 days ahead. This is a game changer during the holidays. Bake it the day before, and you’re done.
- Completely customizable. Adjust the spices to your taste. Go dairy-free or use a store-bought crust. Make it your own.
- Better than anything from the store. The flavor difference is clear. It’s fresher, richer, and perfectly spiced every time.
- Feeds a crowd with minimal effort. One pie serves 8 people. Double the recipe, and you’re set for a big gathering.
- Freezer-friendly. Bake it now, freeze it, and pull it out when you need it. It holds up beautifully.
Ingredient Notes
Here’s what you need and why each ingredient matters. I’ve also included substitutions so you can use what you have.
For the Filling
- Pumpkin Purée
Use canned 100% pure pumpkin purée. It’s consistent, convenient, and tastes great. Want to use fresh pumpkin? Sugar pumpkins work best. - Eggs
Eggs set the custard and give the filling its structure. Use large eggs at room temperature. Cold eggs straight from the fridge can cause the filling to bake unevenly. Just set them out 30 minutes before you start. - Evaporated Milk or whipping cream
This makes the filling rich and creamy without being too heavy.
Need a dairy-free option? Full-fat coconut milk works really well here. It adds a subtle coconut flavor that most people don’t even notice. - Brown Sugar
Brown sugar adds a warm, slightly molasses-like depth that white sugar just can’t match. It pairs perfectly with the spices. You can use white sugar in a pinch, but the filling will taste a little flatter. - Pumpkin Pie Spice
This one spice blend does a lot of work. If you don’t have it, you can make your own. Combine 1½ teaspoons cinnamon, ½ teaspoon ginger, ¼ teaspoon nutmeg, ¼ teaspoon cloves, and ¼ teaspoon allspice. That’s it. It takes two minutes and tastes even better than the store-bought blend. - Vanilla Extract
Technically optional, but I always add it. It rounds out the spices and adds warmth to the filling. Use pure vanilla extract if you can. Imitation vanilla works, but the flavor isn’t as good. - Salt
A small amount of salt balances the sweetness and makes the spices pop. It’s one of those ingredients you’d only notice if it was missing.
For the Crust
- Store-Bought vs. Homemade
Both work well. A store-bought refrigerated pie crust saves time and honestly bakes up pretty well. If you want to go homemade, a simple all-butter crust takes this pie to another level. - Blind Baking
This means pre-baking the crust before adding the filling. It’s the best way to avoid a soggy bottom. I’ll walk you through exactly how to do it in the next section. - Butter vs. Shortening
Butter gives better flavor. Shortening gives a flakier texture. Many bakers use a combination of both. If you’re using store-bought, this decision is already made for you.
How to Make Pumpkin Pie
Here’s a quick overview of the full process before you dive in.
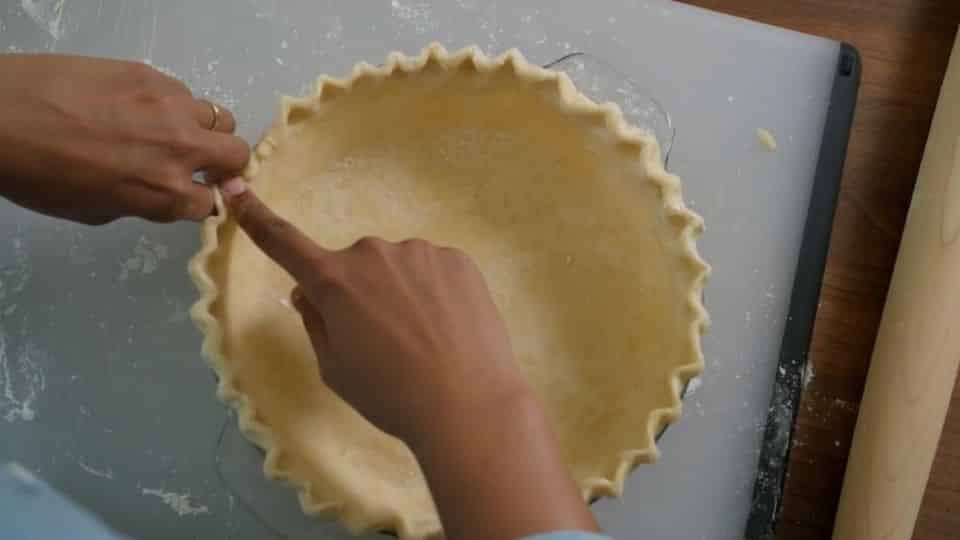
Step 1: Prep and Chill Your Crust
Roll your crust into a 9-inch pie pan, and crimp the edges however you like. Then put it in the fridge for at least 30 minutes. This matters as cold dough keeps its shape in the oven. Warm dough shrinks down the sides, and you’ll lose that beautiful fluted edge.
Doesn’t matter if using store-bought or homemade. Just unroll it, press it into your pan, and chill it the same way.
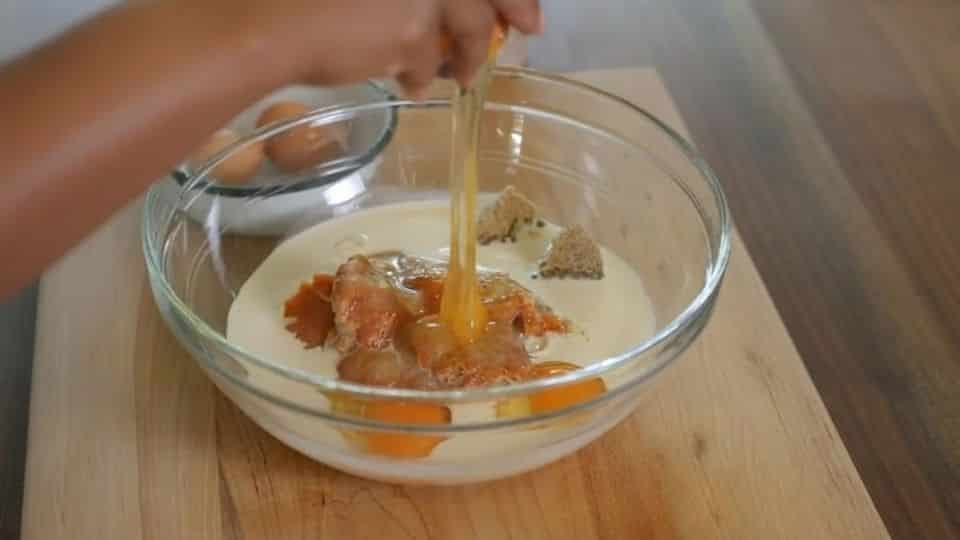
Step 3: Mix the Filling
In a large bowl, whisk together the evaporated milk or cream, pumpkin purée, brown sugar, and eggs.
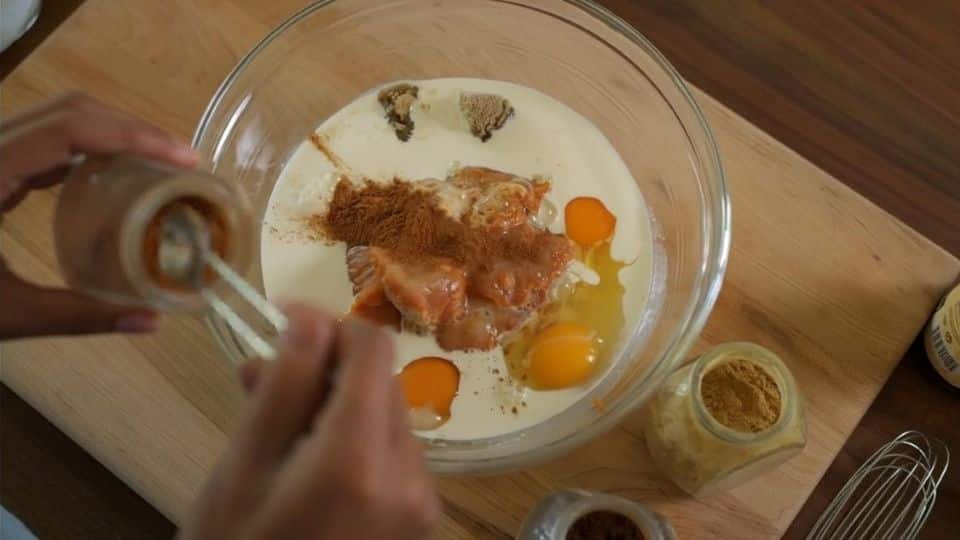
Add in your pumpkin pie spice, vanilla, and salt. Mix until smooth and combined.
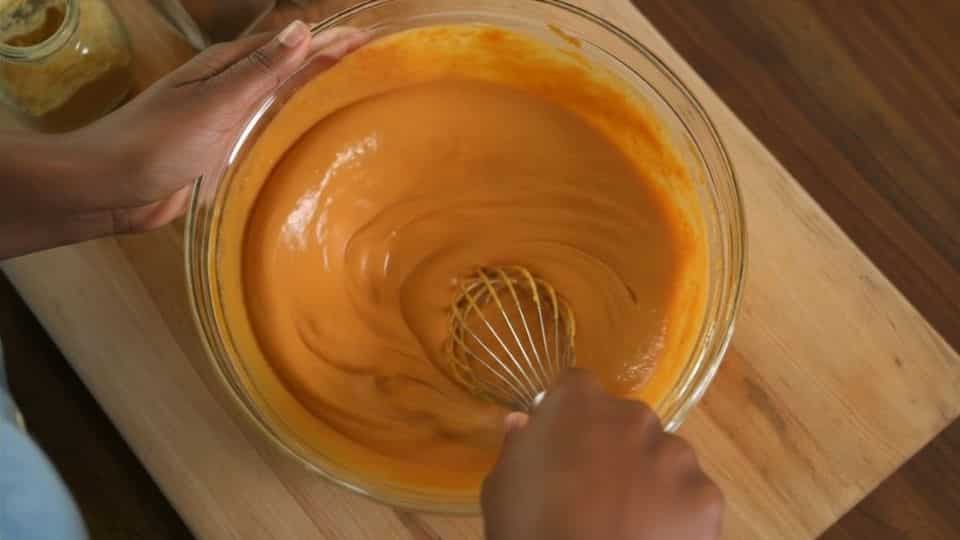
Stir gently until everything is just mixed. Don’t over-whisk. Beating too much air into the filling causes it to puff up in the oven and crack as it cools. Gentle and steady wins here.
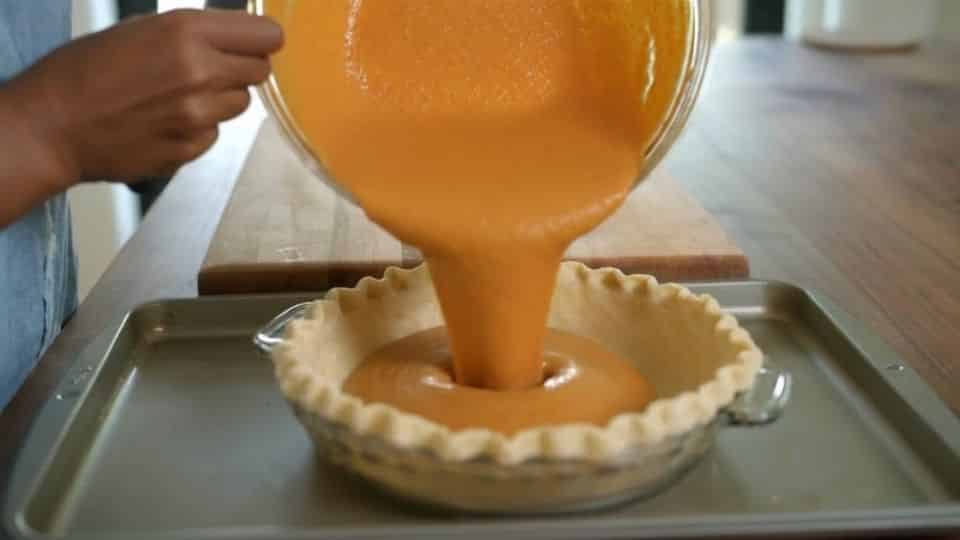
Step 4: Pour and Bake
Transfer the pie shell to a baking sheet and the pour the filling into your pie crust. Slide it carefully into the oven.

Bake the pumpkin pie at 425°F (218°C) for 15 minutes. Reduce the oven temperature to 375°F (190°C) and bake for 35 to 45 minutes. Rotate once or twice during baking. If, while the pie is baking, the top of the crust becomes too dark, cover it with a thin strip of aluminum foil.
Start checking at the 45-minute mark. The edges of the filling should look set and firm. The center should still have a gentle wobble like Jell-O when you nudge the pan.
That wobble is exactly what you want. The filling continues to set as it cools. If you wait until the center looks completely firm in the oven, you’ve gone too far.
Watch your crust edges. If they start browning too quickly, loosely tent them with strips of foil or use a pie crust shield. This is common and easy to fix.
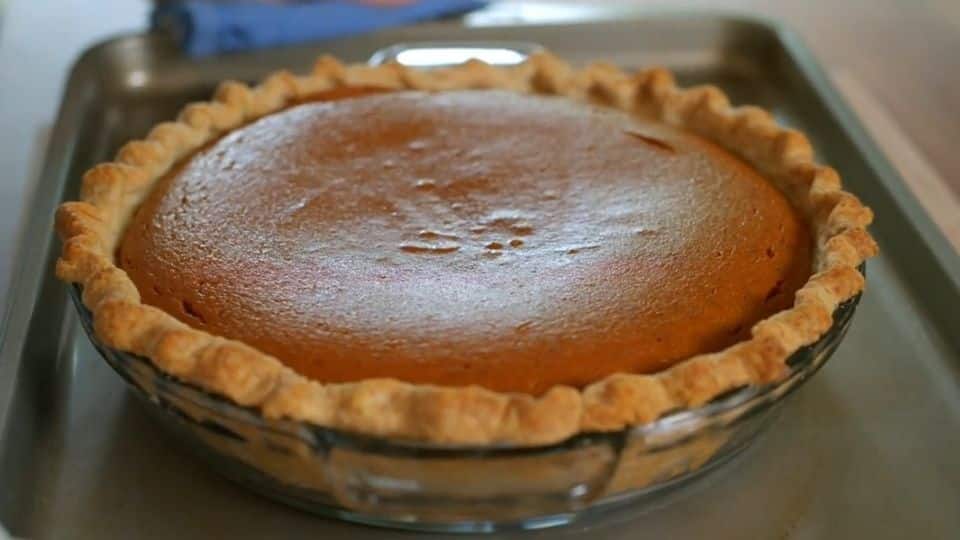
Step 5: Cool Completely Before Slicing
Once timer is up, take the pie out of the oven and set it on a wire rack. Let it cool at room temperature for at least 2 full hours. Then transfer it to the fridge for another hour before slicing.
I know it’s hard to wait. But cutting into a warm pumpkin pie gives you a runny, messy slice. The filling needs time to fully set. Trust the process.
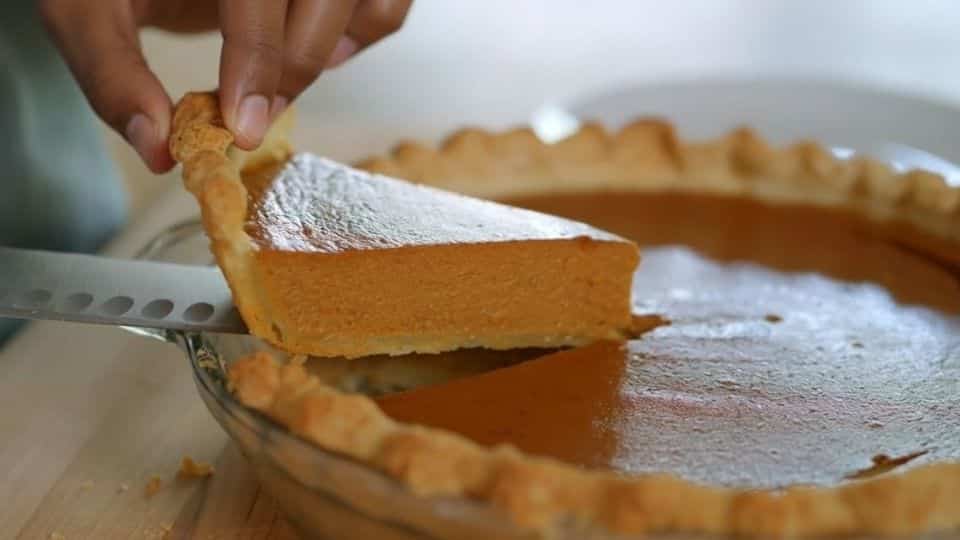
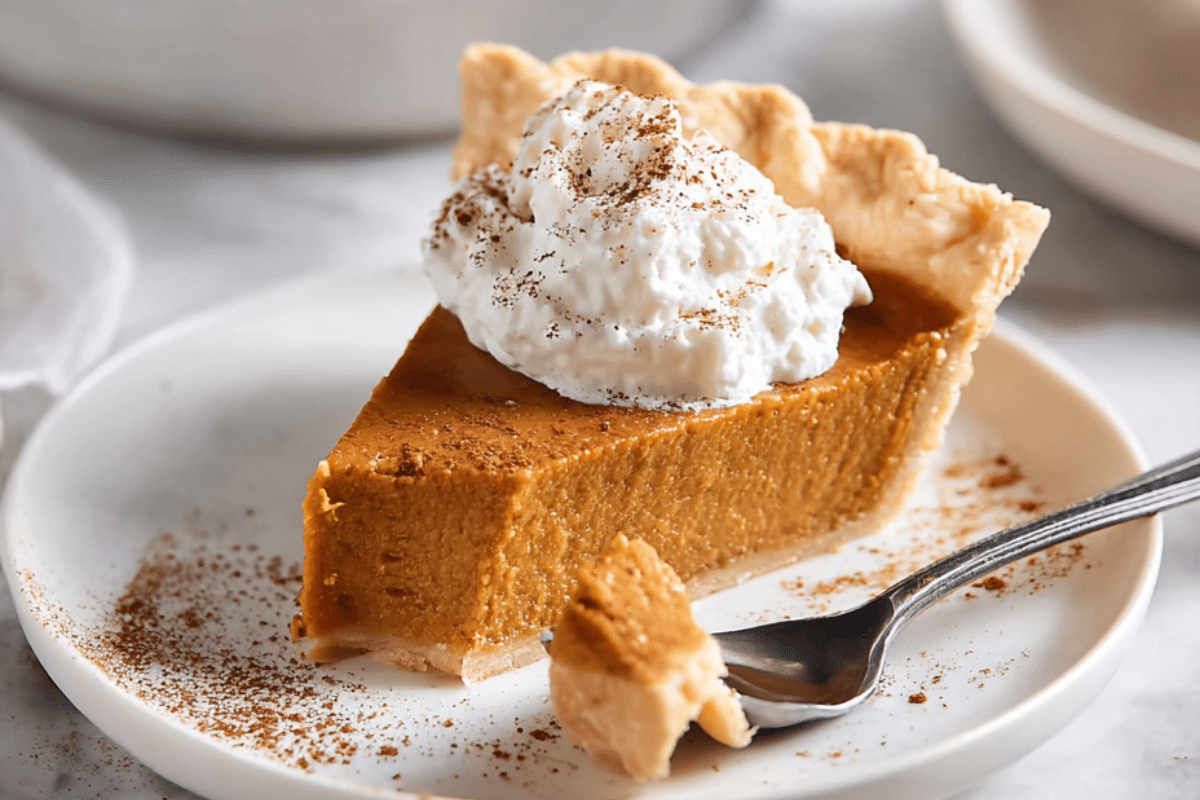
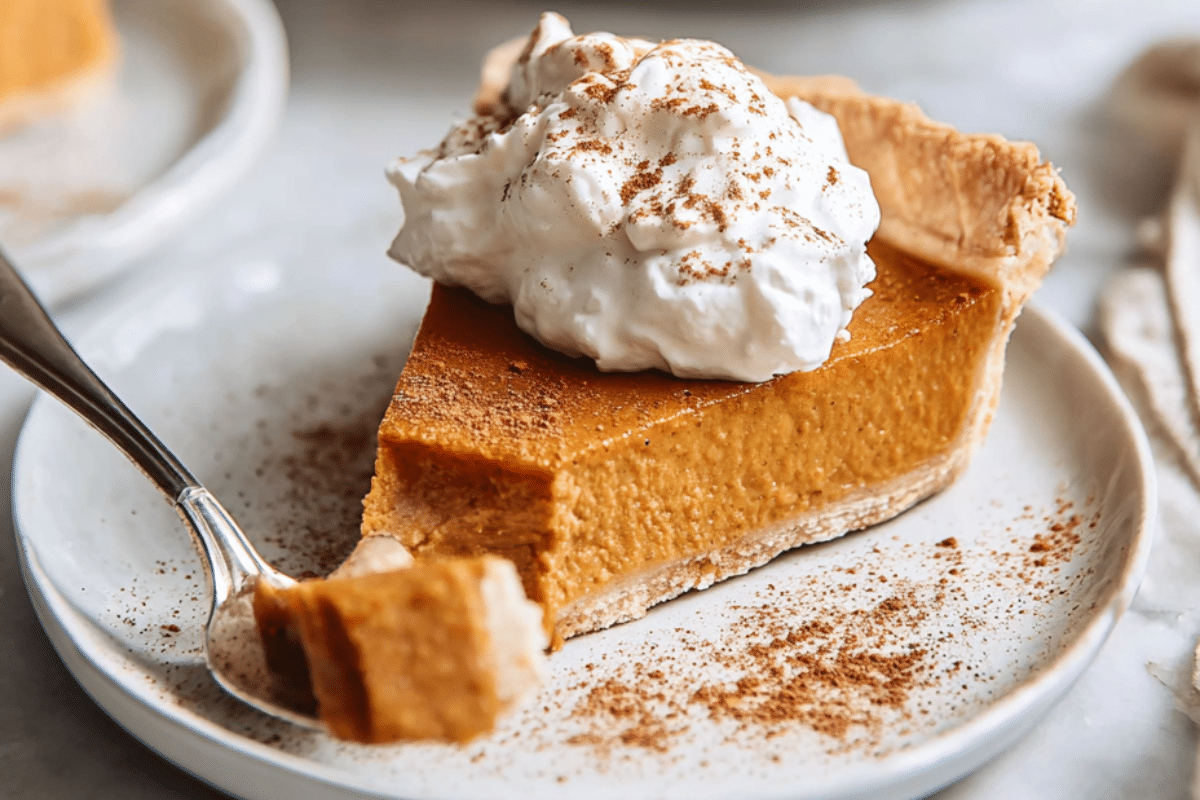
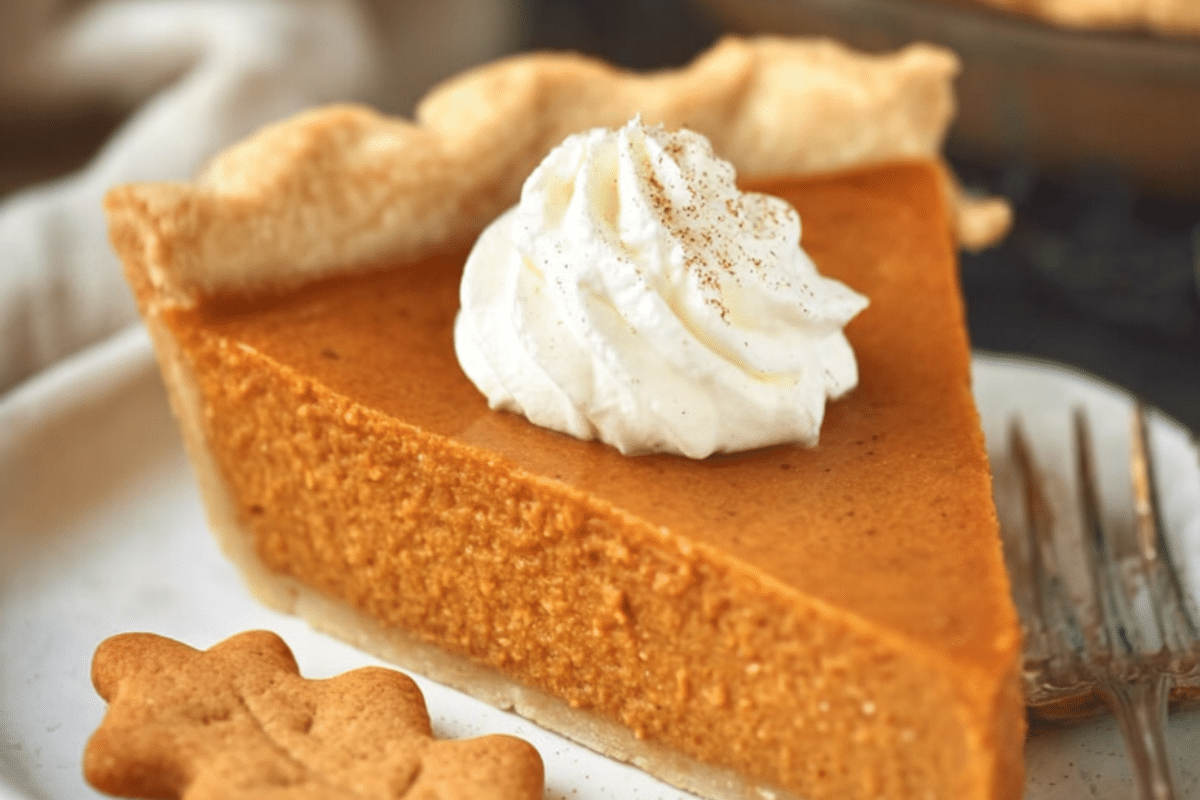
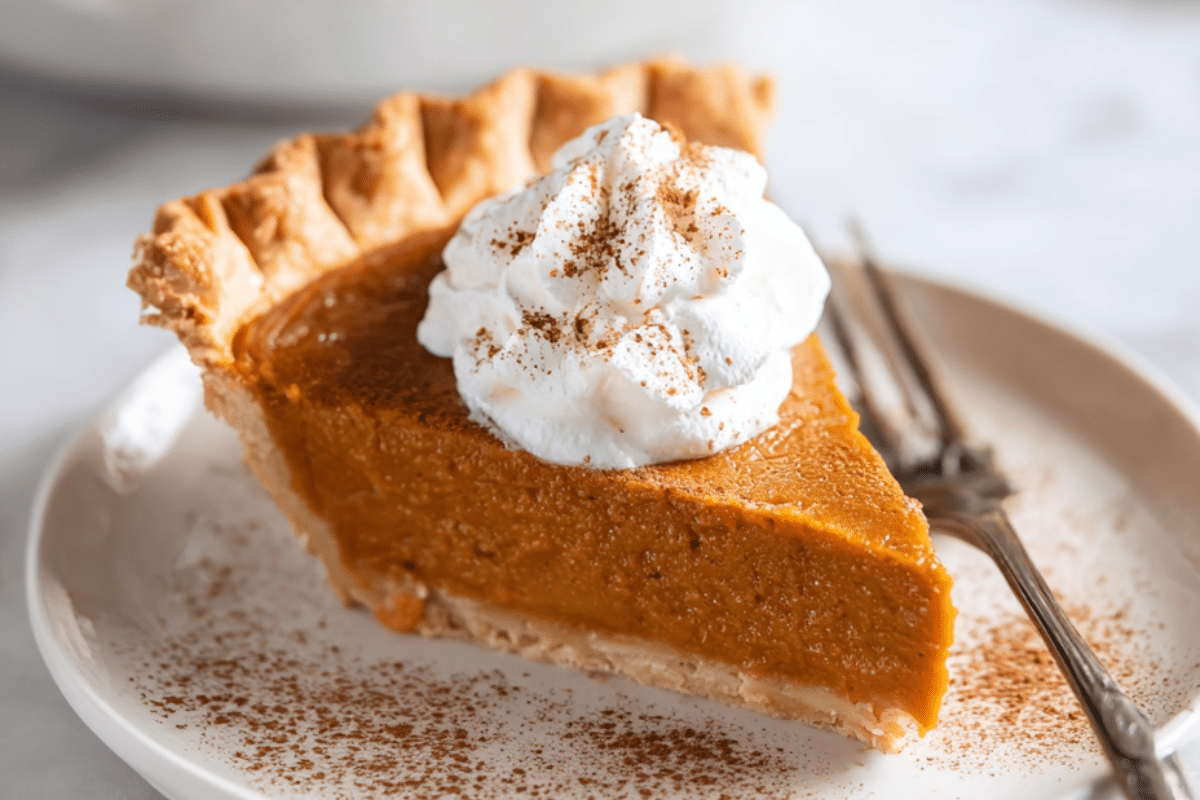
Once it’s fully chilled, slice it clean and serve with a generous spoonful of whipped cream.
Recipe Success Tips
These tips will turn a good pumpkin pie into a great one.
- Use room temperature eggs and evaporated milk/cream. Cold ingredients don’t mix smoothly and can cause the filling to bake unevenly. Set out your eggs and evaporated milk about 30 minutes before you begin.
- Don’t over-mix the filling. Gently stir the filling until everything is just combined. Whisking too hard introduces air into the custard. That air causes the filling to puff up in the oven and crack as it cools. Go low and slow here.
- Pull the pie out while the center still wobbles. This is the most crucial tip. The center of the pie should jiggle gently, like soft Jell-O, when you nudge the pan. It may look underdone, but it isn’t. Residual heat completes the cooking as it cools. Overbaking is the main cause of cracks and a dry, grainy texture.
- Tent the crust edges with foil if they brown too fast. Check the crust edges around the 25-minute mark. If they are getting too dark, lay thin strips of foil over them or use a pie crust shield. This protects the edges while the filling finishes baking.
- Cool the pie slowly and completely. Don’t shift the pie from a hot oven straight into a cold fridge. That sudden temperature change causes cracks. Let it cool at room temperature on a wire rack for at least 2 hours first. Then refrigerate. This is the trick for a smooth, crack-free surface.
- Taste and adjust the spices before baking. The filling is safe to taste before it goes into the oven. Give it a quick taste after mixing. Want more warmth? Add a little extra cinnamon or ginger. Prefer it less sweet? Reduce the sugar a bit. This is your last chance to get the seasoning just right.
Variations and Ingredient Swaps
One of the best things about this recipe is how easy it is to customize. Here are some of my favorite ways to switch things up.
- Dairy-Free Pumpkin Pie
Replace the evaporated milk with full-fat canned coconut milk. The texture will remain creamy and rich with a very subtle coconut flavor. Use a dairy-free pie crust, and you will have a completely dairy-free dessert that no one will miss. - Gluten-Free Crust
A gluten-free graham cracker crust works well here and adds a slightly sweet, crunchy base that pairs beautifully with the smooth filling. You can also use an almond flour crust for a nuttier flavor. - Brown Butter Crust
If you’re making a homemade crust, try browning the butter first. Cook it in a saucepan over medium heat until it smells nutty and turns golden. Let it cool completely before using. This adds a rich, toasty depth to the crust that takes this pie from great to unforgettable. - Fresh Pumpkin Instead of Canned
Cut your sugar pumpkin in half, scoop out the seeds, and roast it cut-side down at 400°F (200°C) for about 45 minutes until tender. Scoop out the flesh and blend it until completely smooth. Drain it through cheesecloth if it looks watery. You’ll need about 2 cups of purée for one pie. - Sweetened Condensed Milk Version
Replace the evaporated milk and sugar with one can of sweetened condensed milk. This makes the filling slightly denser and sweeter with an almost caramel-like undertone. Skip adding extra sugar; the condensed milk takes care of that.

What to Serve With It
Pumpkin pie is delicious on its own. But the right sides can make it even better. Here are my favorite ways to serve it.
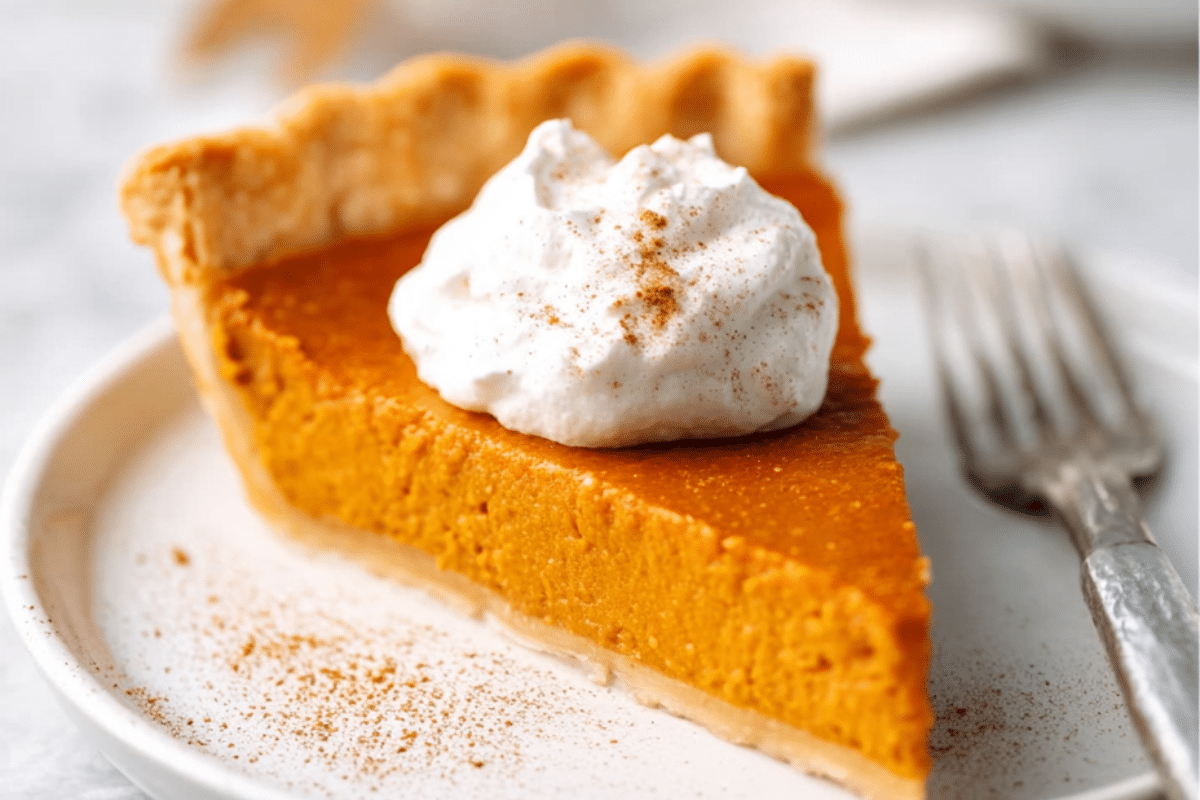
- Homemade Whipped Cream
This is the classic pairing, and for good reason. Homemade whipped cream takes five minutes to make and tastes so much better than anything from a can. Pile it generously on each slice right before serving. - Vanilla Ice Cream
A scoop of good vanilla ice cream next to a warm slice of pumpkin pie is hard to beat. The cold, creamy ice cream contrasts perfectly with the spiced filling. - Caramel Sauce
A drizzle of warm caramel sauce on top adds a rich, buttery sweetness that pairs beautifully with the pumpkin spice flavors. Store-bought works fine, but homemade salted caramel takes it to another level. - Candied Pecans
Sprinkle a handful of candied pecans over your whipped cream for some crunch and sweetness. The toasty nut flavor goes well with the warm spices in the filling.
Storage and Make-Ahead Instructions
Pumpkin pie is one of the easiest desserts to prepare ahead of time. Here’s what you need to know to store it properly and feel confident planning.
- Make-Ahead Instructions. Bake it 1 to 2 days in advance. Pumpkin pie tastes even better the next day. The filling firms up nicely overnight, and the spices become richer. Bake it the day before your gathering, refrigerate it, and check one task off your list.
- Refrigerator Storage. Pumpkin pie contains eggs and dairy, so it needs to be refrigerated. Don’t leave it out for more than 2 hours, especially at a warm holiday gathering. Once the pie has cooled completely, cover it loosely with plastic wrap or foil and refrigerate. It will keep well for up to 4 days in the fridge.
- Freezer Storage
Good news pumpkin pie freezes very well. Here’s how to do it correctly.
To freeze a whole baked pie:
Let it cool completely at room temperature first. Then refrigerate it for at least 2 hours until it’s fully set and firm. Wrap it tightly in two layers of plastic wrap, followed by a layer of aluminum foil. Label it with the date and freeze for up to 1 month..
To thaw: Move the pie or slices from the freezer to the refrigerator the night before you need them. Let them thaw slowly overnight. Never thaw pumpkin pie at room temperature. This can change the texture of the filling and raise food safety concerns.
Frequently Asked Questions
- Can I use fresh pumpkin instead of canned?
Yes, you can. Sugar pumpkins work best. The flavor is slightly earthier than canned. - Why did my pumpkin pie crack?
Cracking usually means one of two things. Either the pie was overbaked or it cooled too quickly. Take the pie out when the center still has a gentle wobble, and always let it cool slowly at room temperature before refrigerating. If cracks do appear, don’t worry. A generous dollop of whipped cream can cover everything nicely. - How do I know when pumpkin pie is done?
Use the jiggle test. Gently shake the pan and watch the center of the filling. It should wobble softly like Jell-O not slosh around like liquid, but it should not sit completely still either. The edges should look firmly set. If the whole pie moves like liquid, it needs more time. If nothing moves, it’s overbaked. That soft central wobble is just right. - Can I make pumpkin pie without evaporated milk?
Yes. Full-fat coconut milk is the best dairy-free substitute and keeps the filling rich and creamy. Heavy cream also works well if you want an even richer result. Whole milk is a decent option but makes the filling slightly looser and less creamy. Avoid low-fat or skim milk; they don’t have enough fat to set the custard properly. - Can pumpkin pie be left out overnight?
No. Pumpkin pie contains eggs and dairy, which makes it perishable. The USDA recommends refrigerating it within 2 hours of baking. Leaving it out overnight at room temperature puts it in the food safety danger zone. Always cover and refrigerate it once it has cooled completely. - Why is my pumpkin pie filling too runny after baking?
A runny filling usually means that the pie was underbaked. It can also happen if the filling was over-mixed and too much air was added. Next time, use the jiggle test to check for doneness instead of relying only on baking time. Ovens vary, and baking times are a guideline, not a guarantee. If you cut into the pie and the filling is too soft, you can return it to a 325°F (160°C) oven for 10 to 15 minutes to firm it up a bit more.
The Best Homemade Pumpkin Pie Recipe (Easy & Foolproof)
Ingredients
Method
- Preheat the oven to 425°F (218°C).
- Grease your pie dish with butter or any neutral oil
- Roll out the pie crust onto your 9-inch pie dish
- Refrigerate as you prepare your filling.
- To a large mixing bowl, add eggs and both sugars together until smooth.
- Add pumpkin puree, cream, vanilla, cinnamon, ginger, cloves, and salt.
- Whisk just until well blended. You don't want to overmix the filling
- Place the pie dish on your baking sheet. Pour the pumpkin filling into the pie shell.
- Bake the pumpkin pie at 425°F (218°C) for 15 minutes. Reduce the oven temperature to 375°F (190°C) and bake for 35 to 45 minutes or until a toothpick comes out clean.
- Rotate once or twice during baking. If, while the pie is baking, the top of the crust becomes too dark, cover it with a thin strip of aluminum foil.
- Once timer is up, take the pie out of the oven and set it on a wire rack
- Let it cool at room temperature for at least 2 full hours. Then transfer it to the fridge for another hour before slicing.
- Once it’s fully chilled, slice it clean and serve with a generous spoonful of whipped cream. Enjoy!!