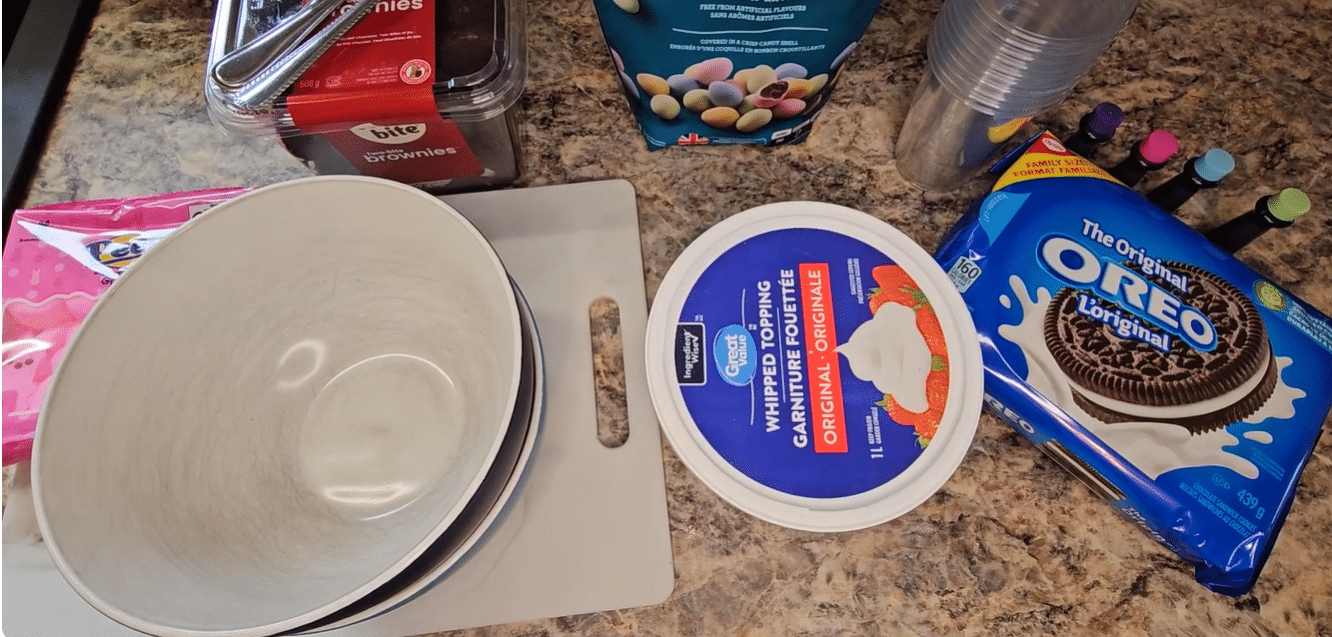
These easter dirt cups come together fast, and the layers do all the cute work for you.
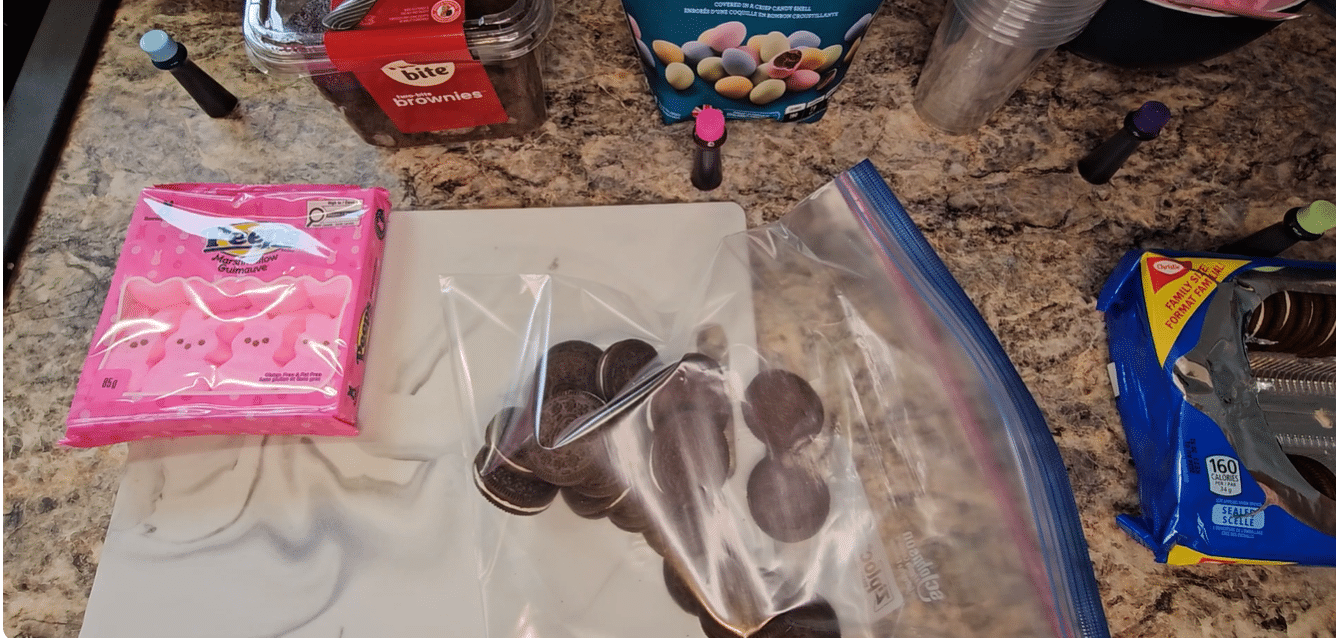
Step 1: Crush the cookies
Place some of the oreos on a chopping board and cut them into quarters and a zip top bag and crush the rest into fine crumbs. You can also use a food processor for a super even “dirt” texture. Set aside.
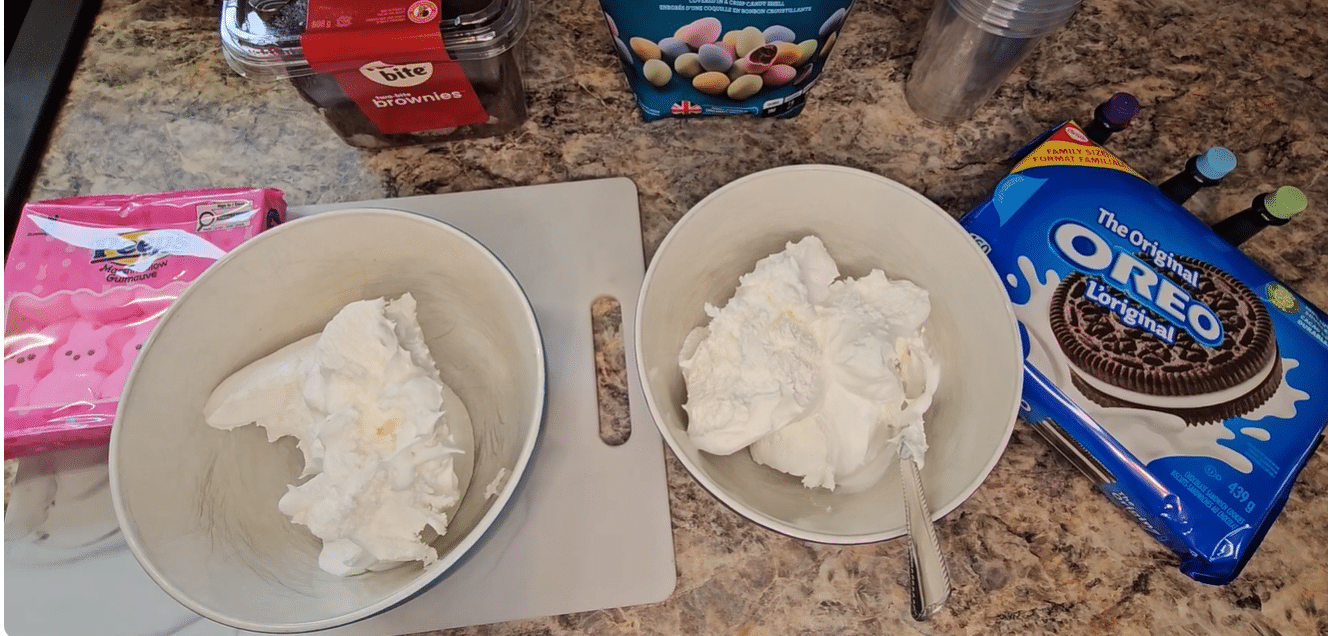
Step 2: Mix the pudding
Whisk whipped topping until smooth and slightly thick. You can leave it as is ; plain white or use food coloring for some color. I like to use pink as it goes well with pastel theme for Easter. Or better yet, seperate the whipped topping into different bowls and use different colors on them for an even more colorful presentation. In this recipe i used, pink and blue.
Put is aside and let it sit so it fully sets up.
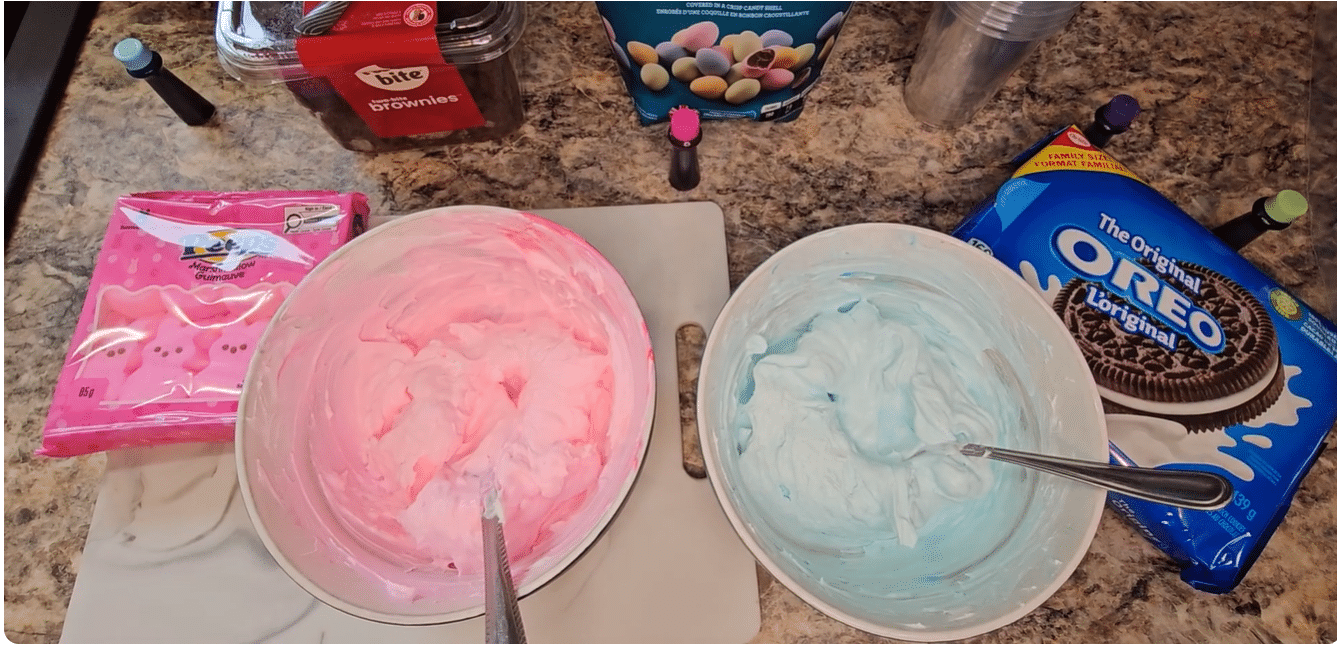
Step 3: Mix-ins
For this recipe, i also used brownie bites and cut them into quarters before layering. If you have leftover brownie you can also use that.
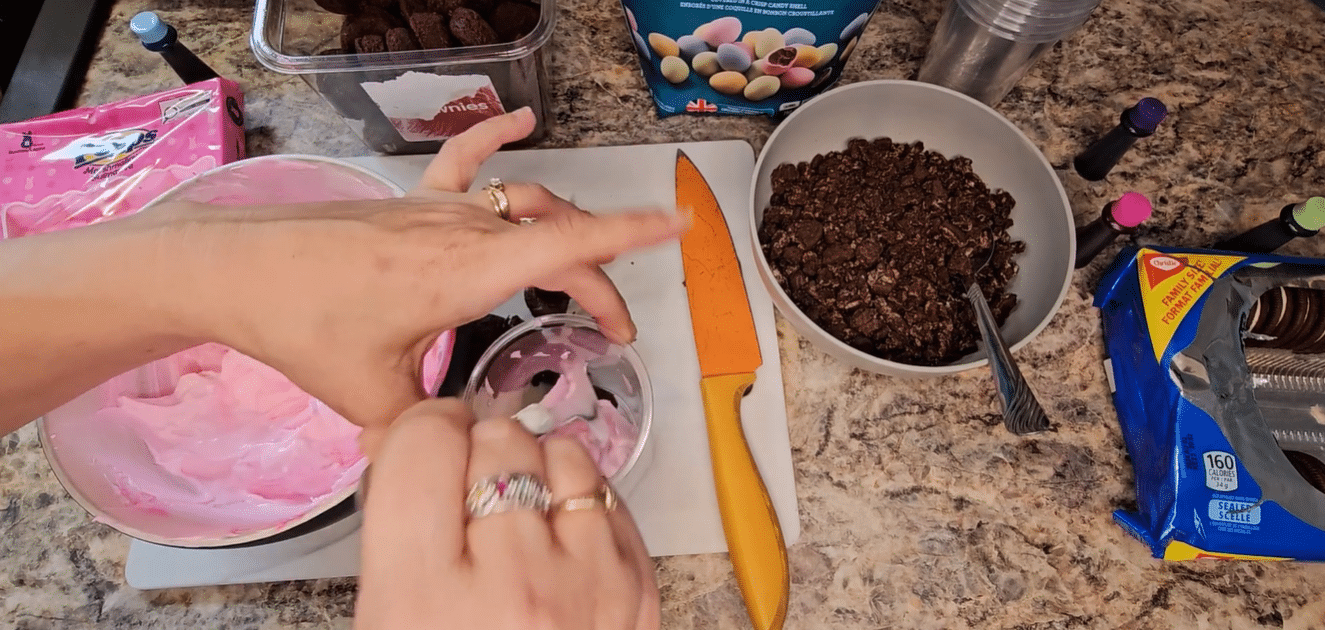
Step 4: Layer the cups
Add a spoonful of cookie “dirt” and chunks to the bottom of each cup. Add a layer of whipped topping, then another layer of crumbs, then finish with the whipped topping. Top with a final sprinkle of “dirt” crumbs.
For a colorful presentation, alternate between pink whipped topping and blue pink topping. Its your dirt cup, you can layer whichever way you prefer.
Quick tip: Use a piping bag (or a zip top bag with the corner snipped) for clean layers.
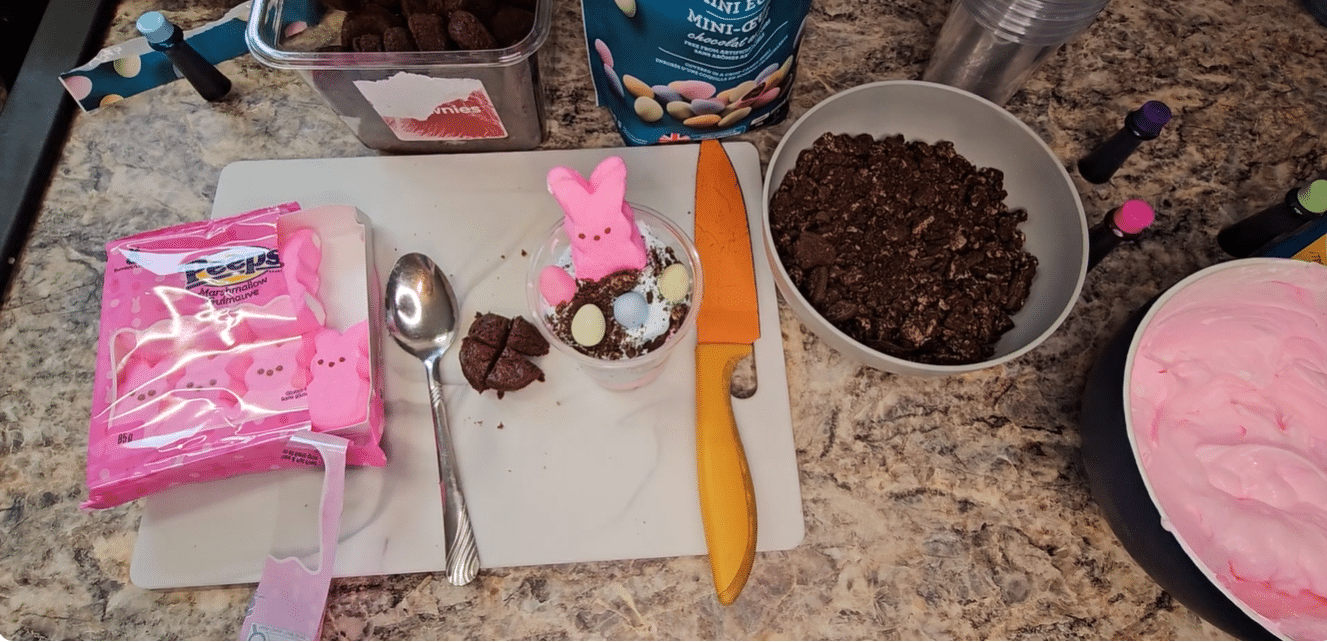
Step 5: Chill
Cover and chill for at least 1 hour. This helps the diet cups firm up and the flavors meld.
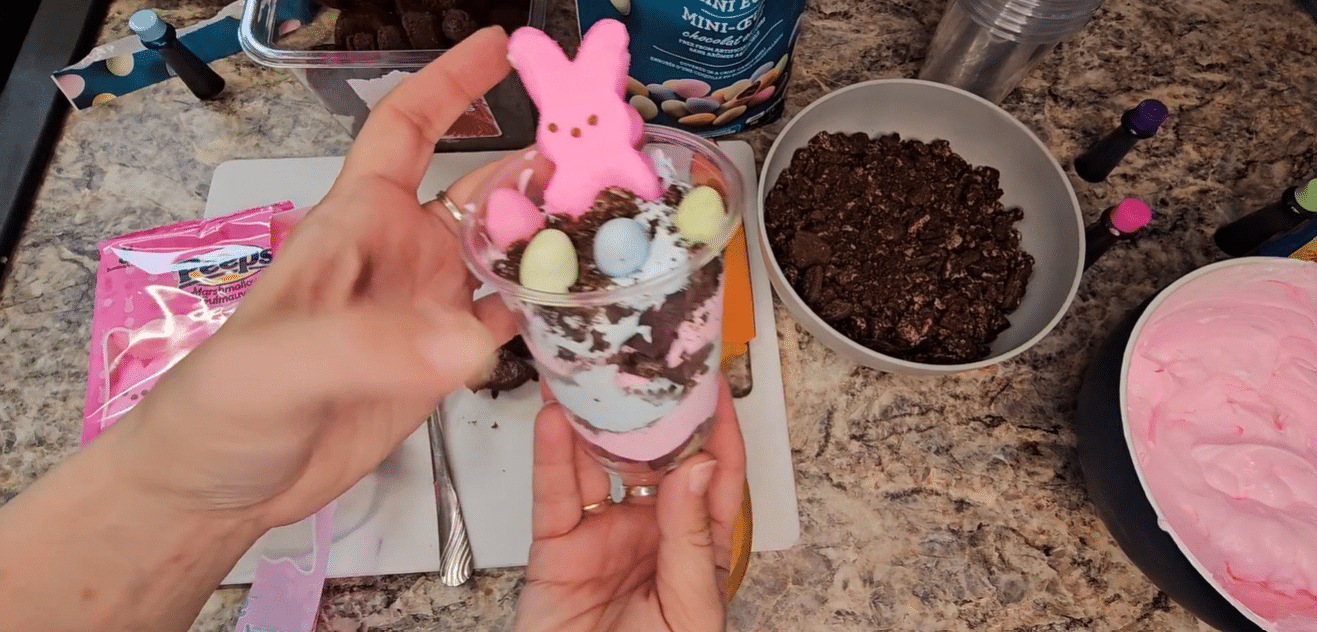
Step 6: Decorate and serve
Right before serving, add your Easter toppings. Try a Peep, a few mini eggs, and a pinch of sprinkles. Then serve cold.
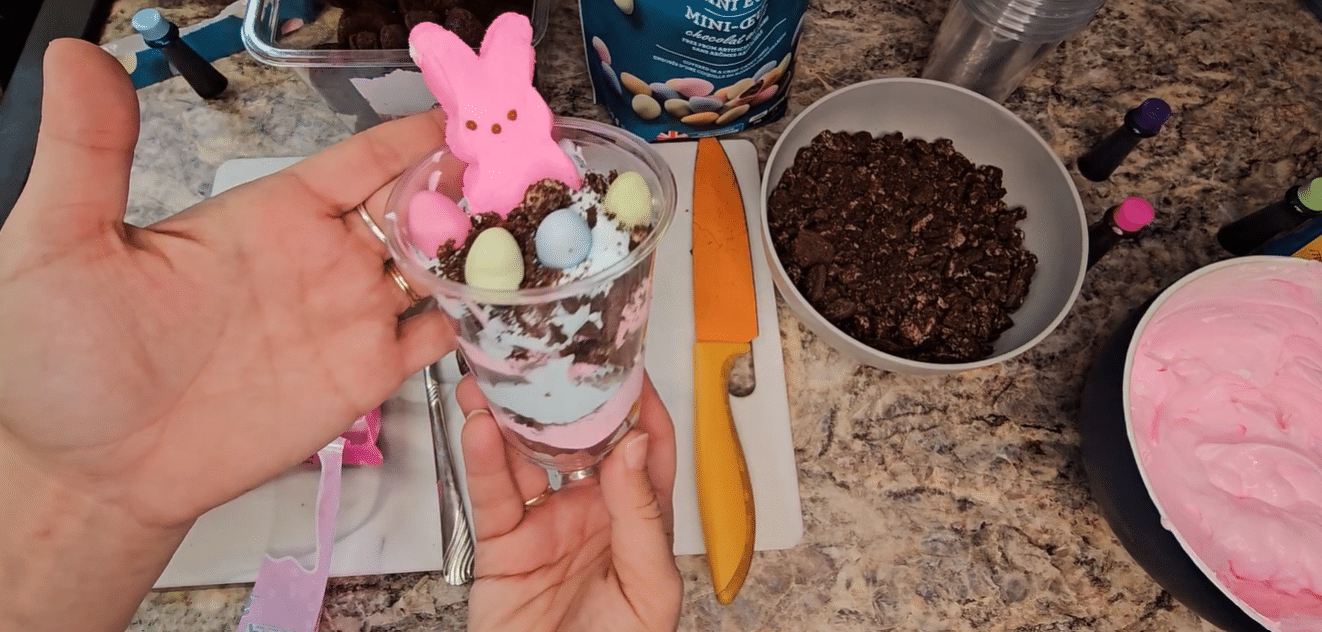
Layering ideas and cute Easter designs
What i love about dirt cups is that you can make them whichever way you prefer, customize it to your kids tastes and preferences.
Pick one theme and repeat it across all the cups. It looks extra polished, and it is faster than mixing lots of styles. Here are some ideas I’ve tried over the years;
1) Bunny patch cups
2) Mini egg nest cups
-
Make a small “nest” with extra cookie crumbs piled in the center
-
Add 3 to 5 mini eggs on top
-
Finish with a light sprinkle of pastel sprinkles
3) Chick cups
-
Use yellow chick Peeps on top
-
Add candy eyes if you want extra cute
-
Add a few jelly beans around the edges
4) Carrot patch cups
-
Add green sprinkles as “greens”
-
Stick in candy carrots or orange candies
-
Add one extra mini egg for color
5) Classic dirt cup vibe
Quick tip: Add Peeps and jelly beans right before serving so they stay soft and fresh looking.